HIGHLIGHTS:
- Animation Review (SU & LA sequences of S1E01 Lunatics!)
- New Titles Sequence
- Linking Diagrams Adopted Generally for Planning and Documentation
- Formalized File-Naming Policy
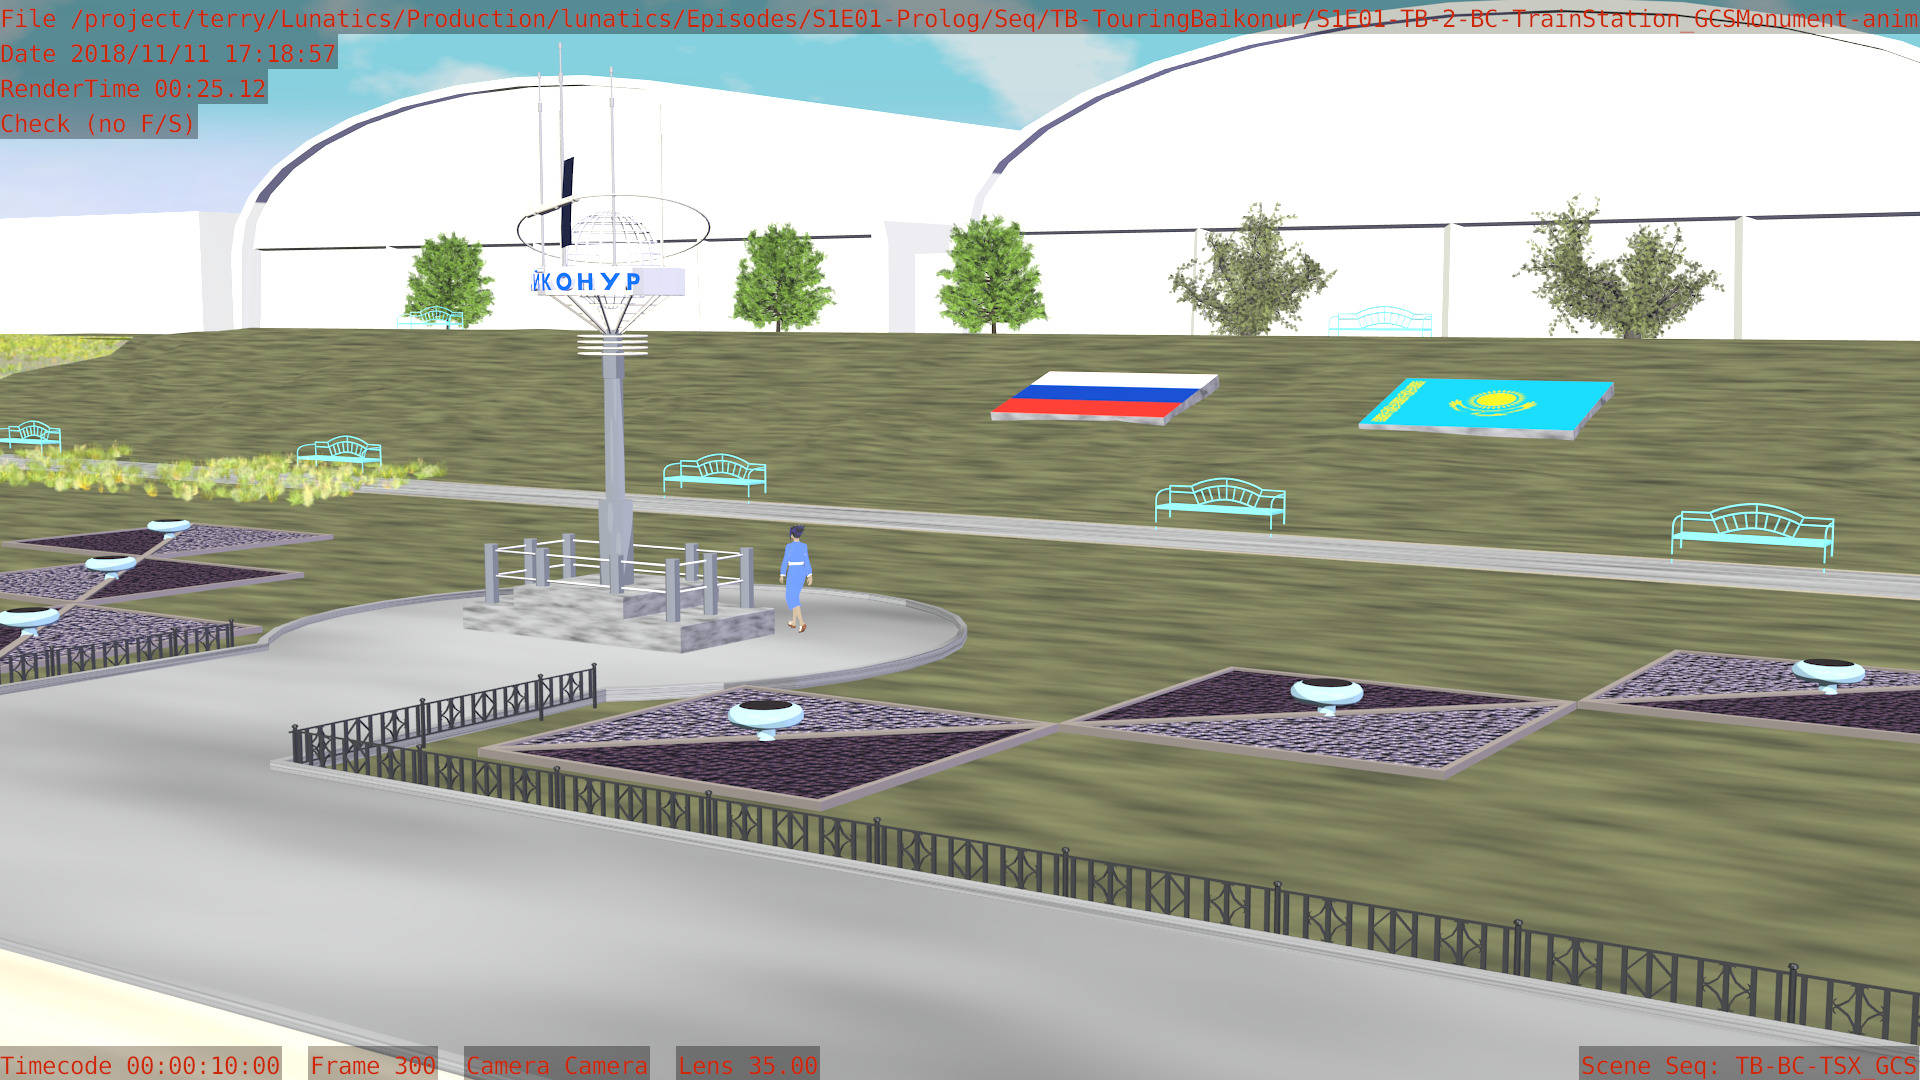
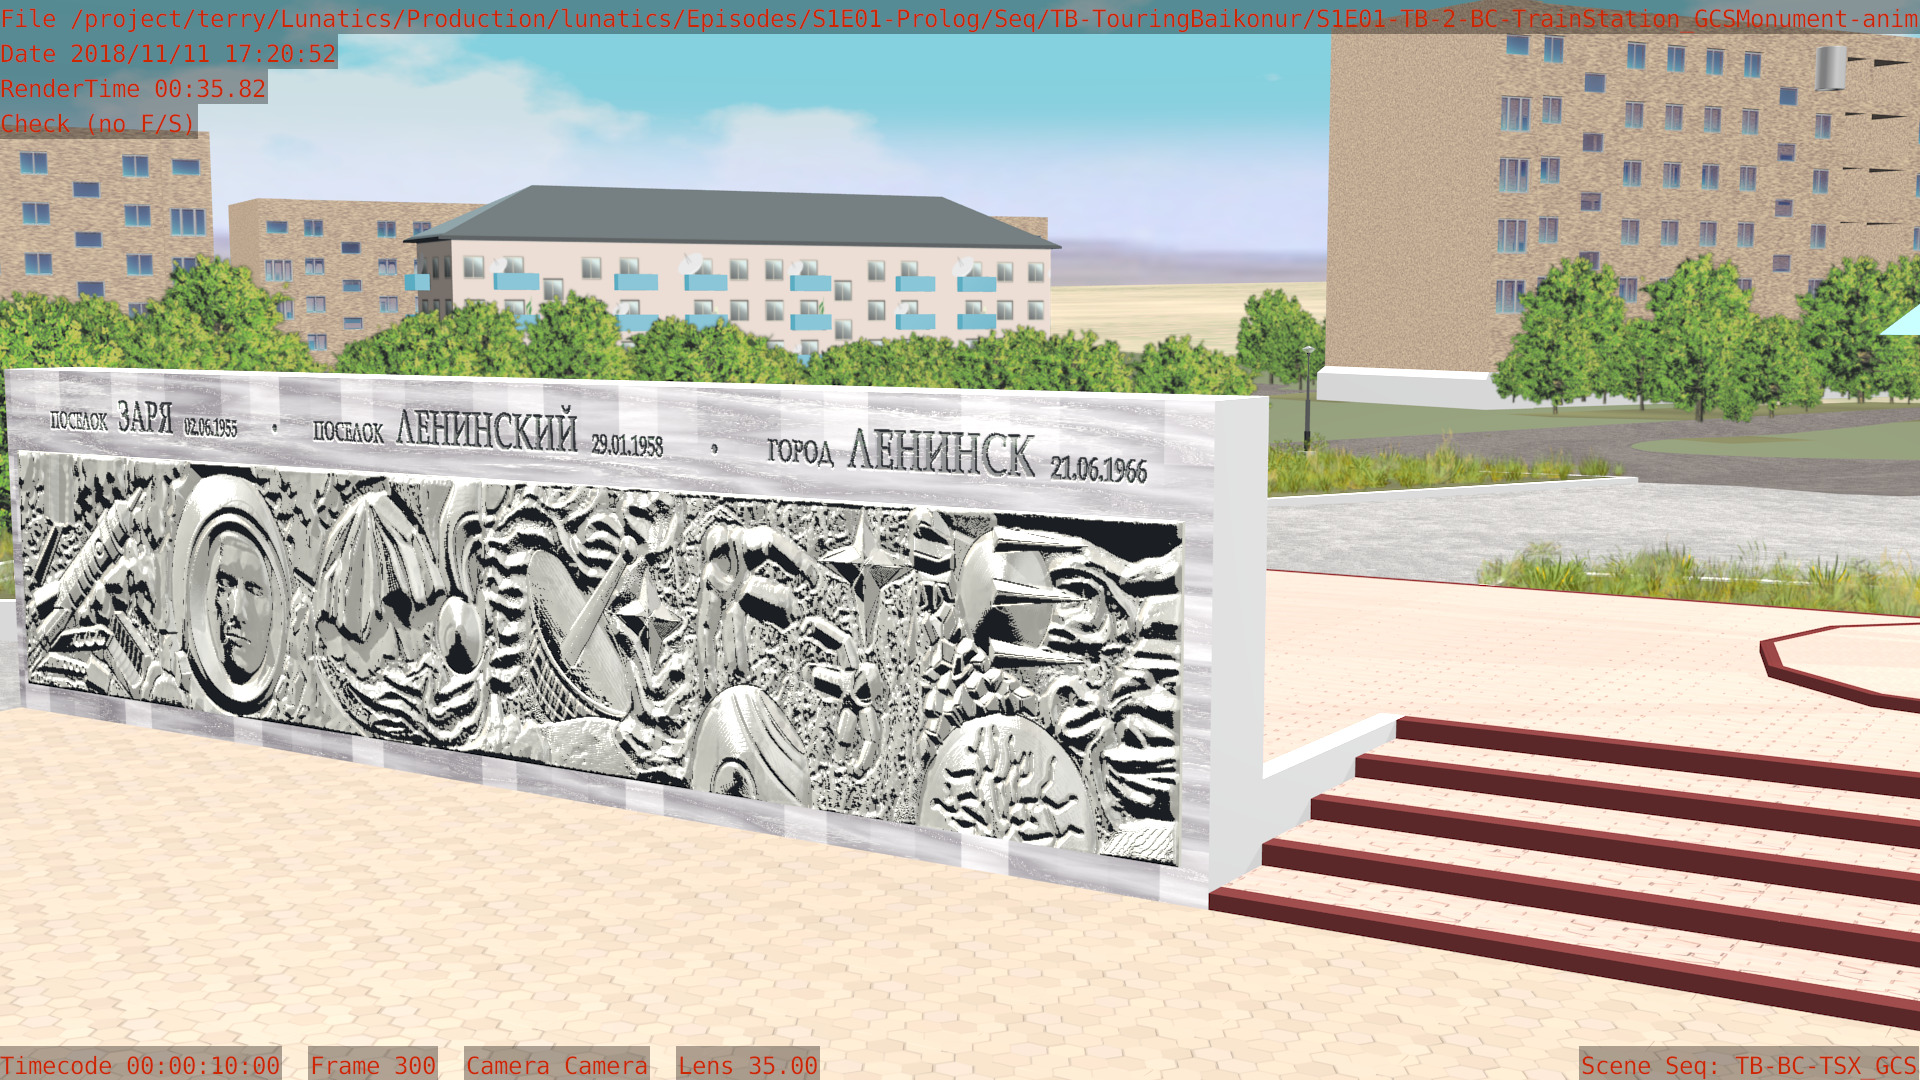
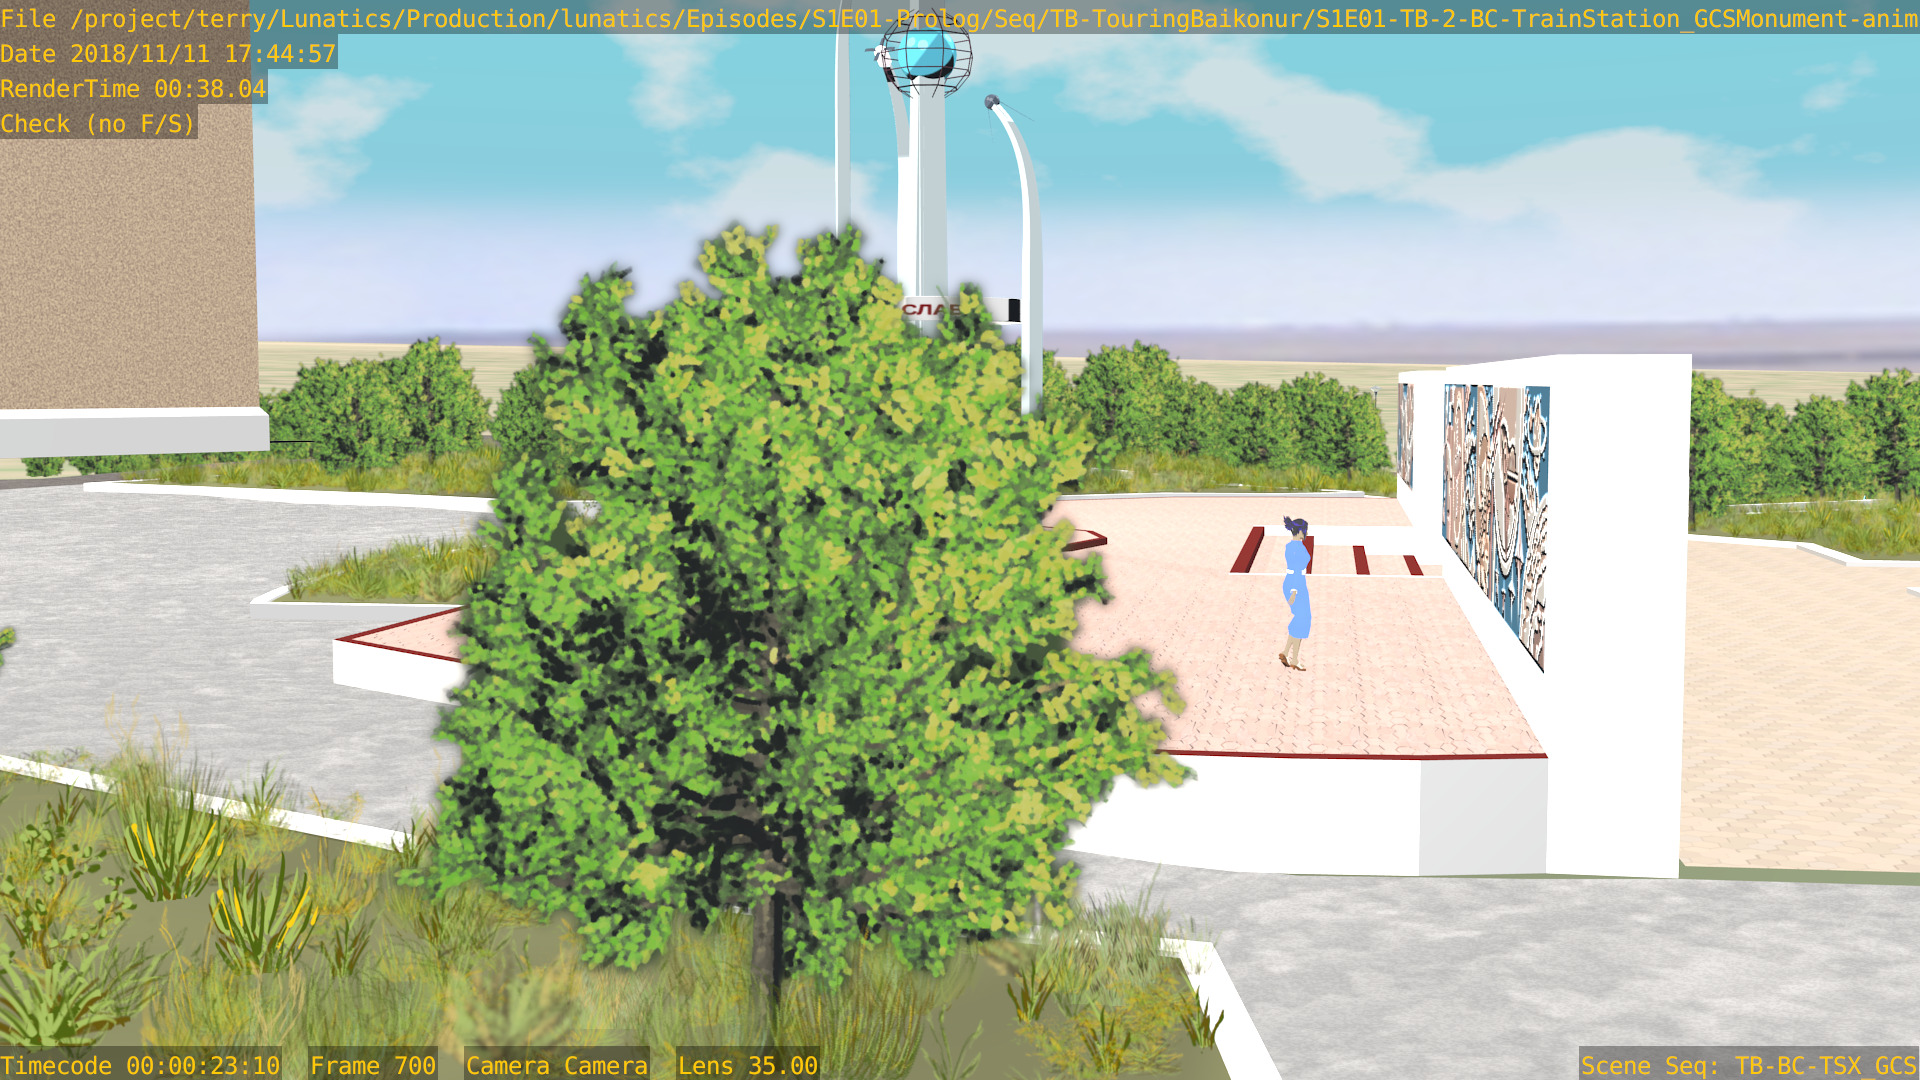
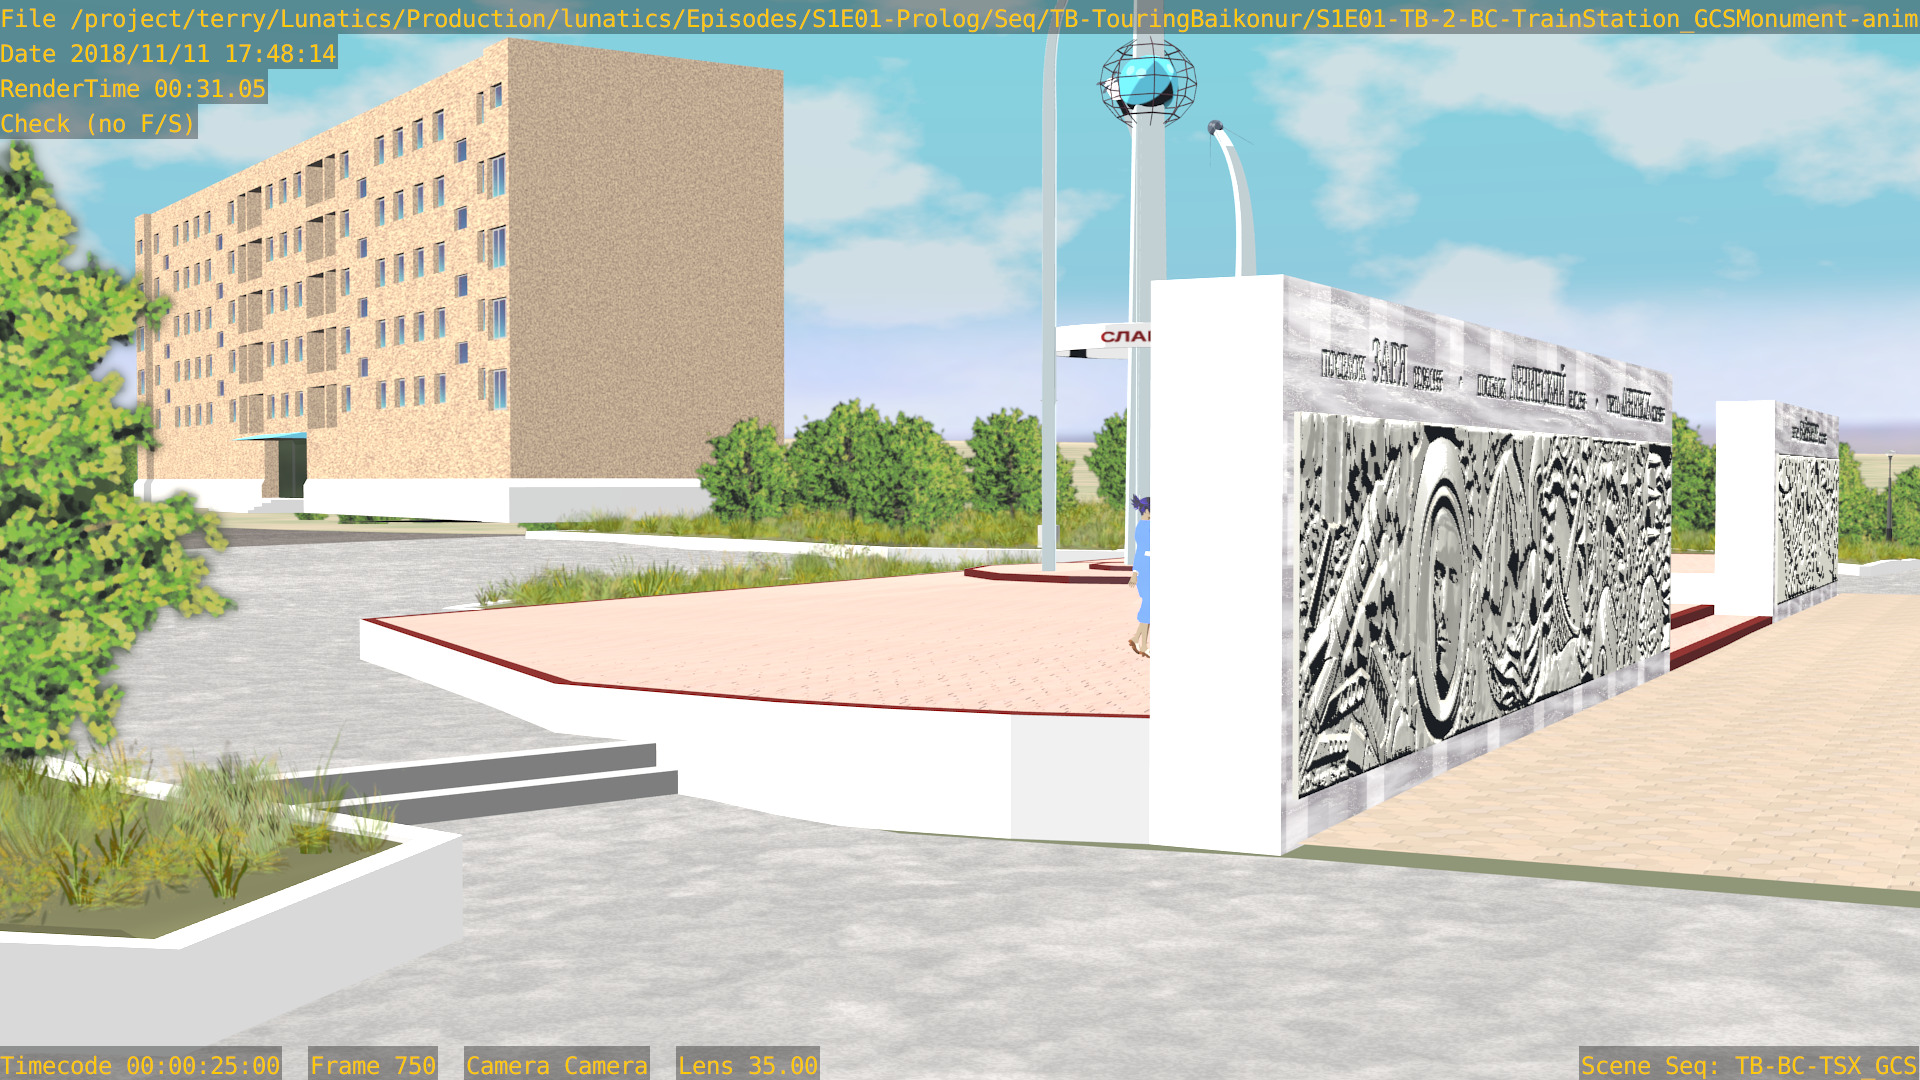
- Set & Set Dressing Work for Touring Baikonur (TB)
Nov 7, 2018 at 4:01 PM
Animation Review

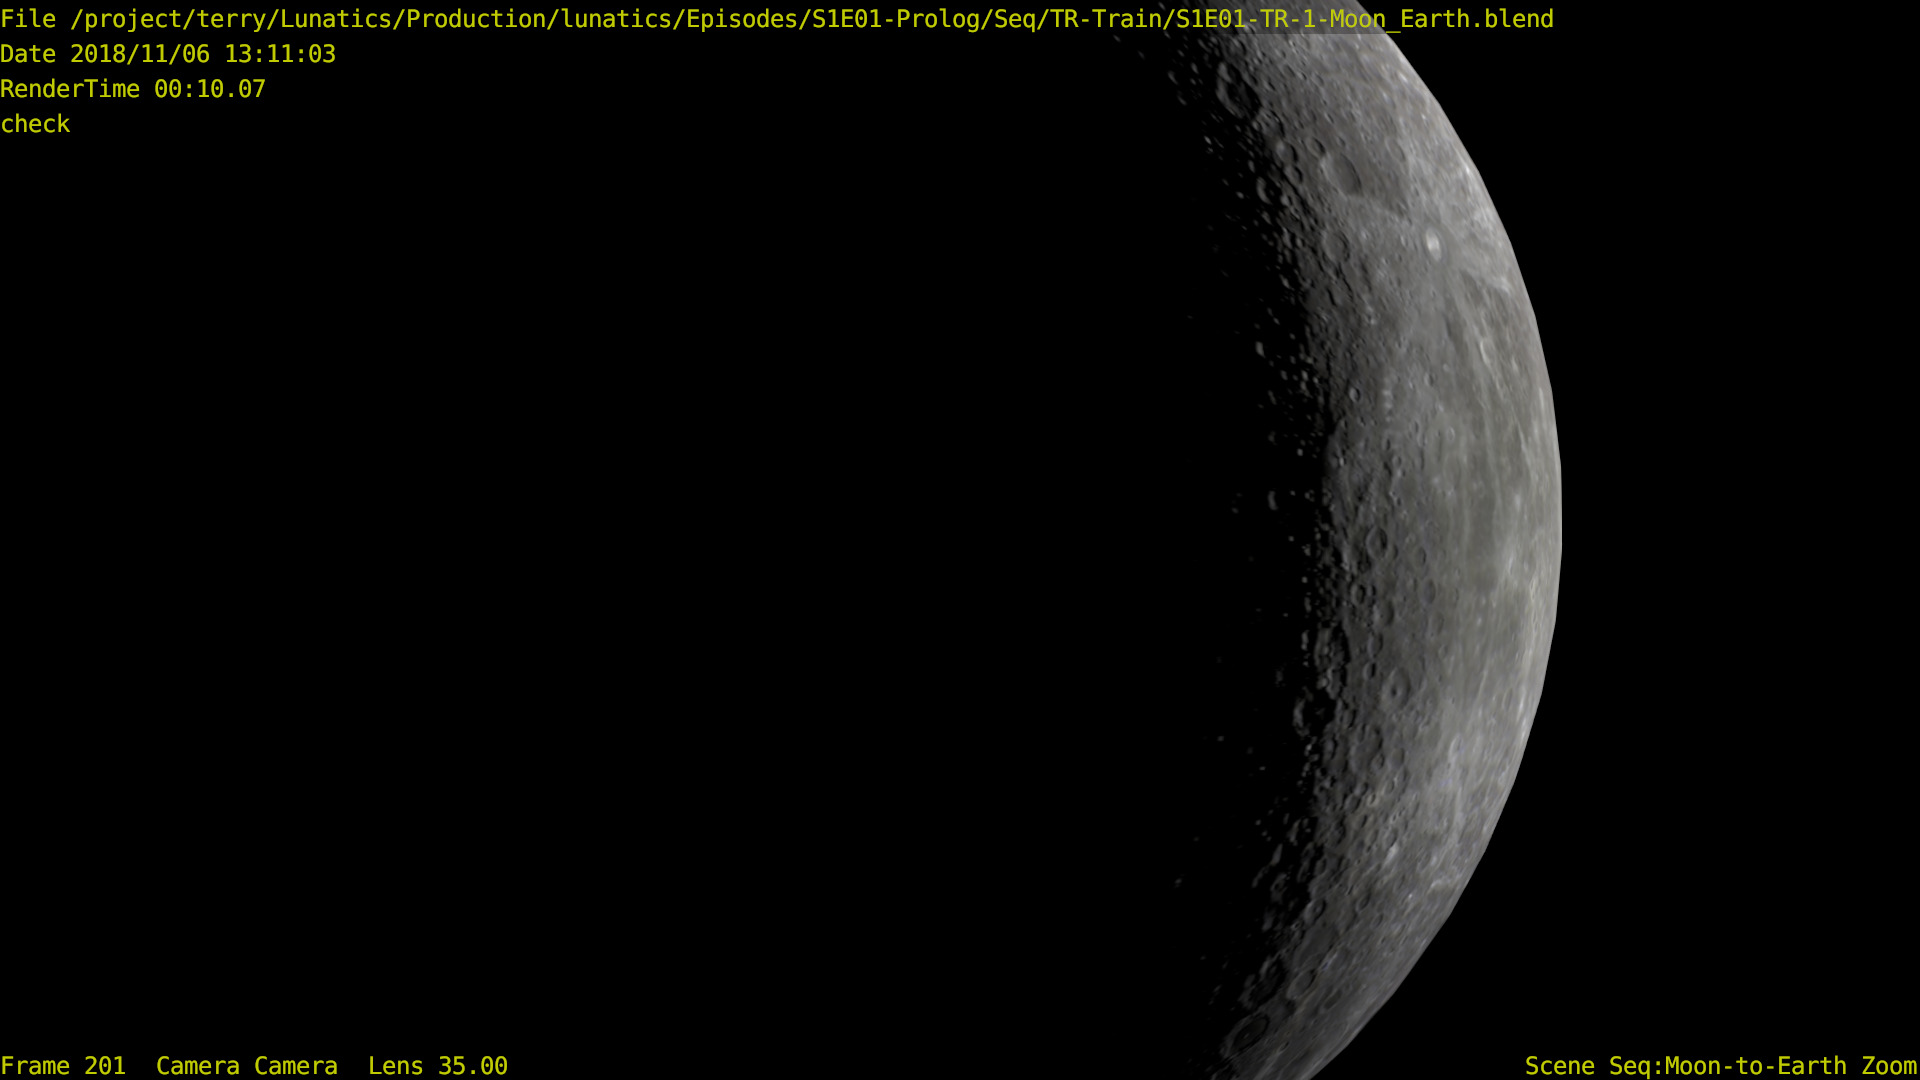
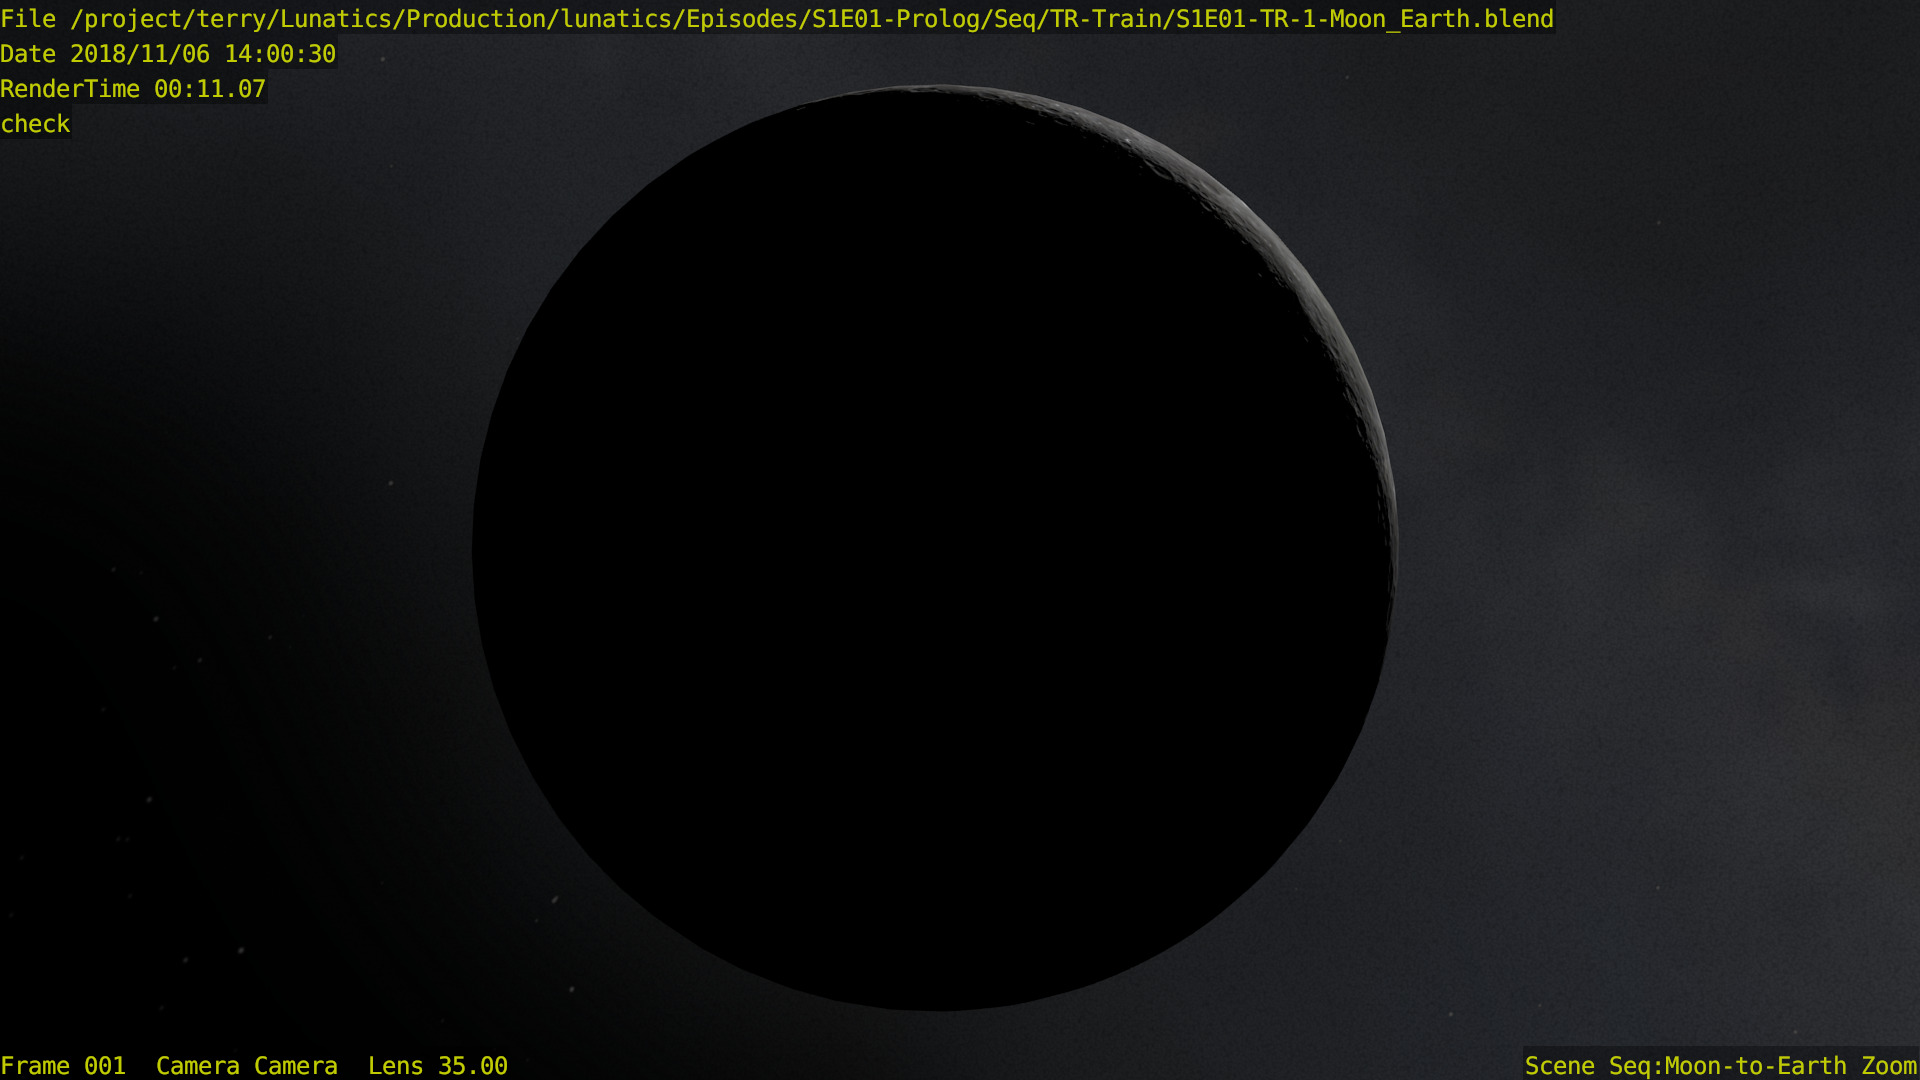
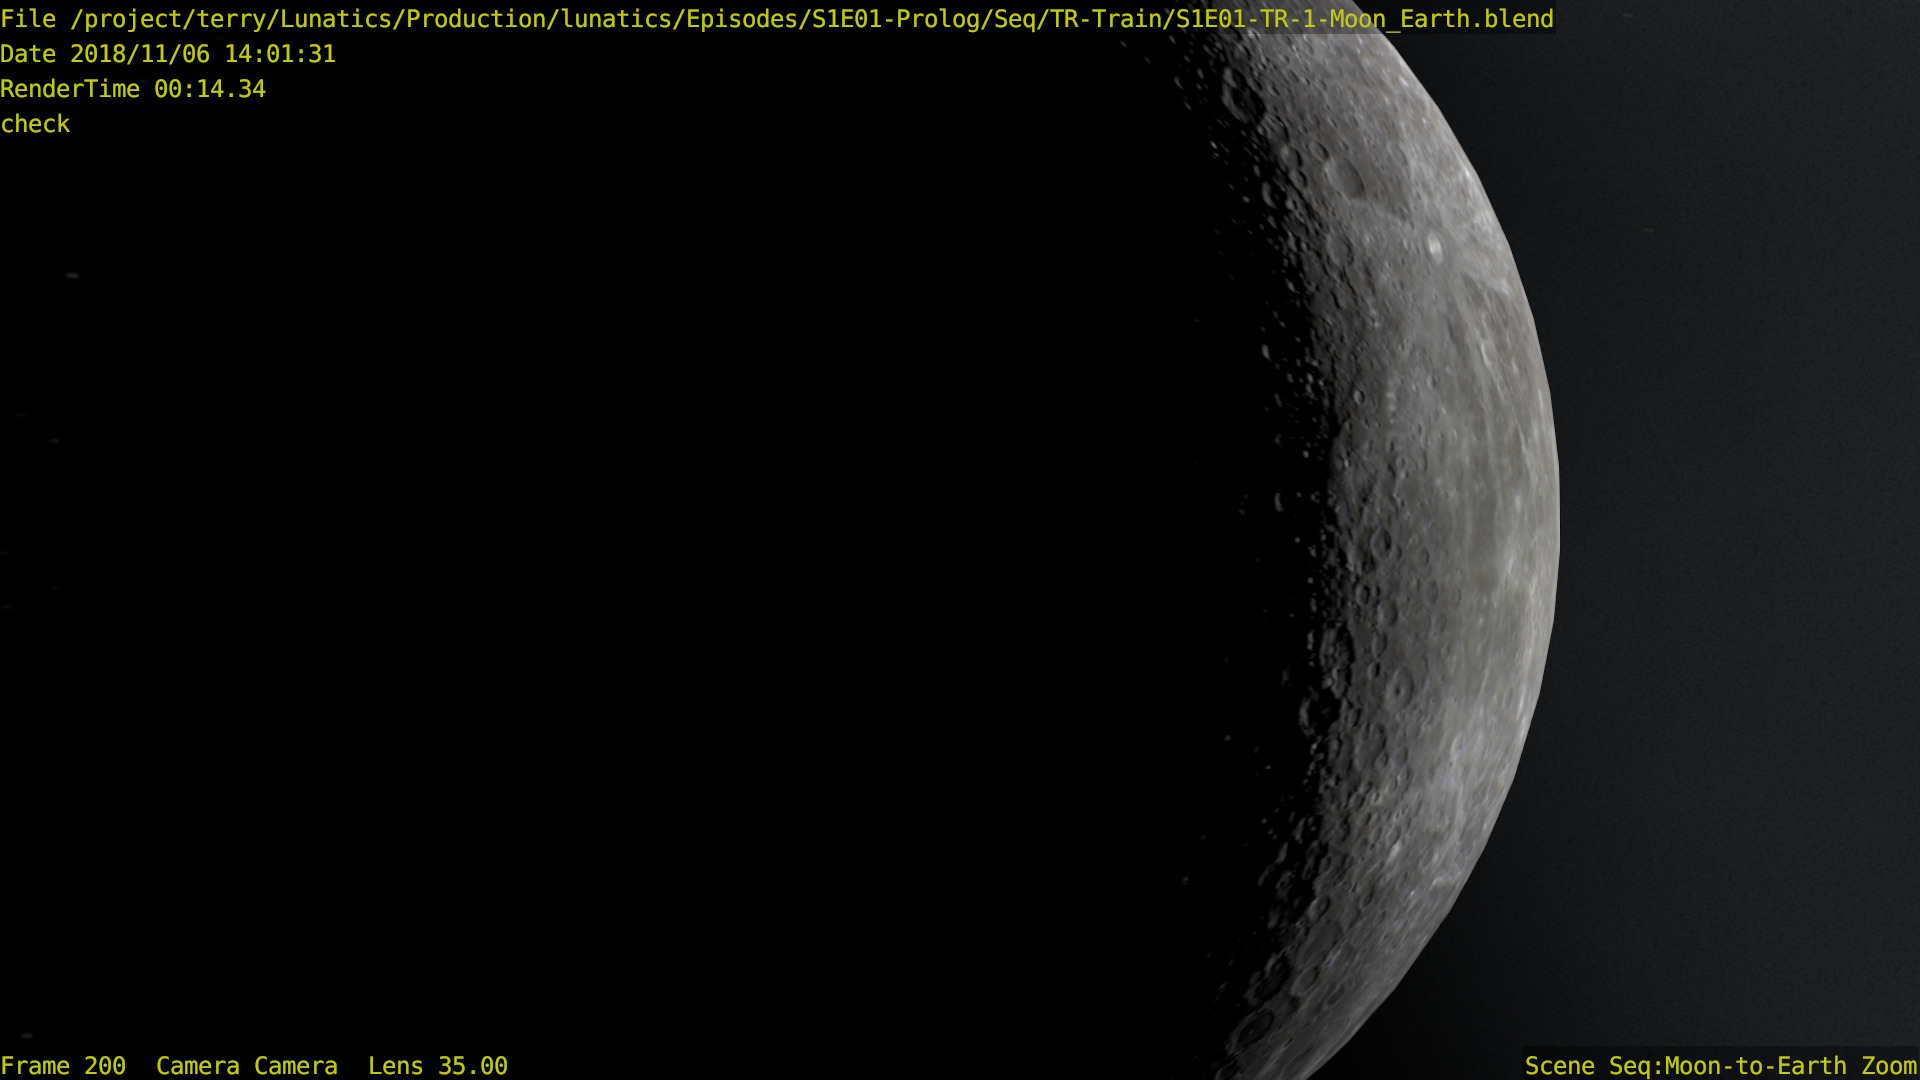
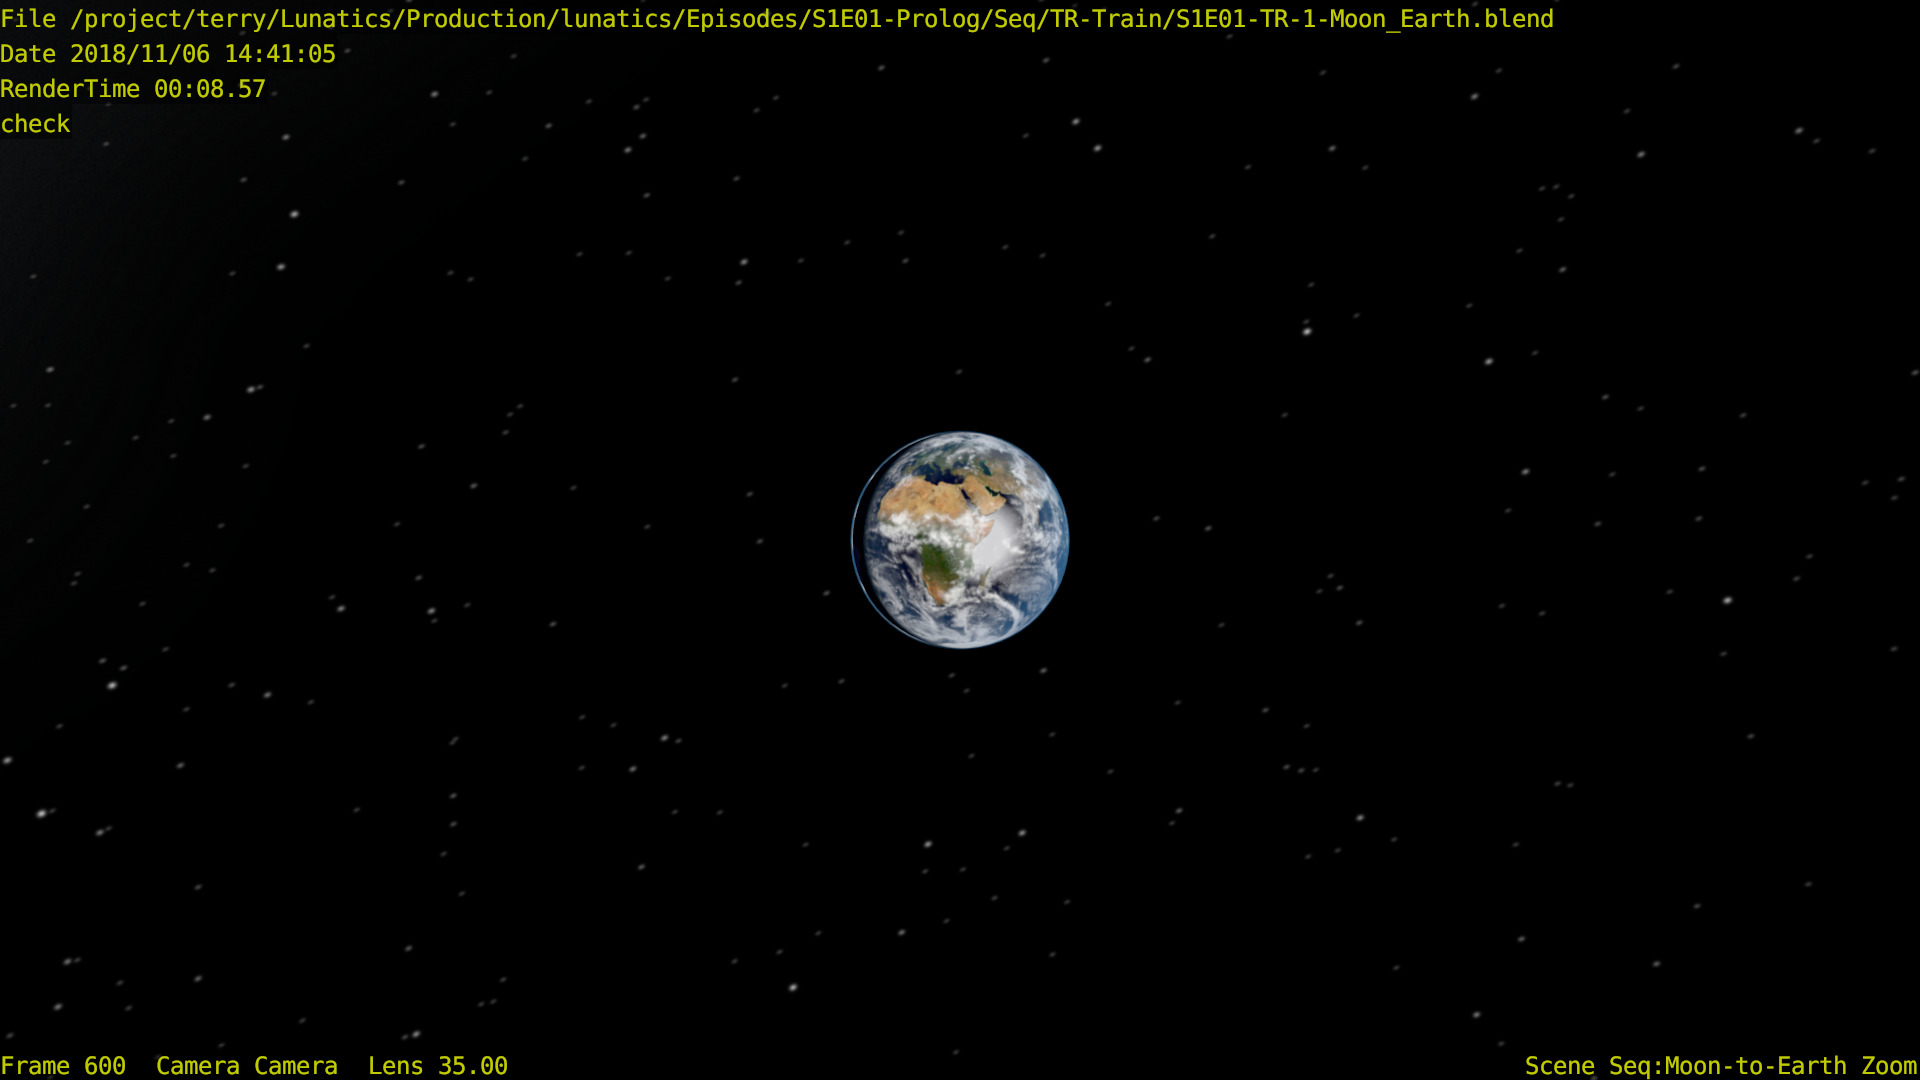
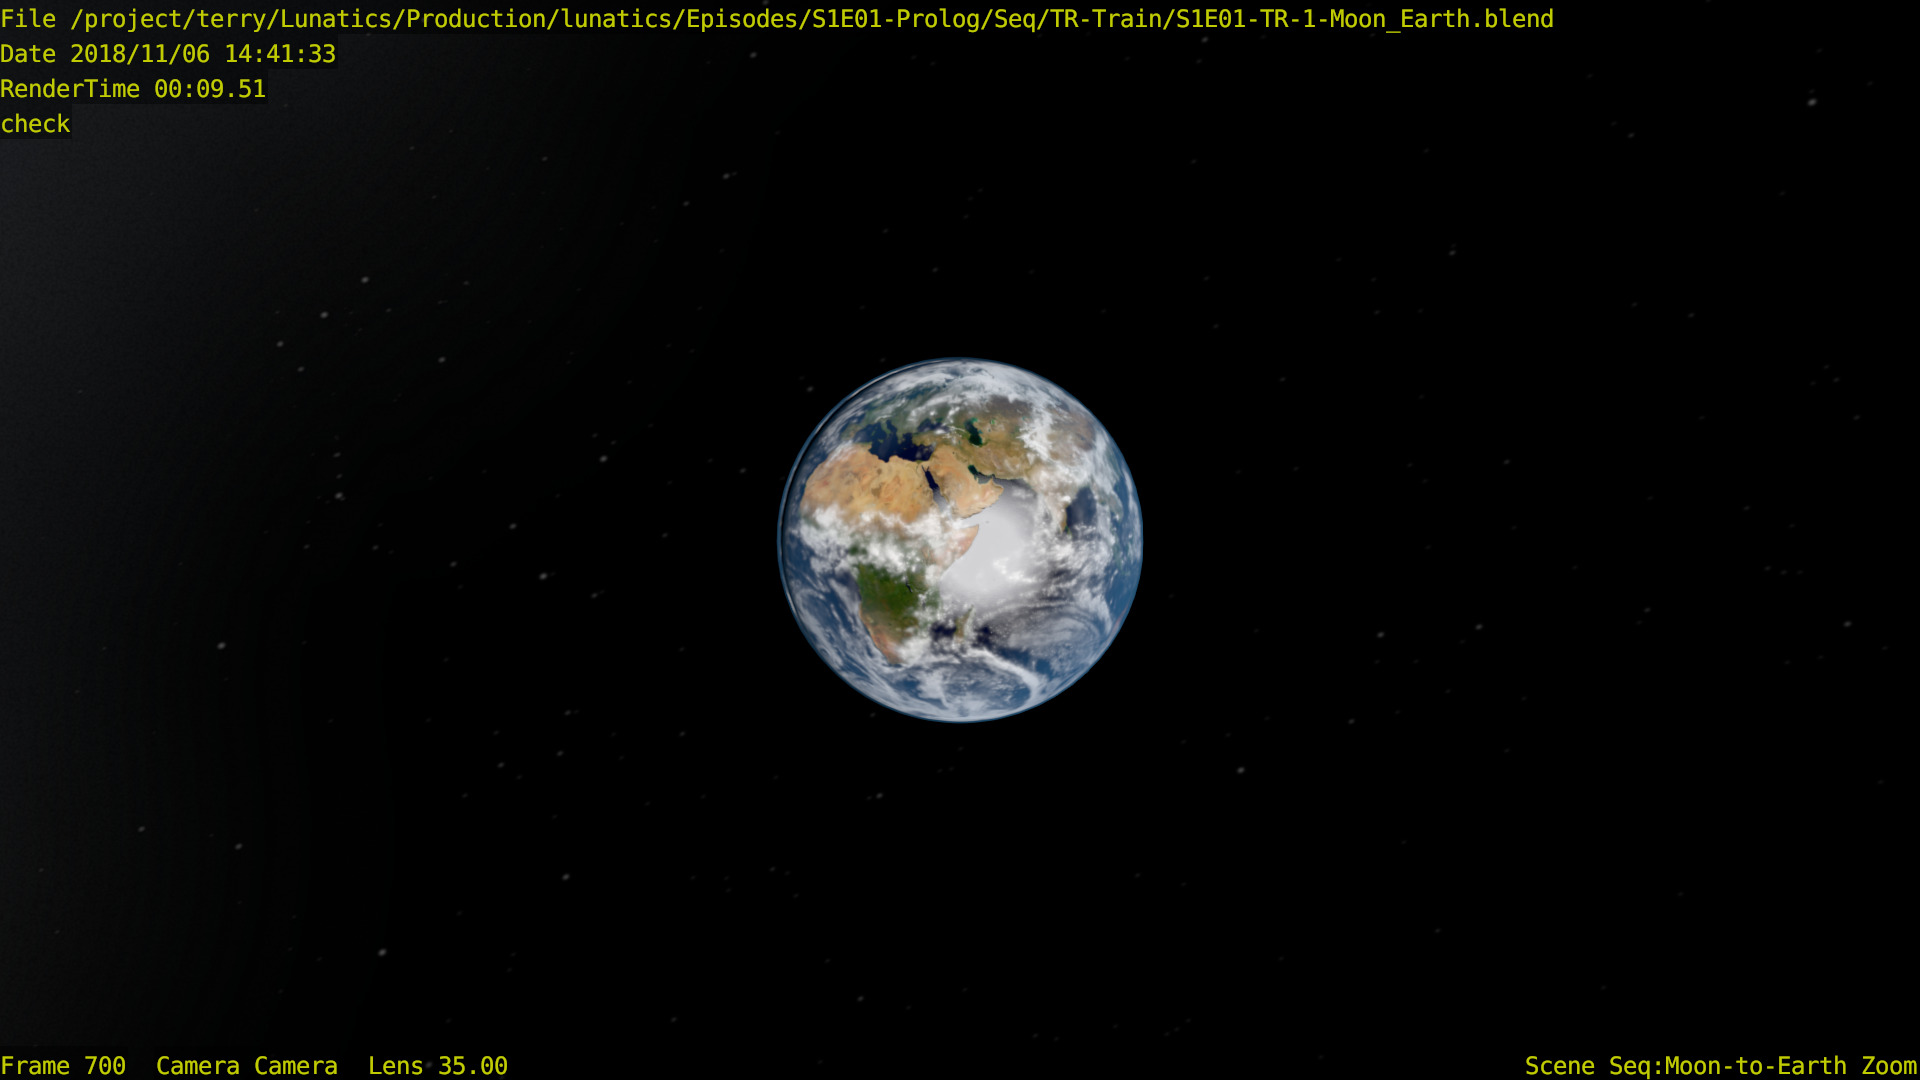
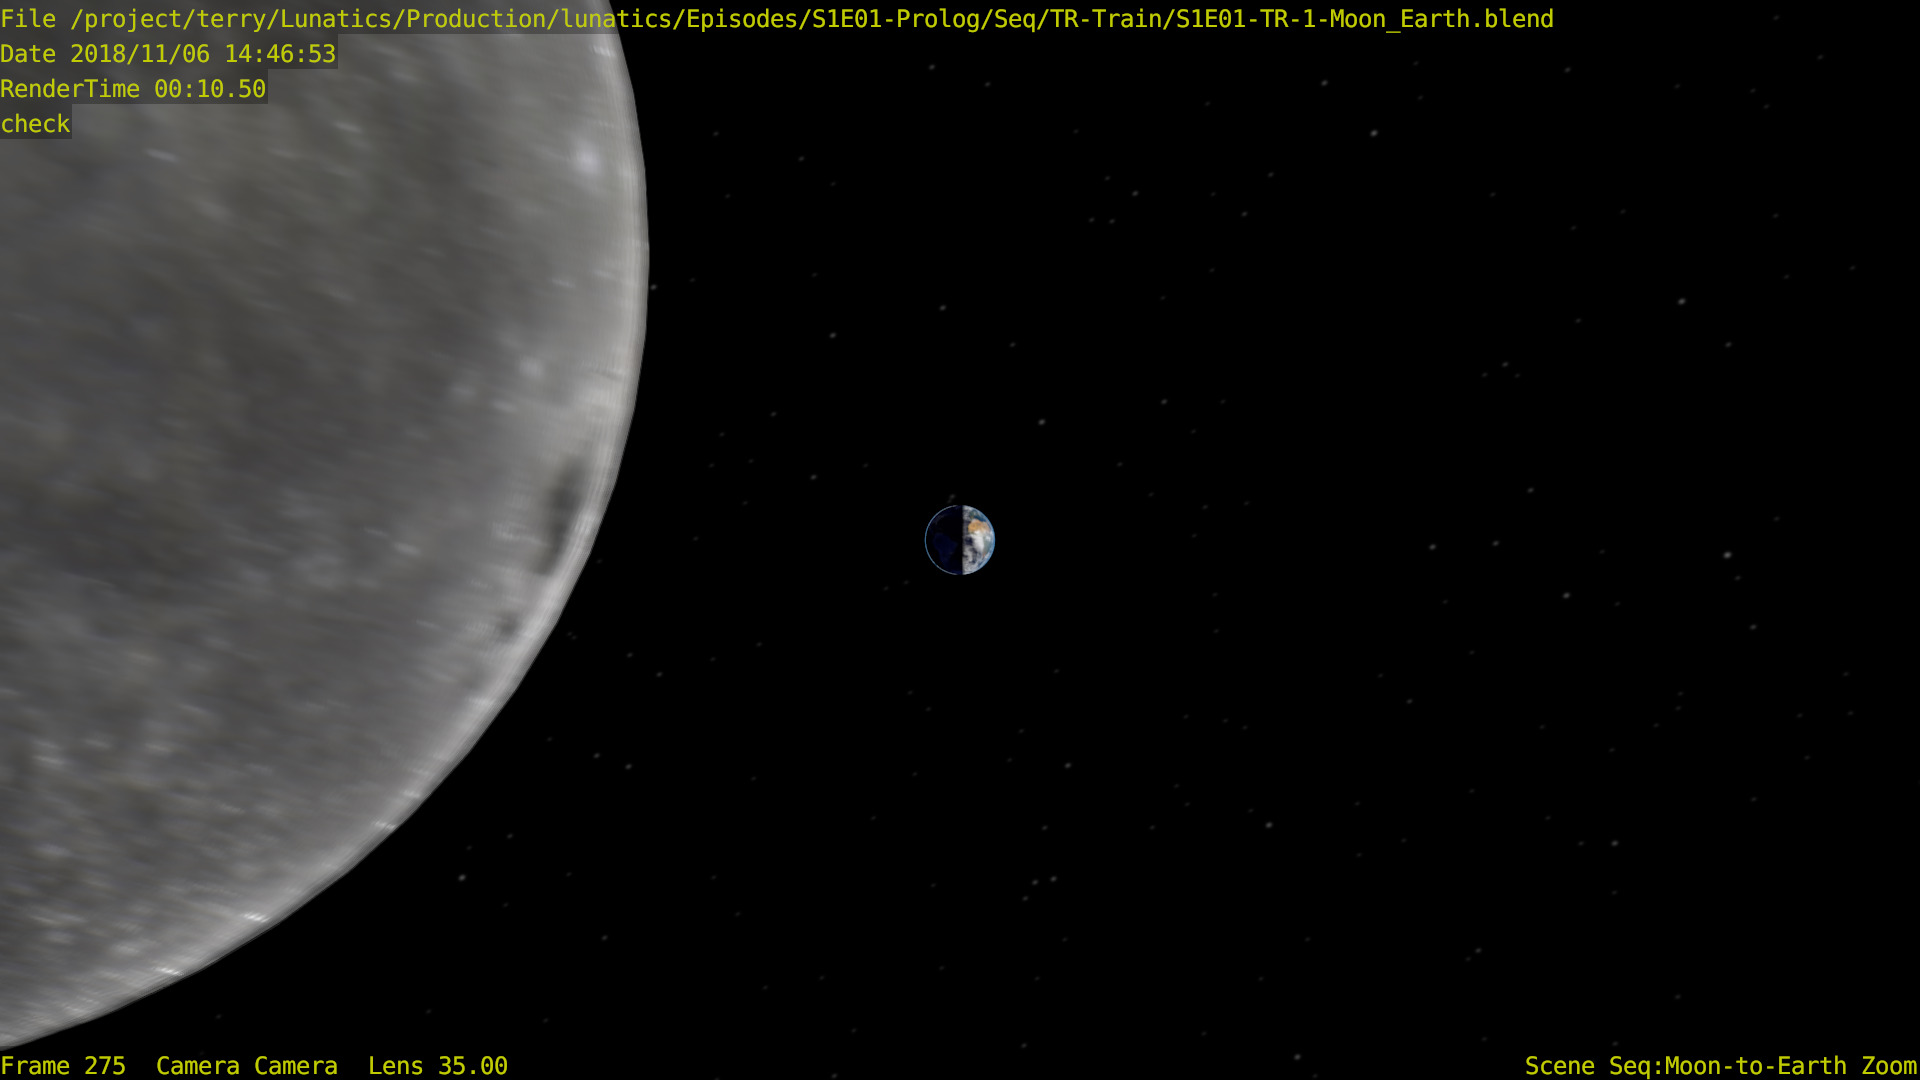
I’m doing another review of animation and animation files this week.
I was pleasantly surprised to find that the Moon-Earth shot at the beginning was still pretty much working, although I did have to update the starfield image link.
Regrettably, the first shot of Georgiana on the train is pretty badly broken. We already have a usable render of that shot, but it would have been nice for the source to still work. This seems to be a real challenge: keeping Blender files in working order as small changes accumulate in the assets.
Nov 9, 2018 at 4:01 PM
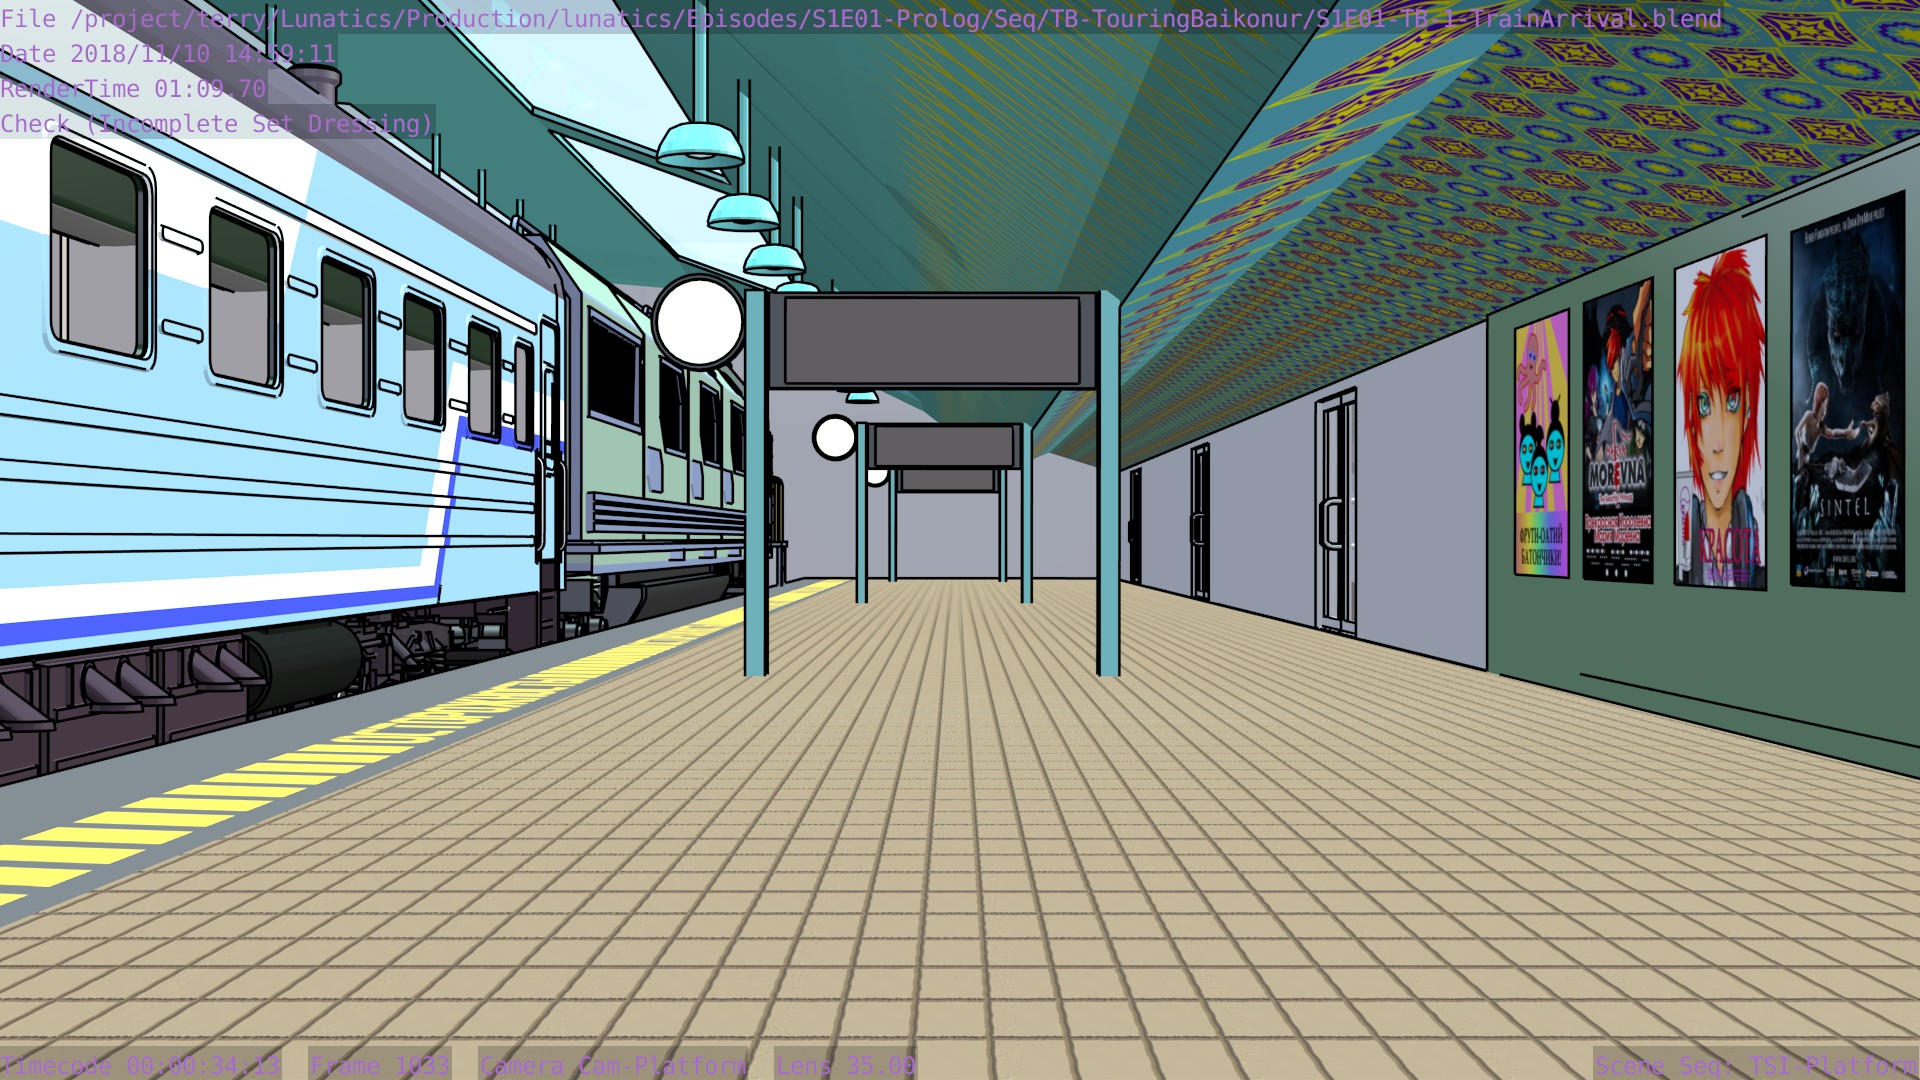
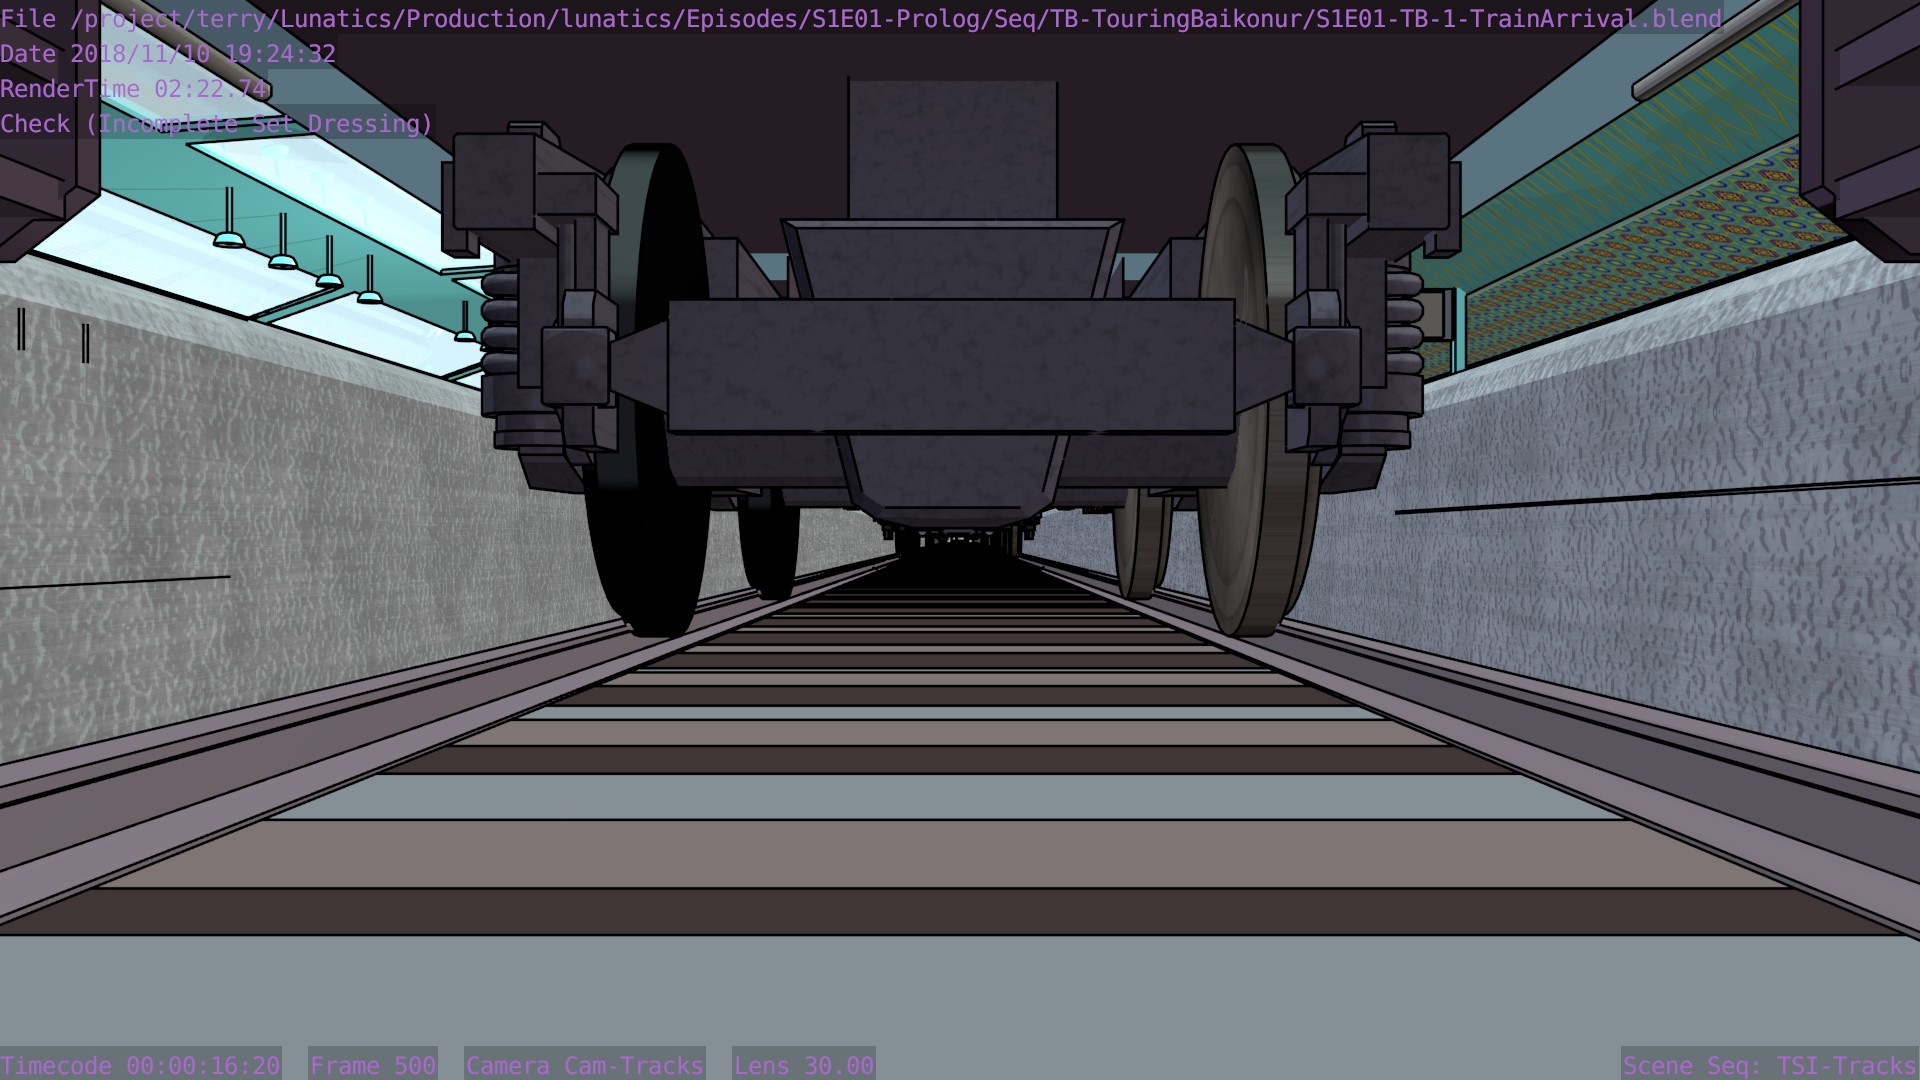
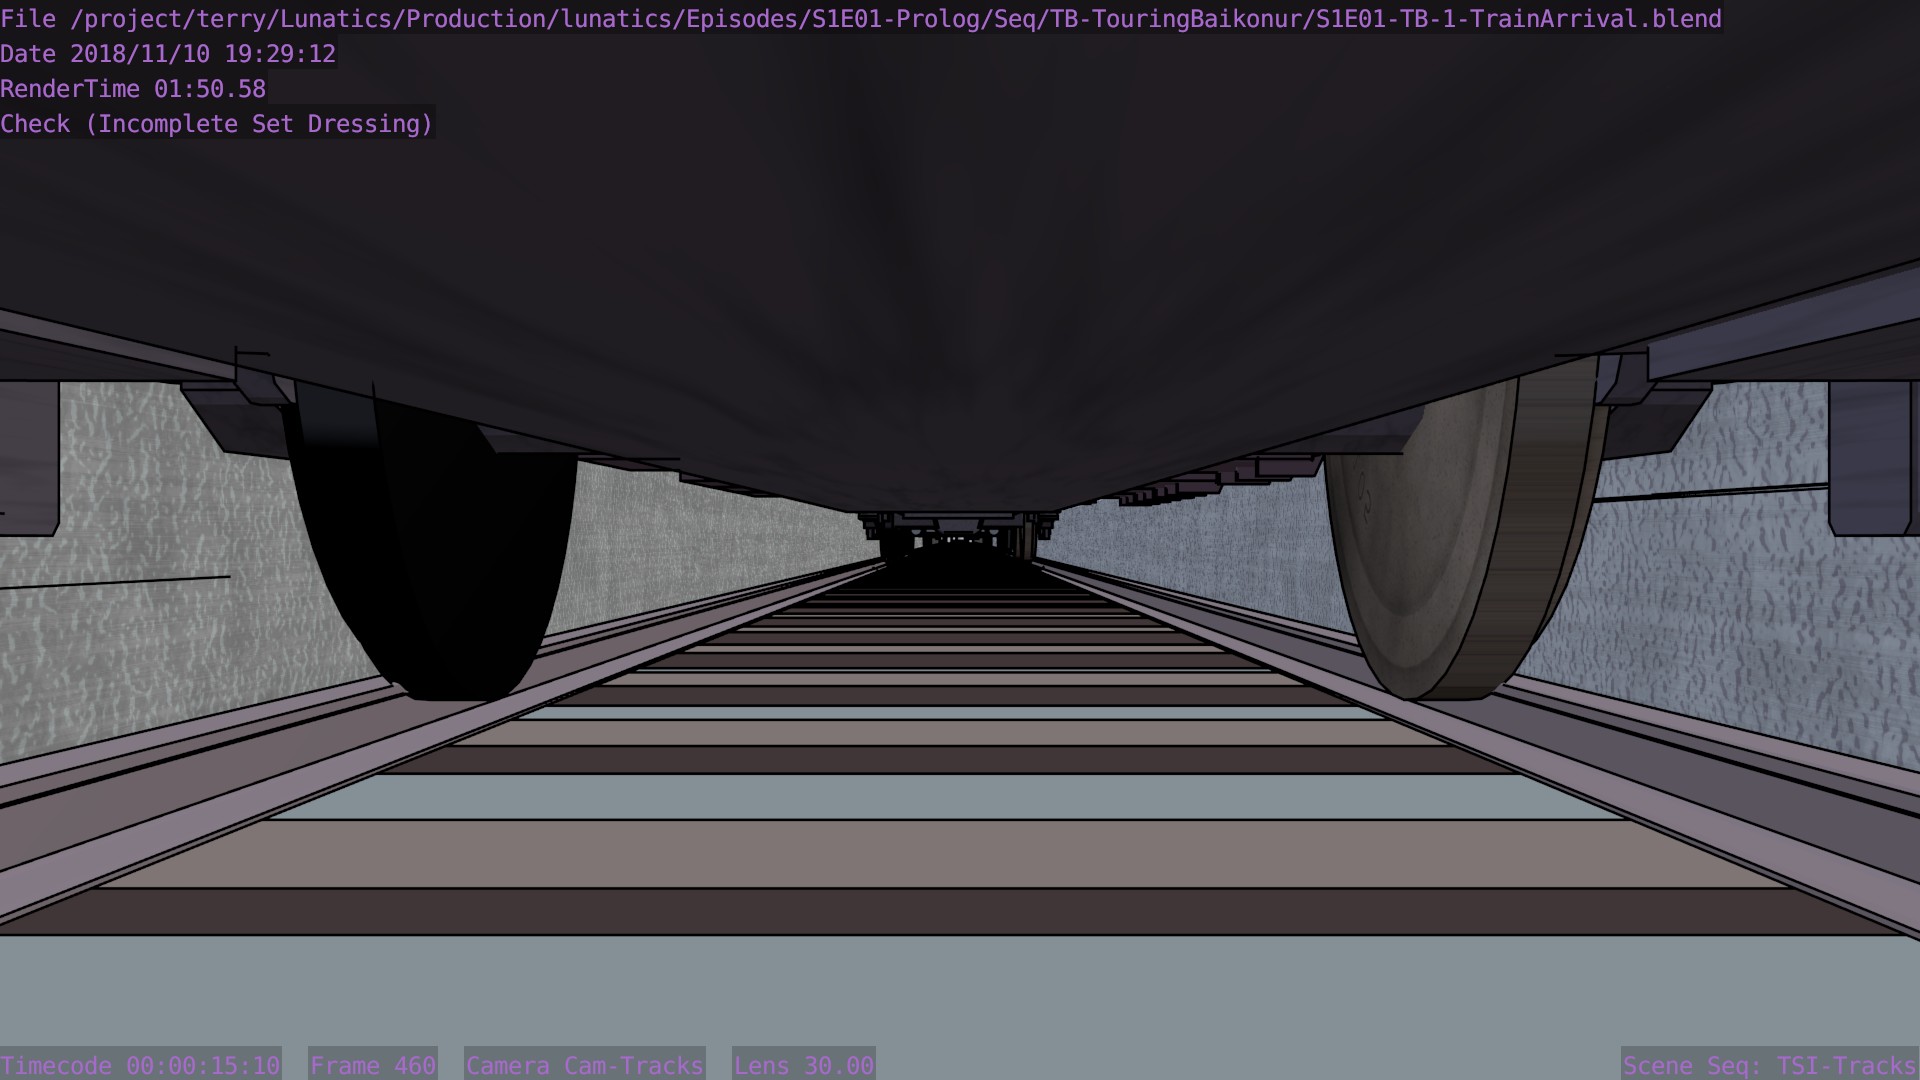
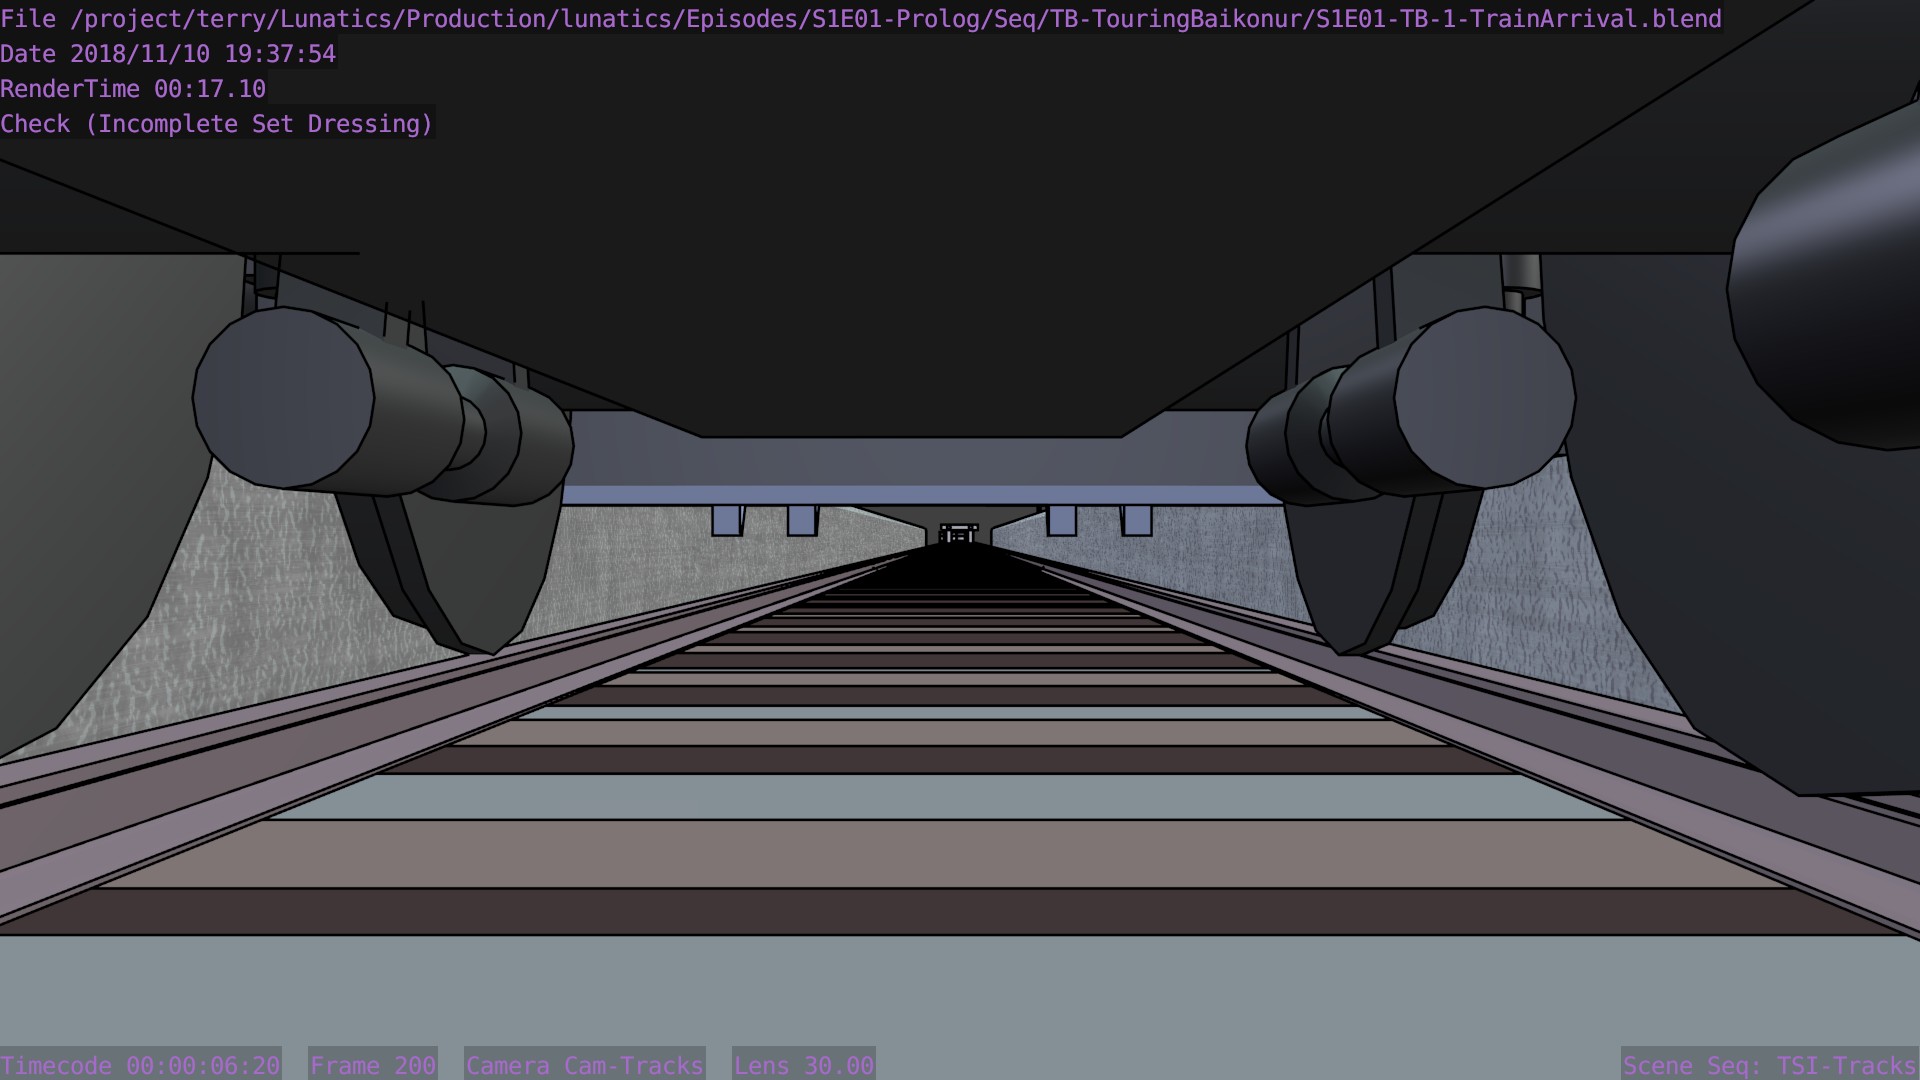
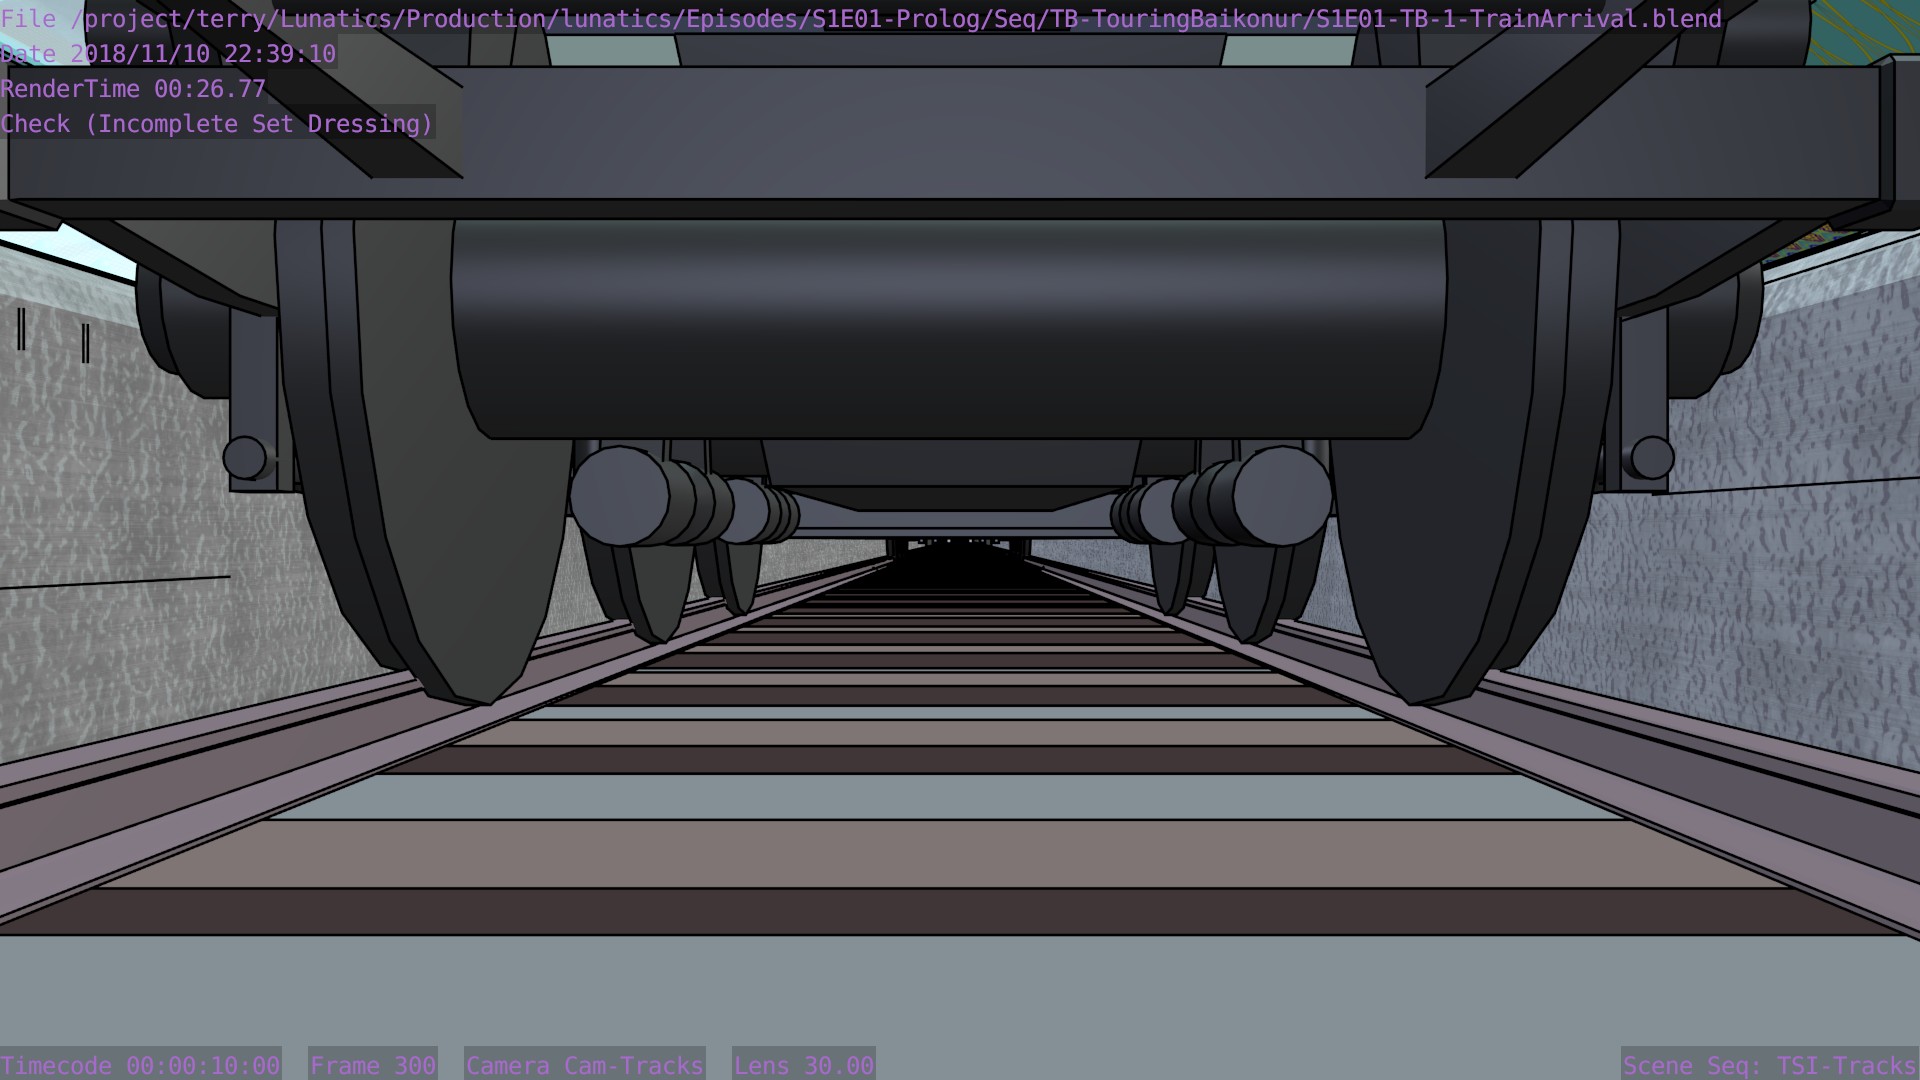
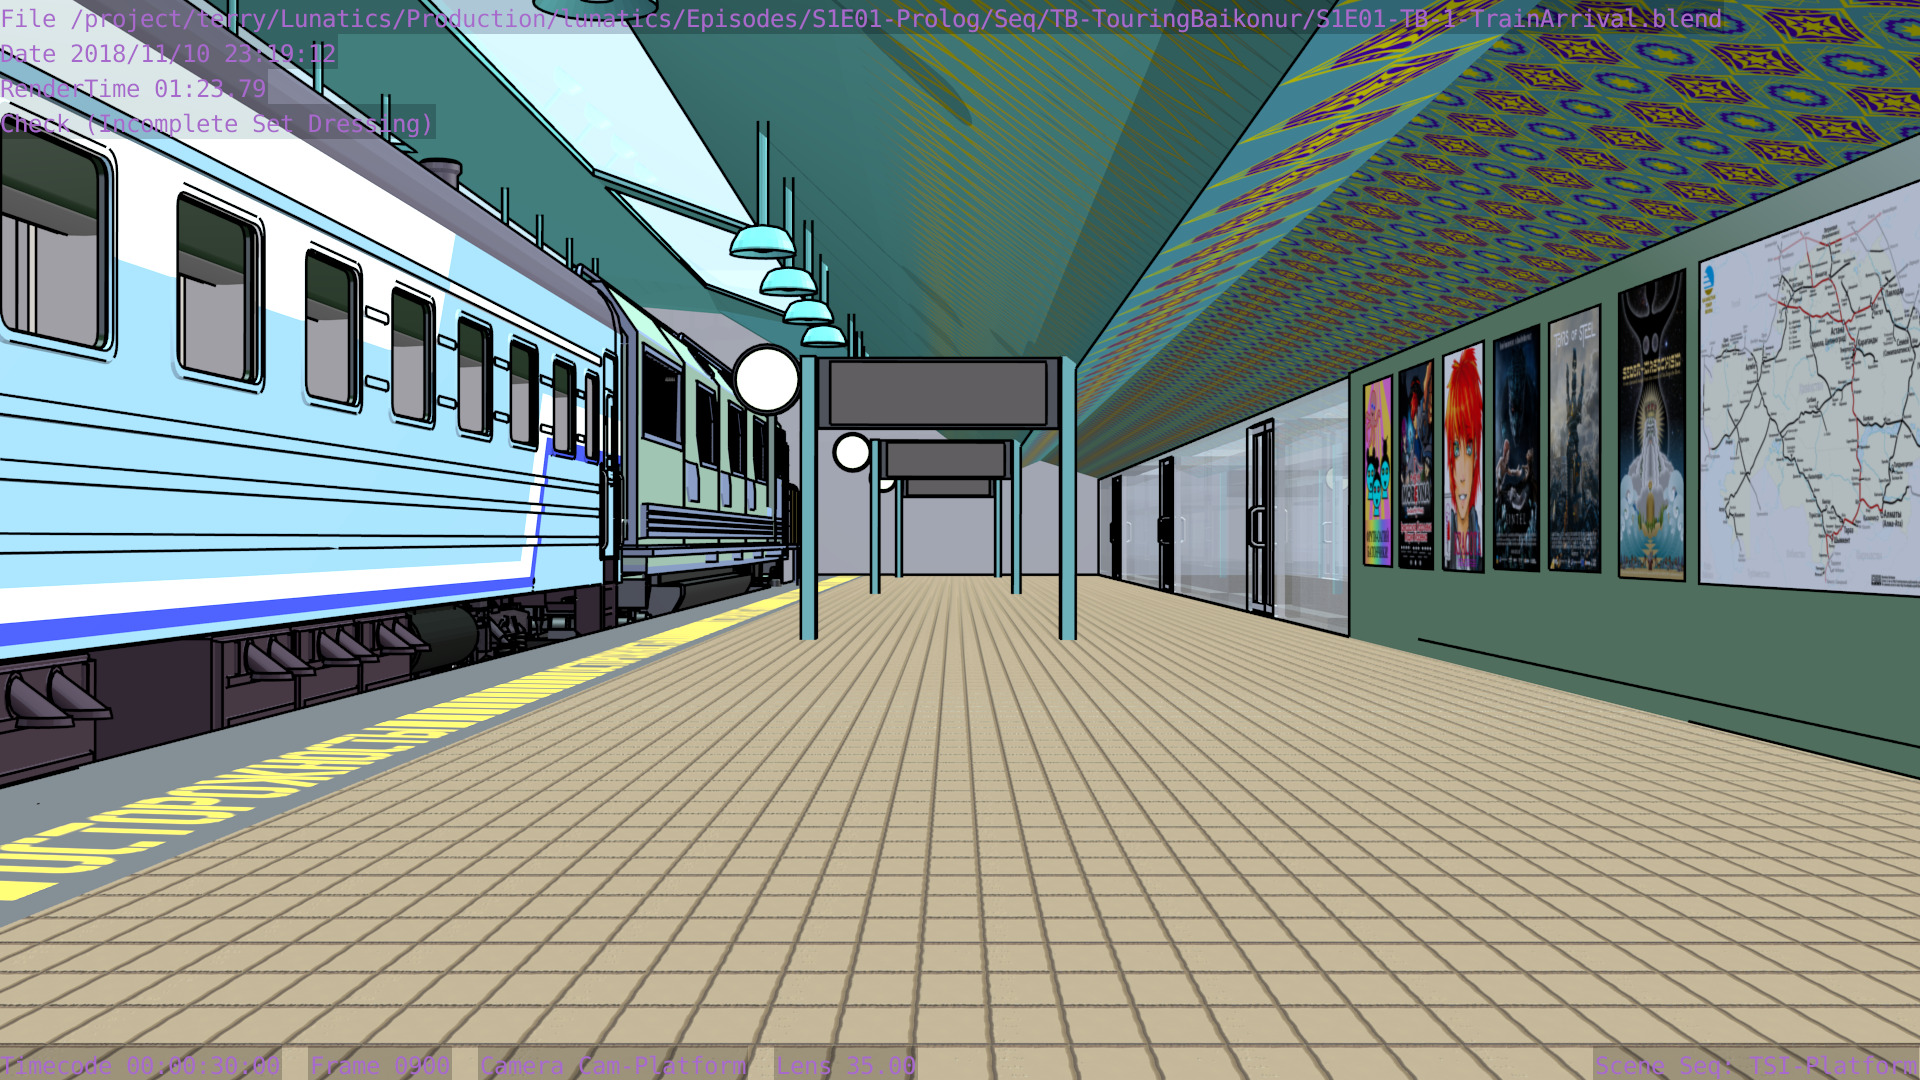
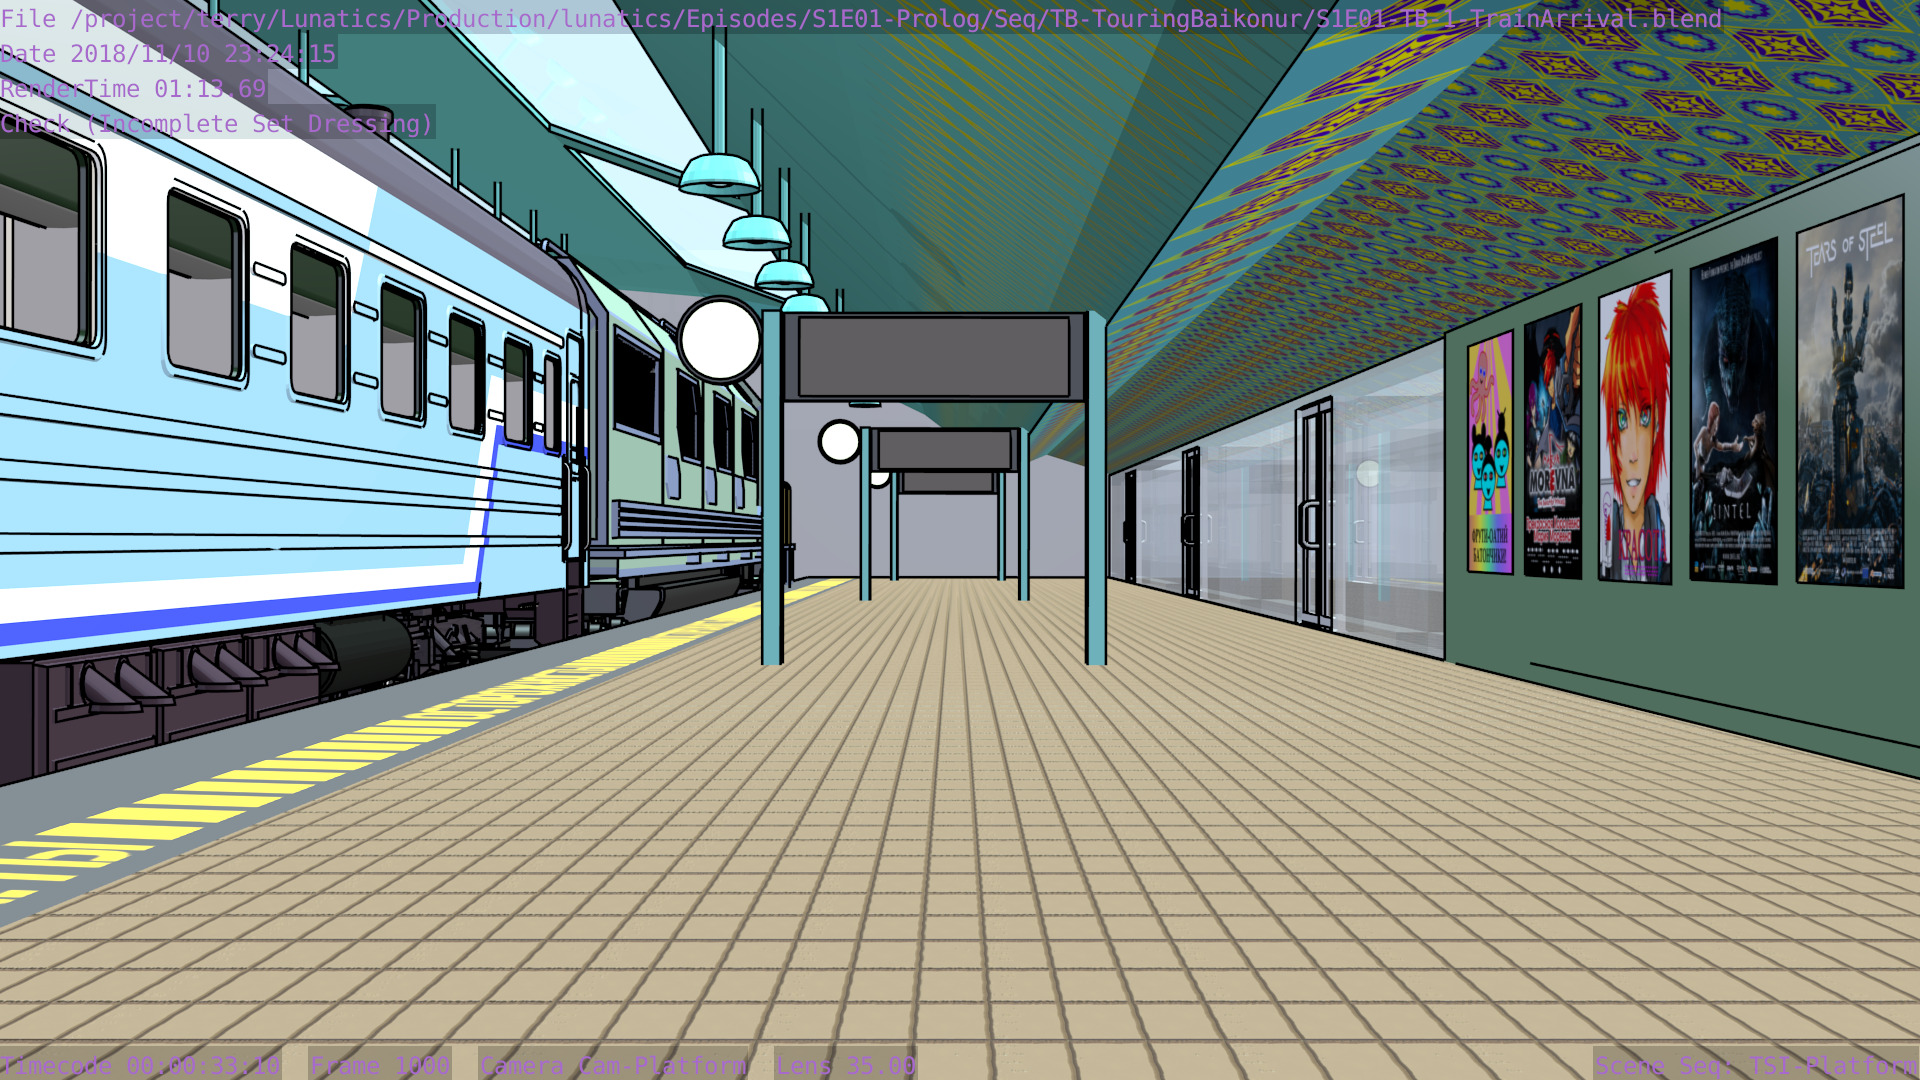
Test Render – Railroad Locomotive
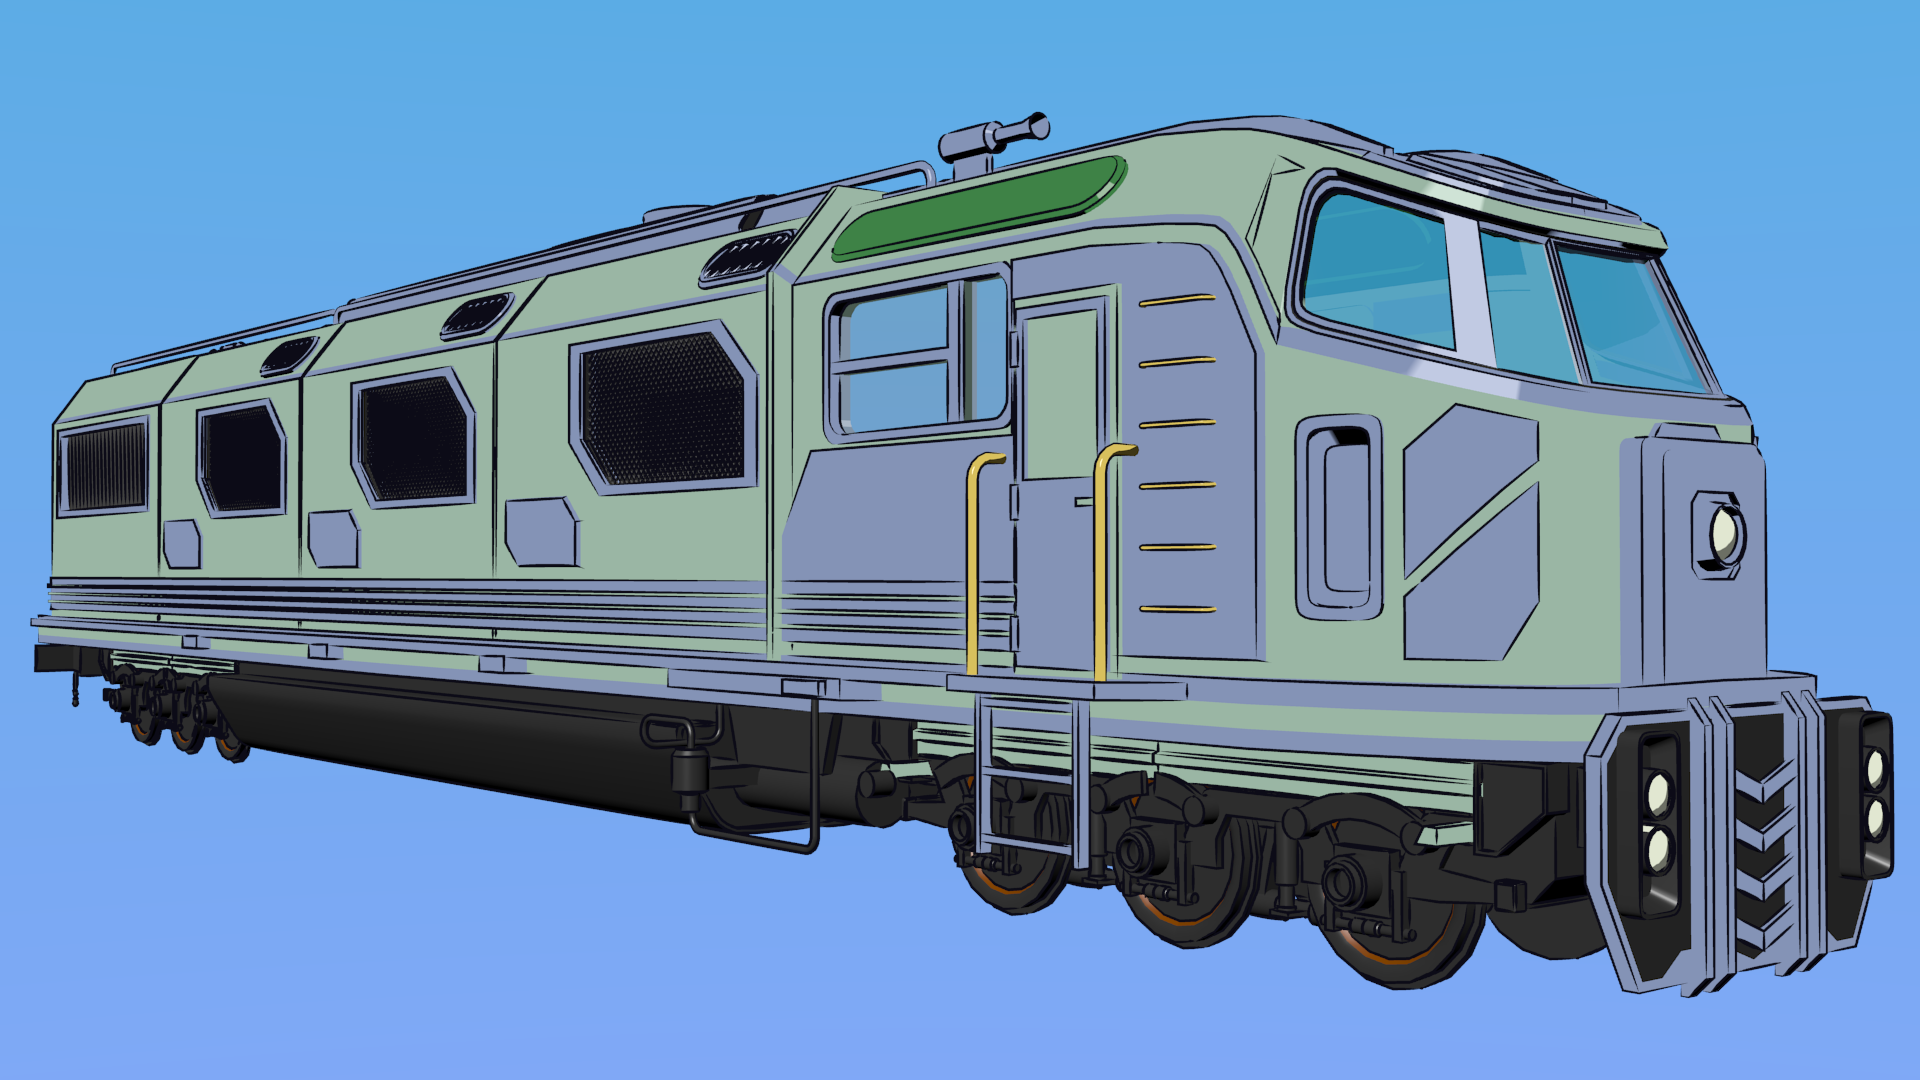
Revised toon materials and Freestyle ink lines. In train arrival shot.
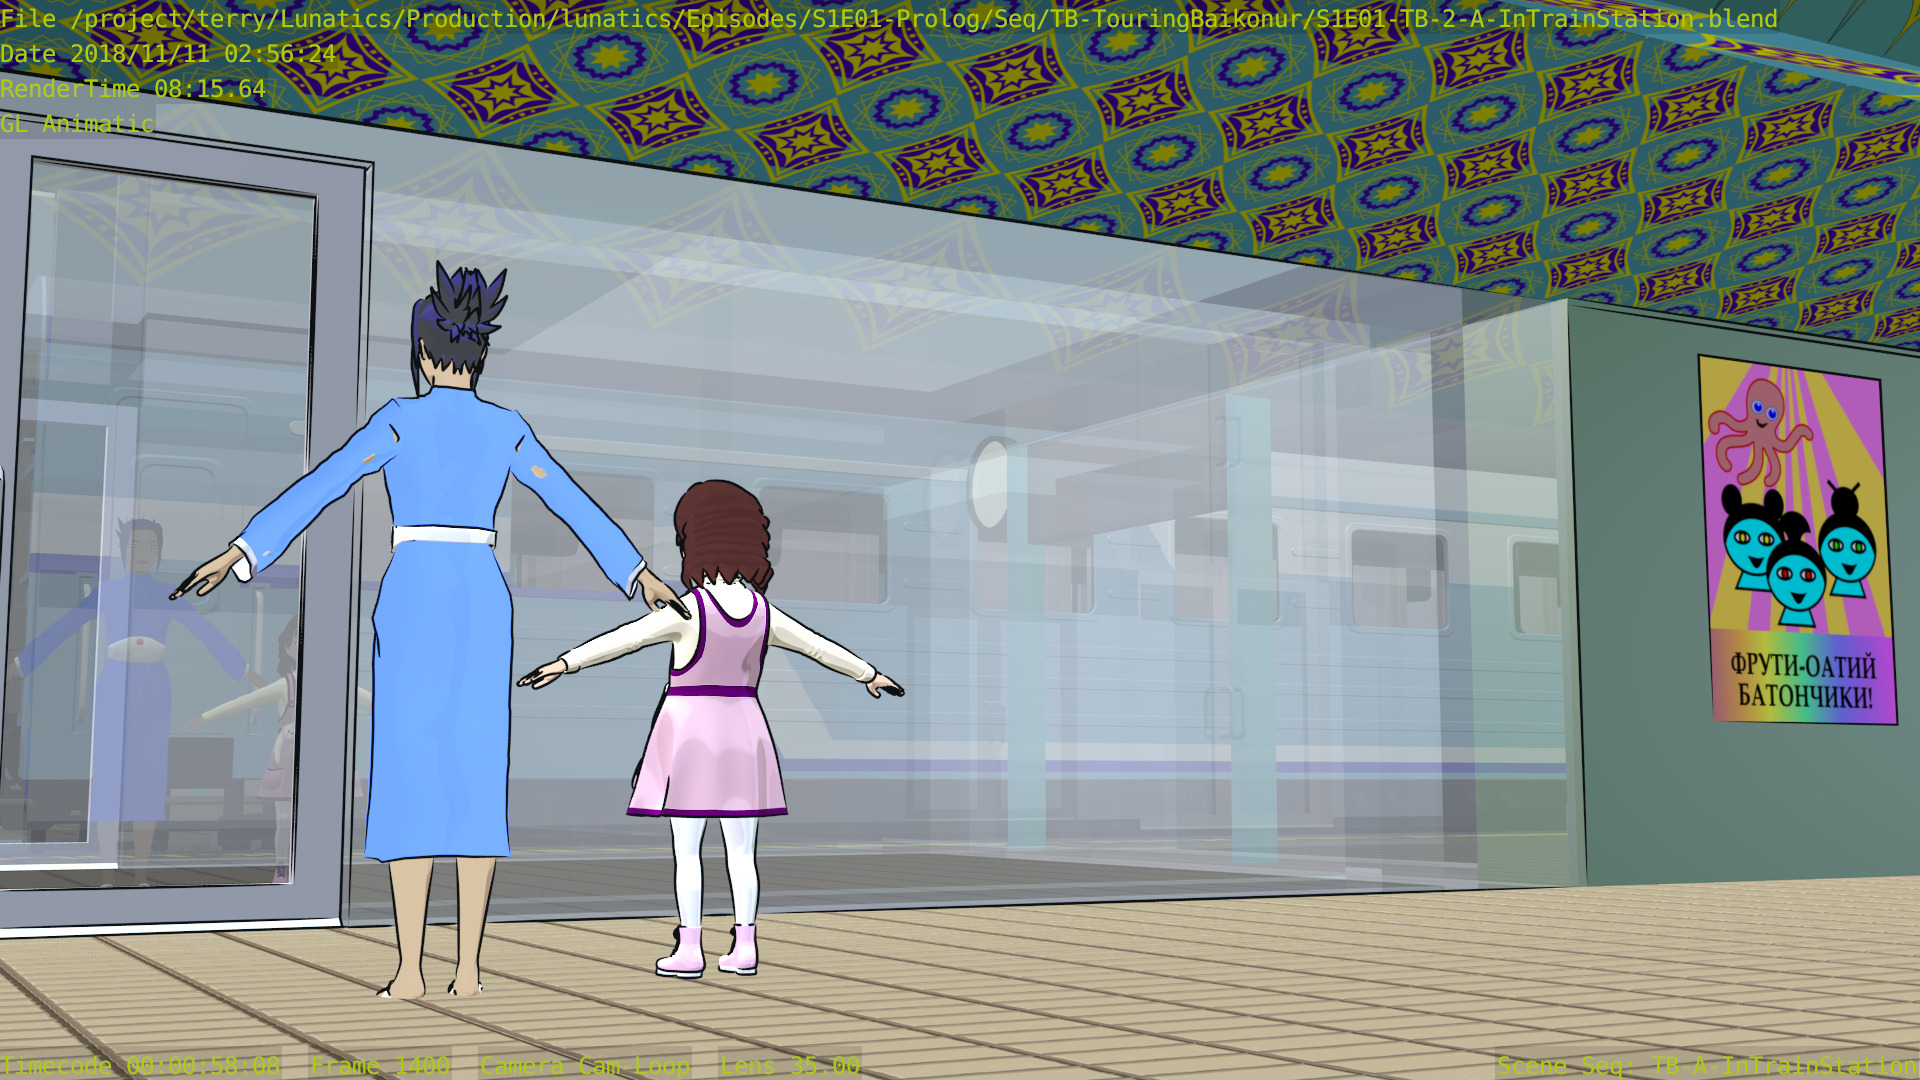
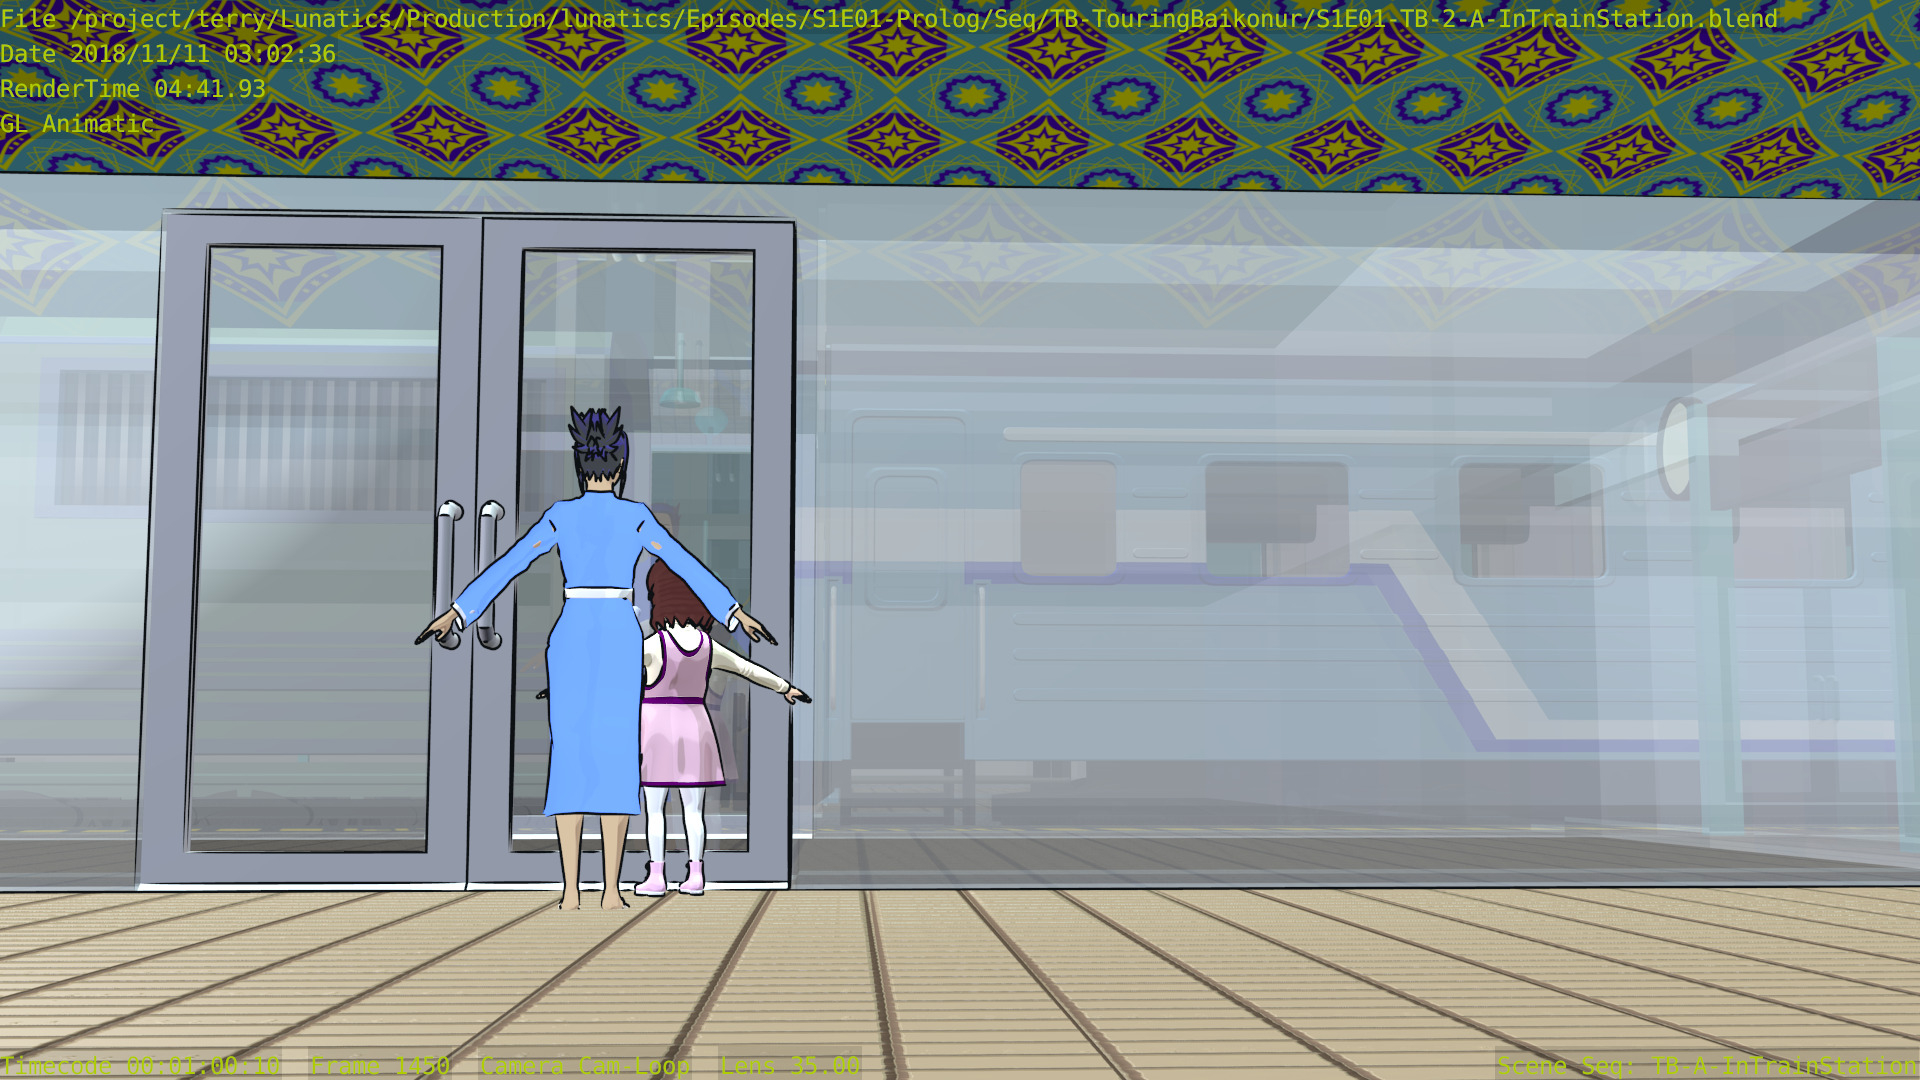
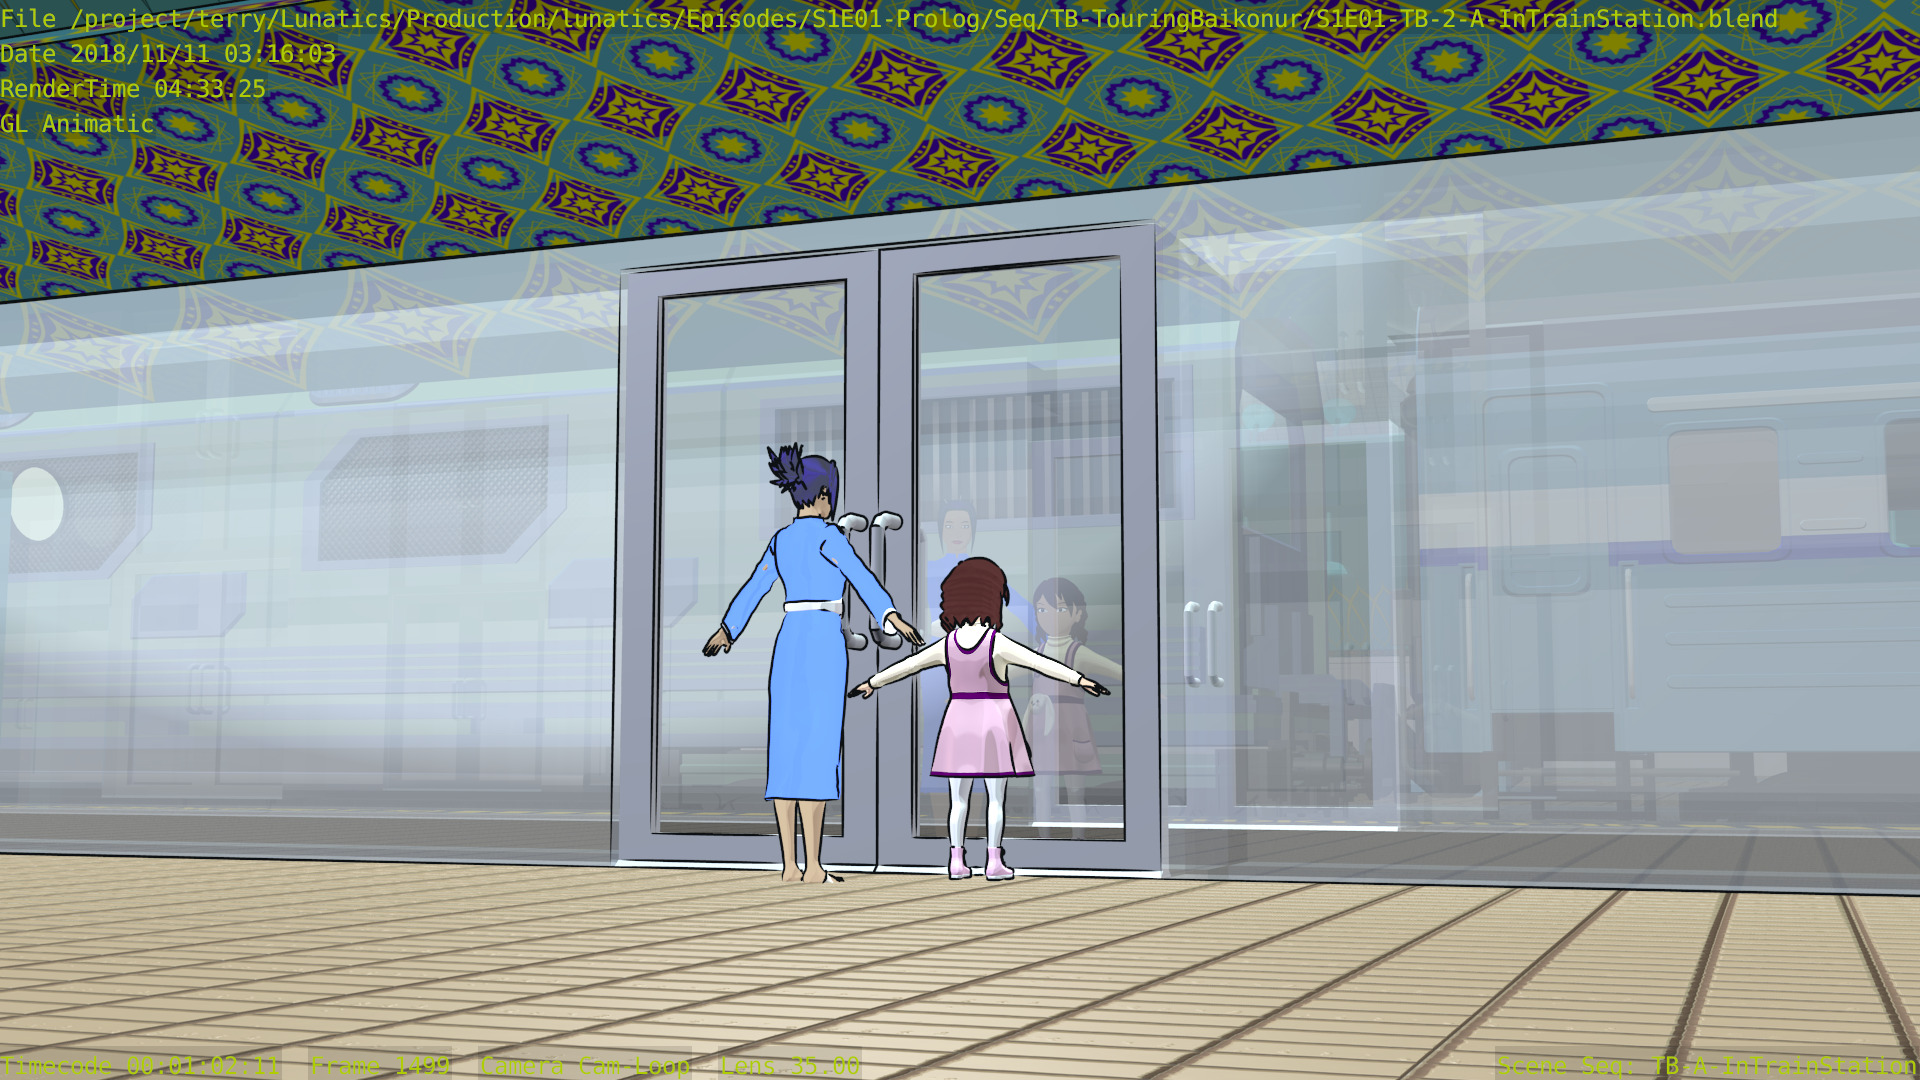
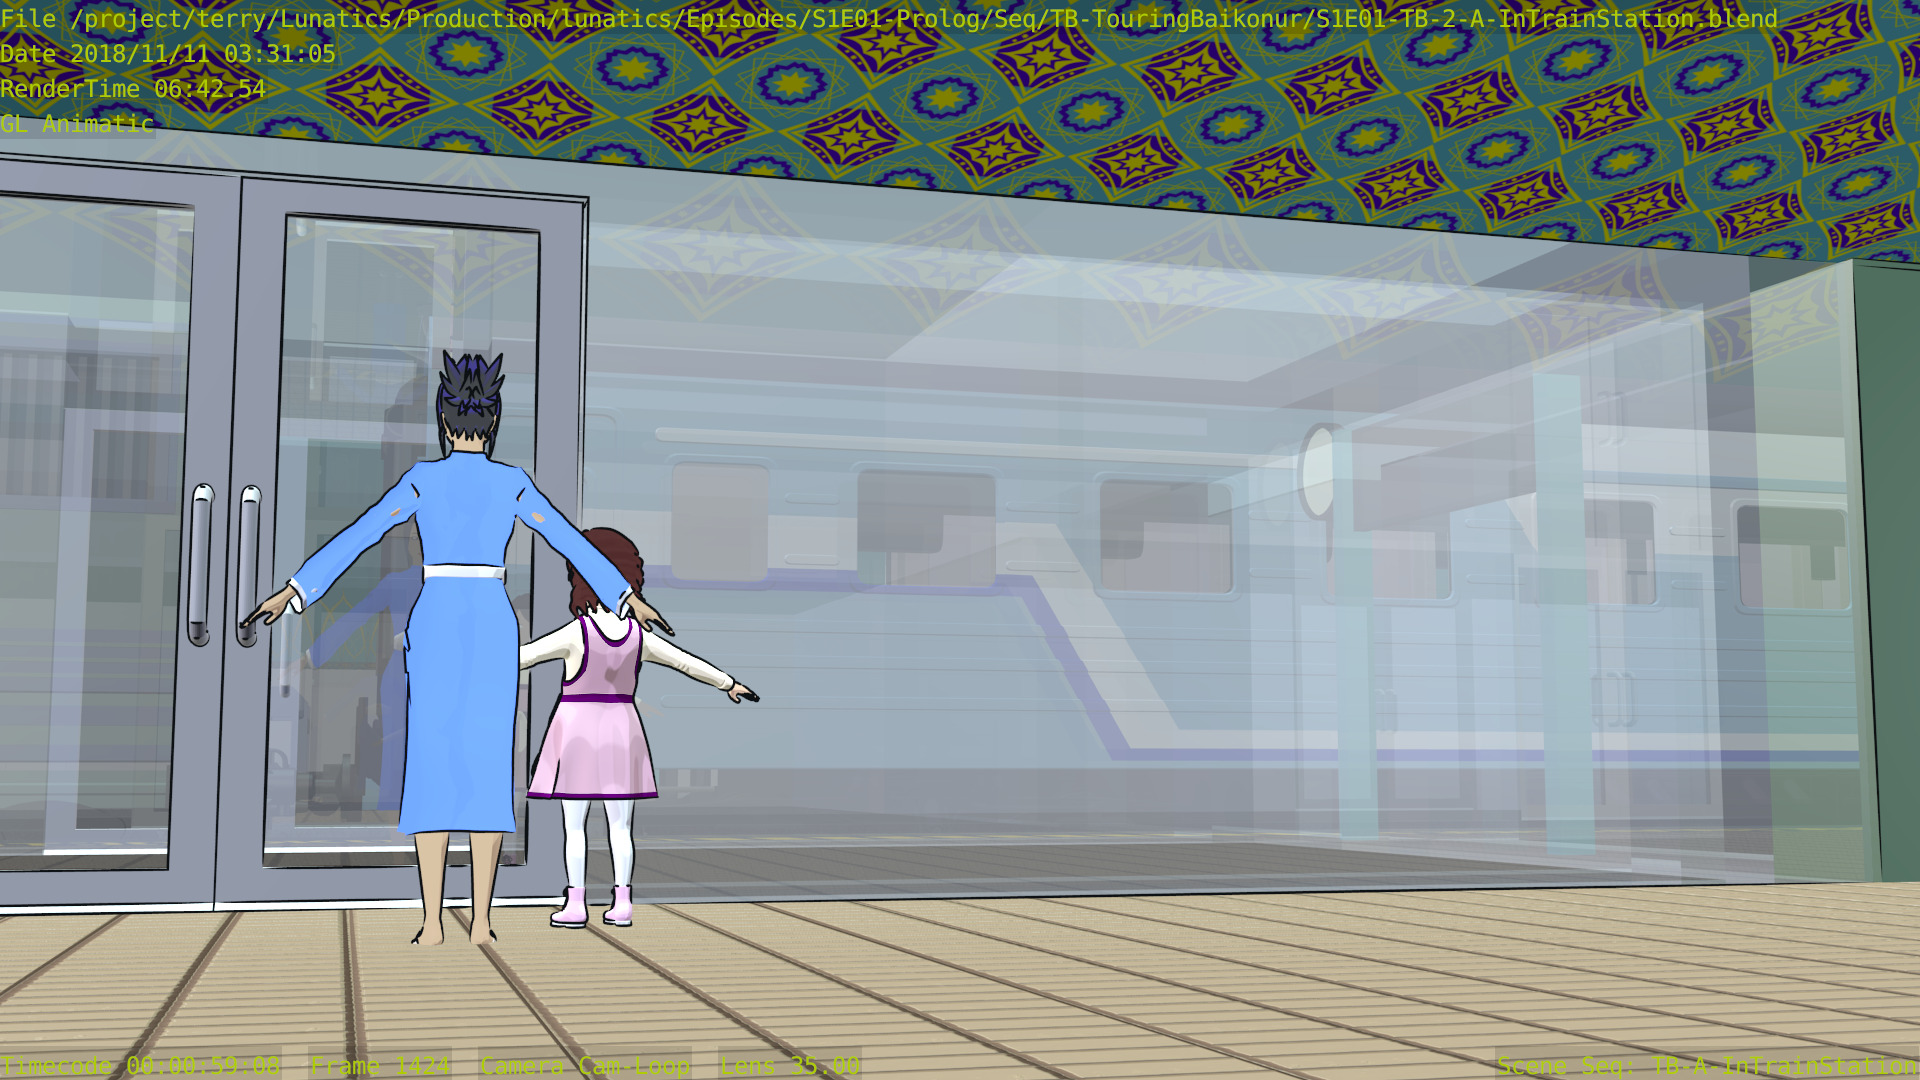
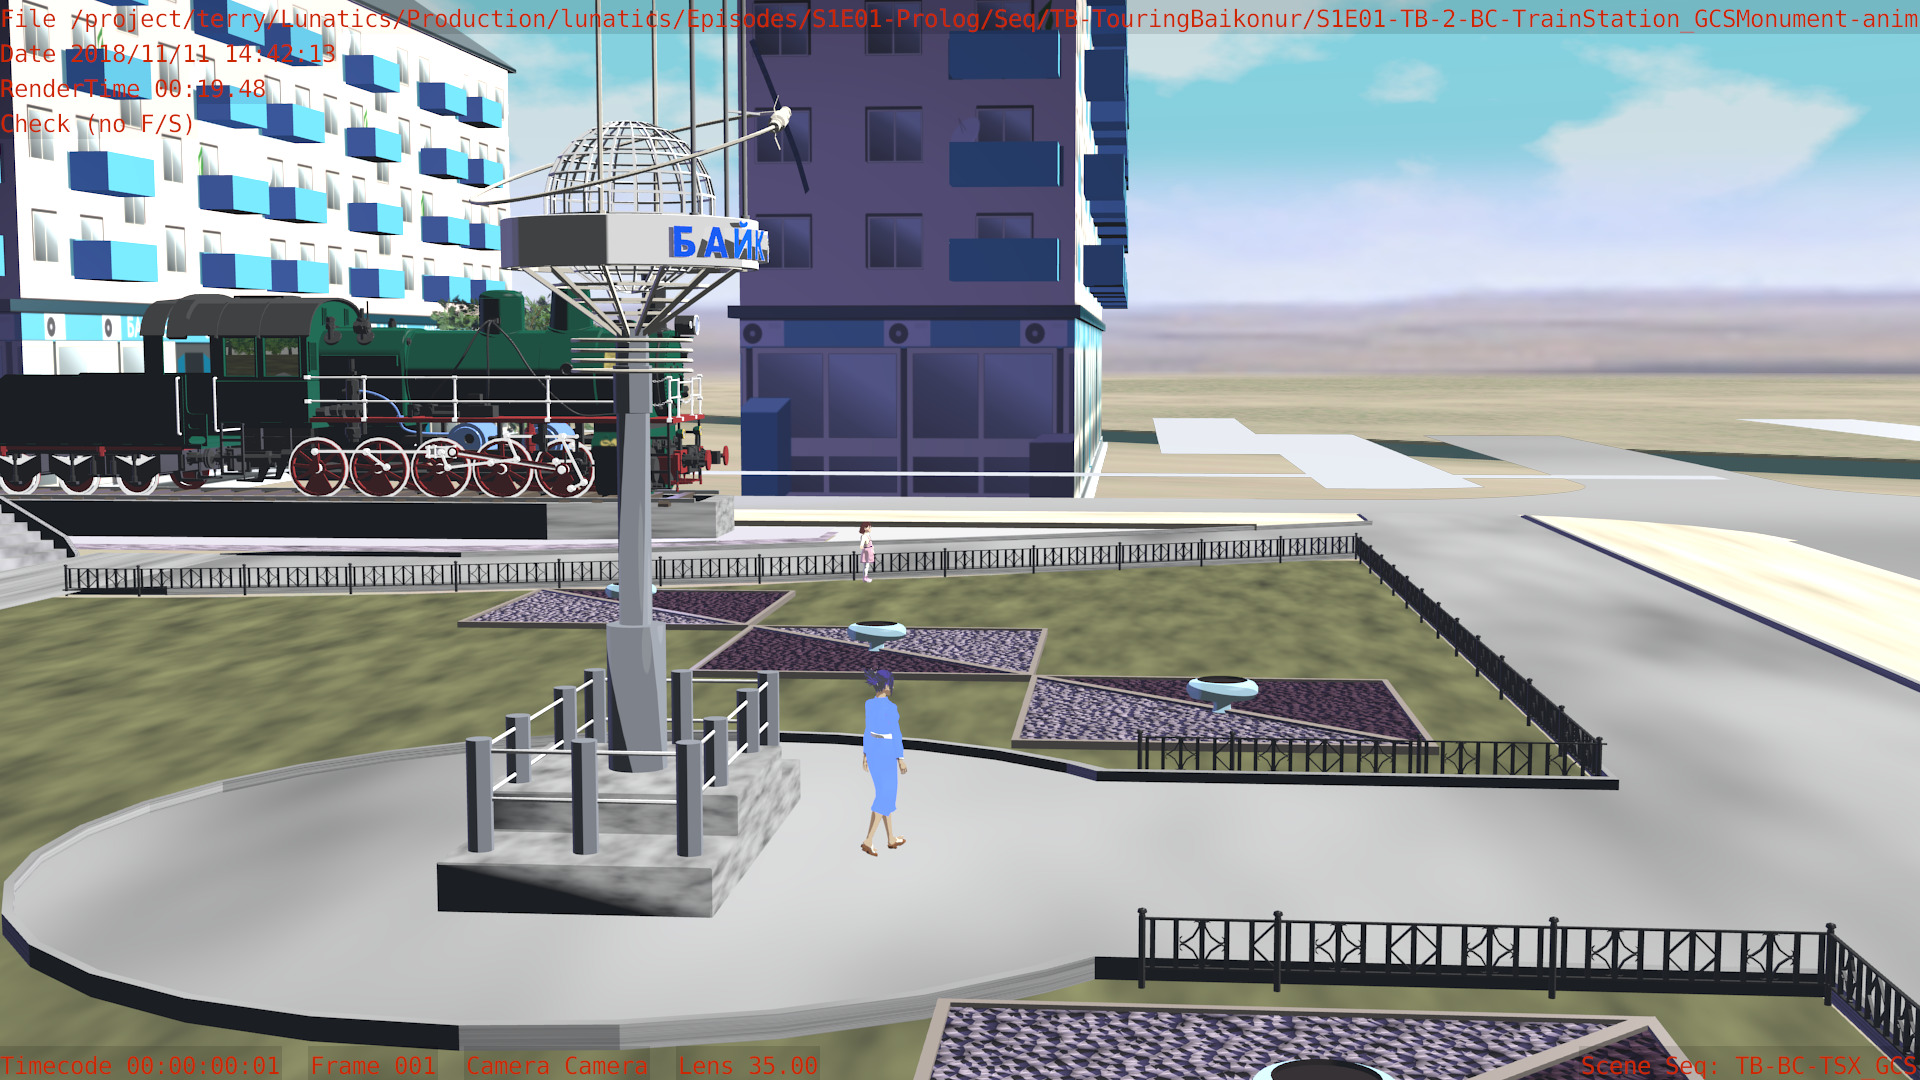
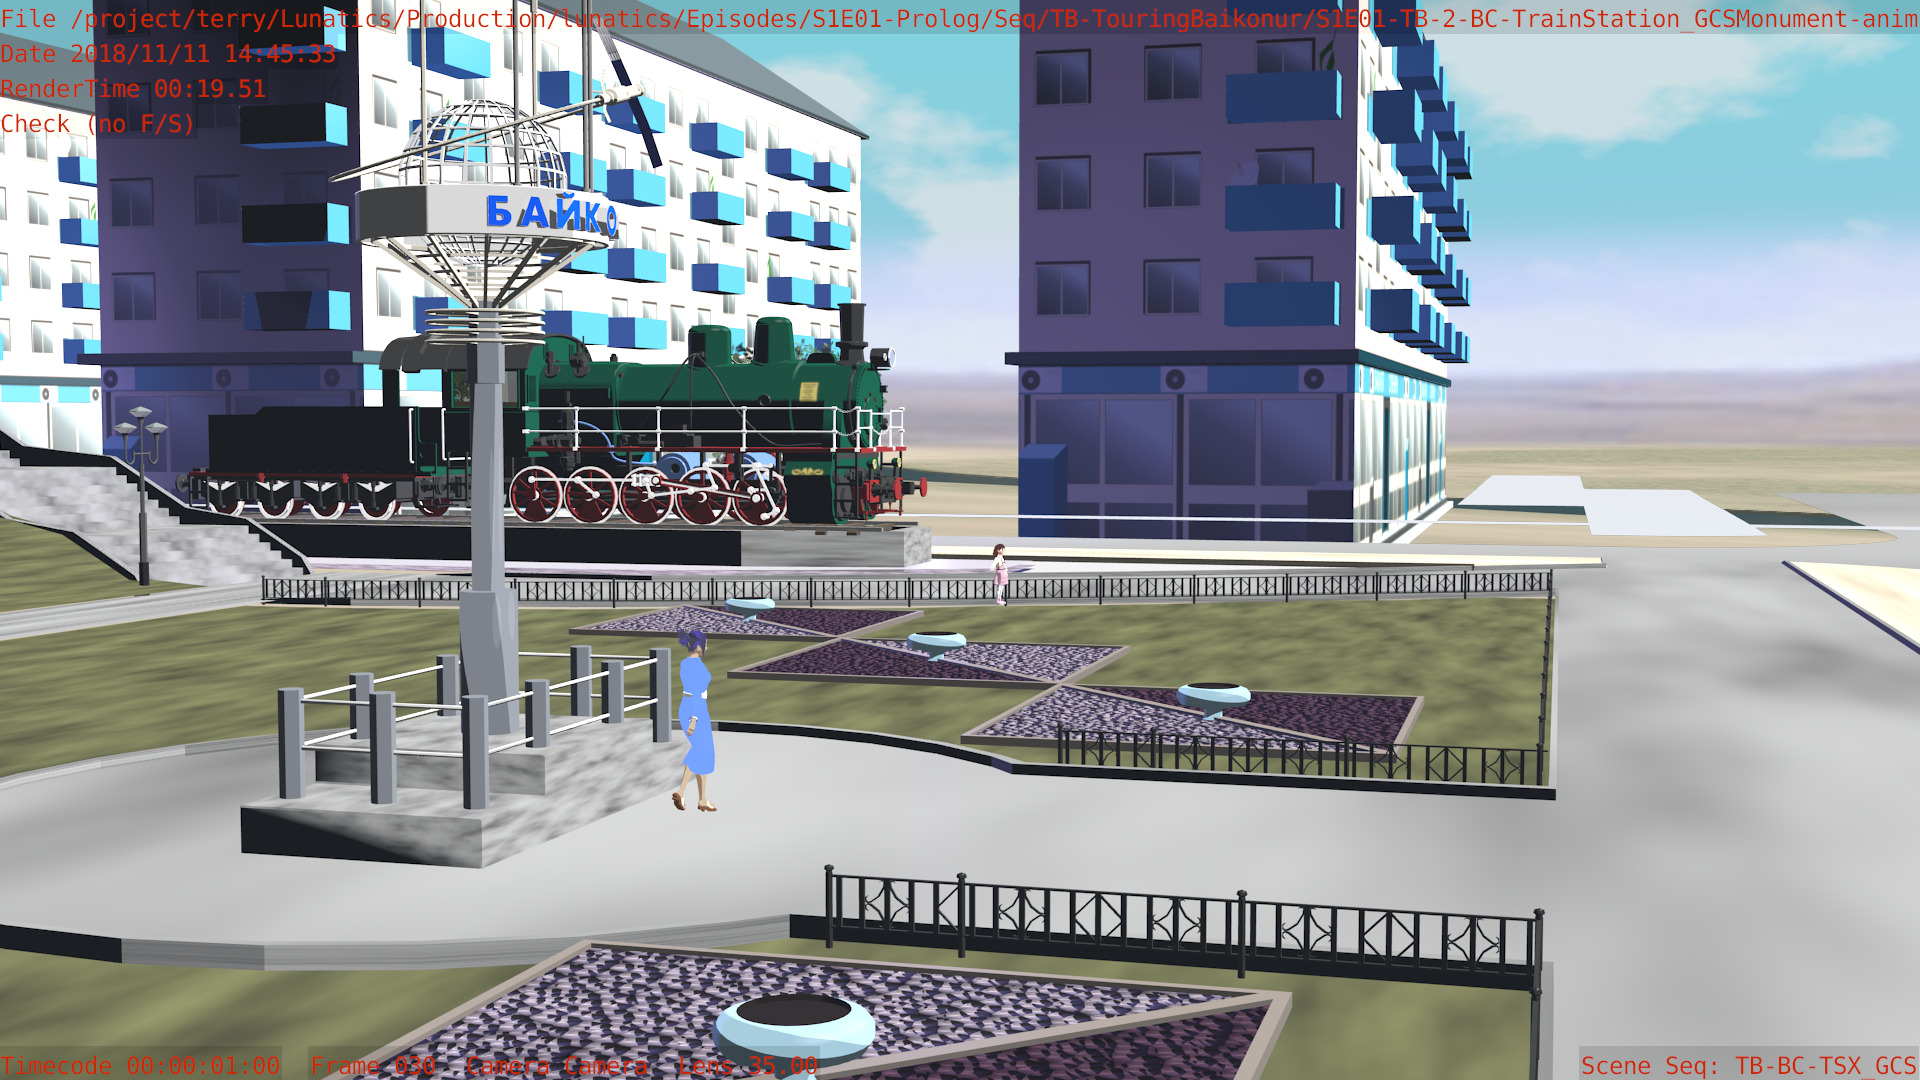
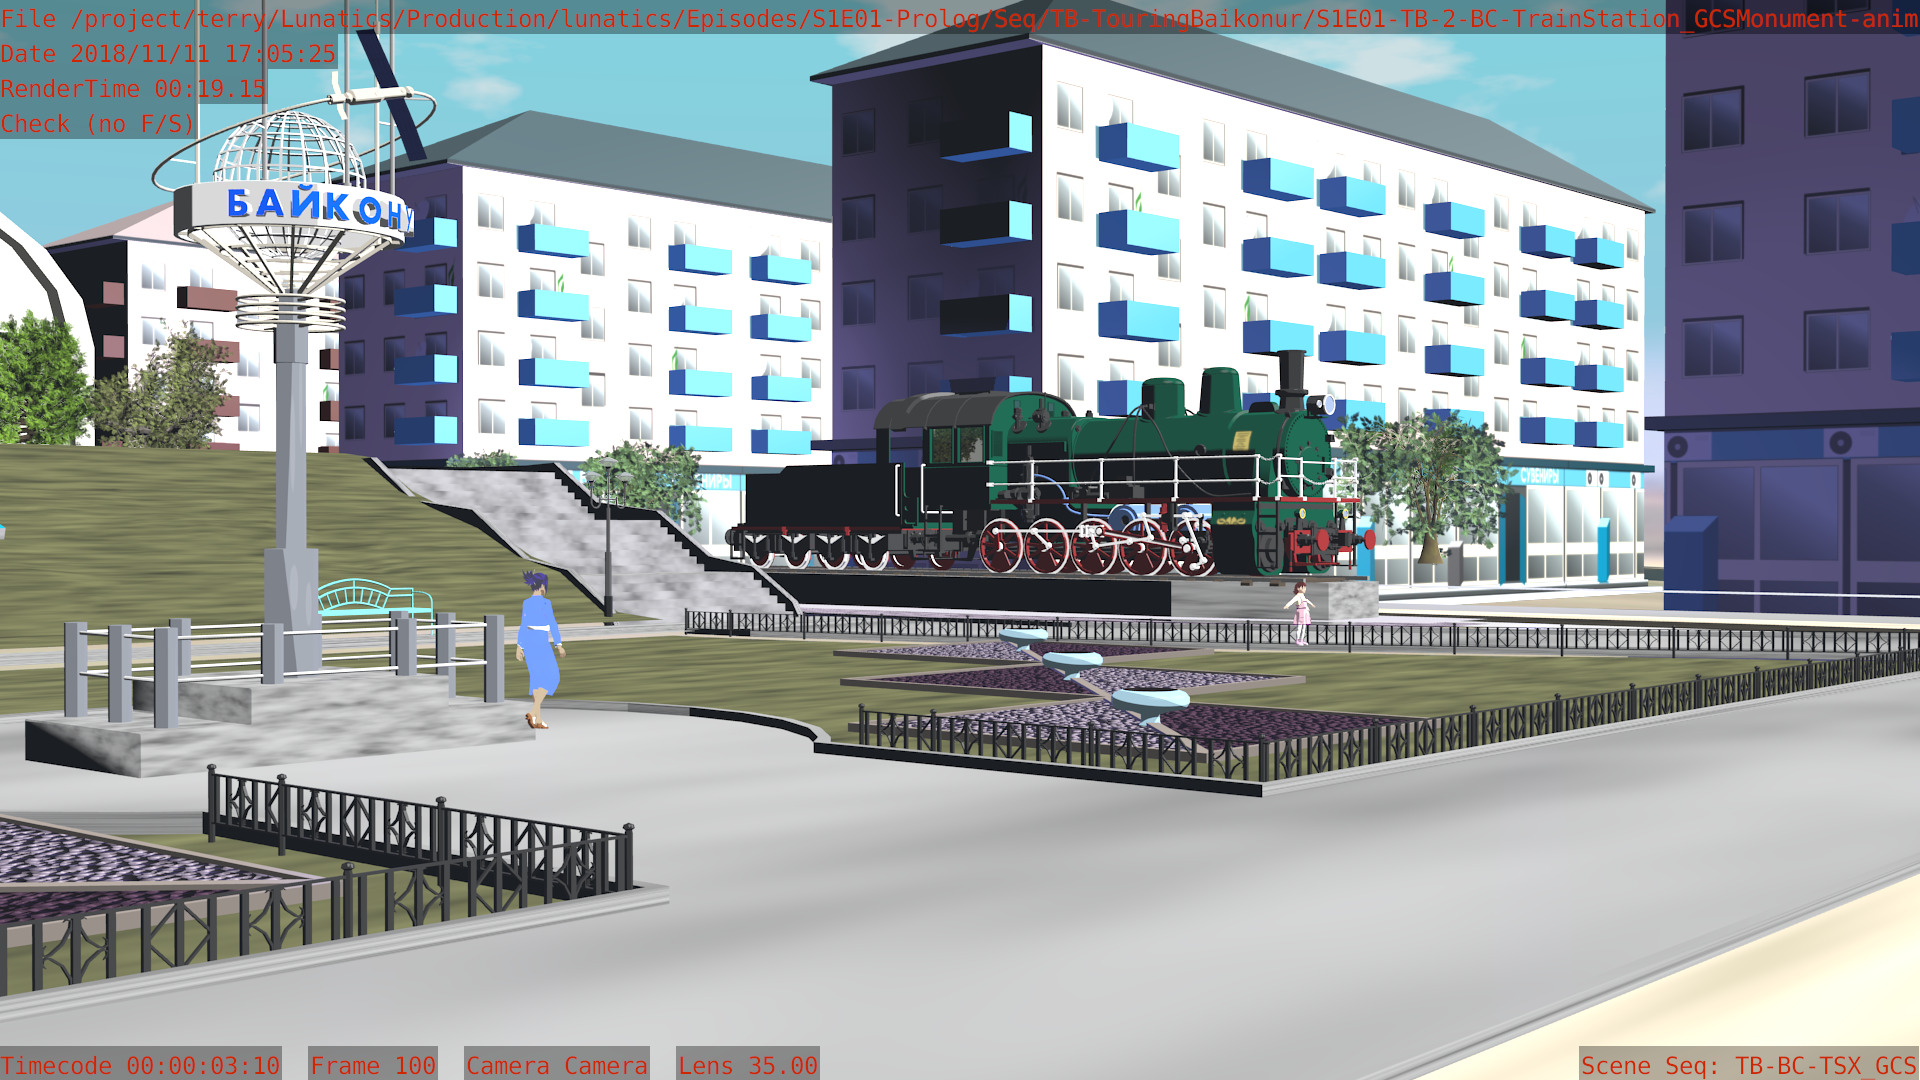
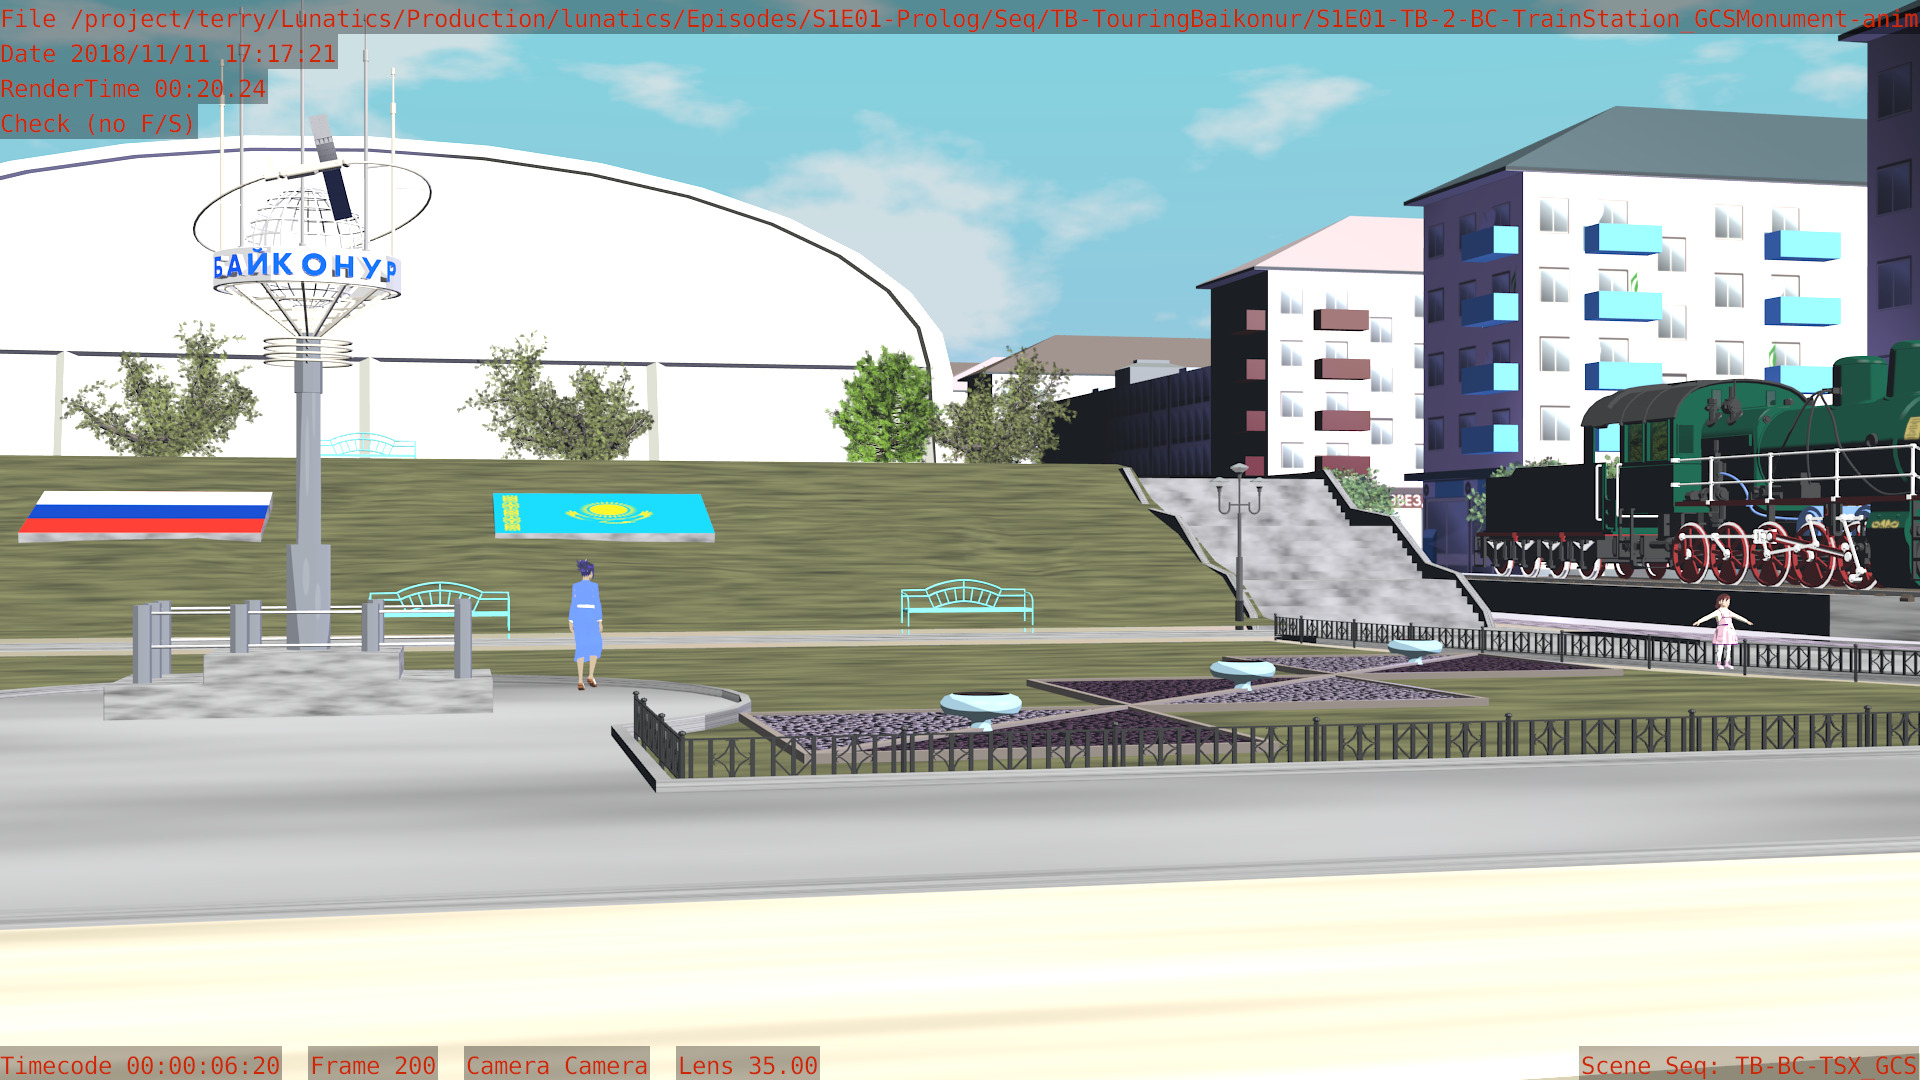
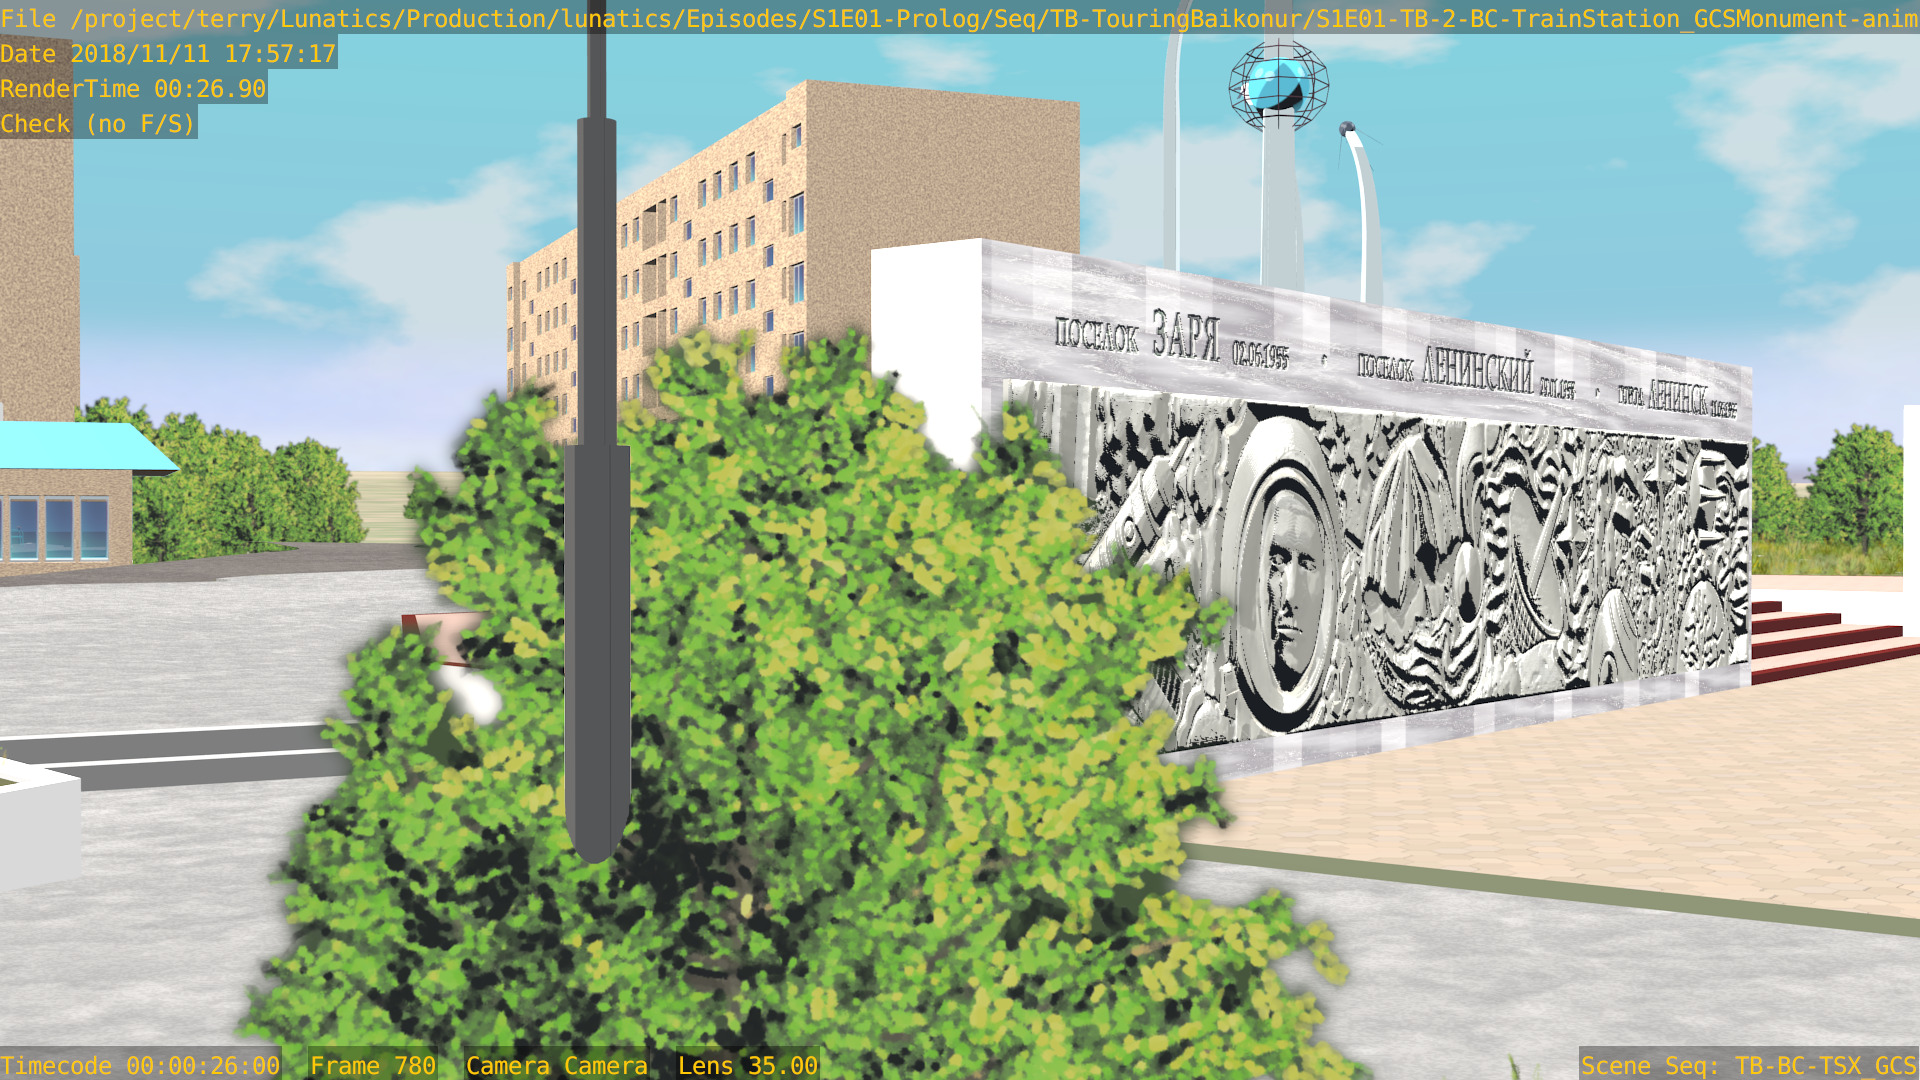
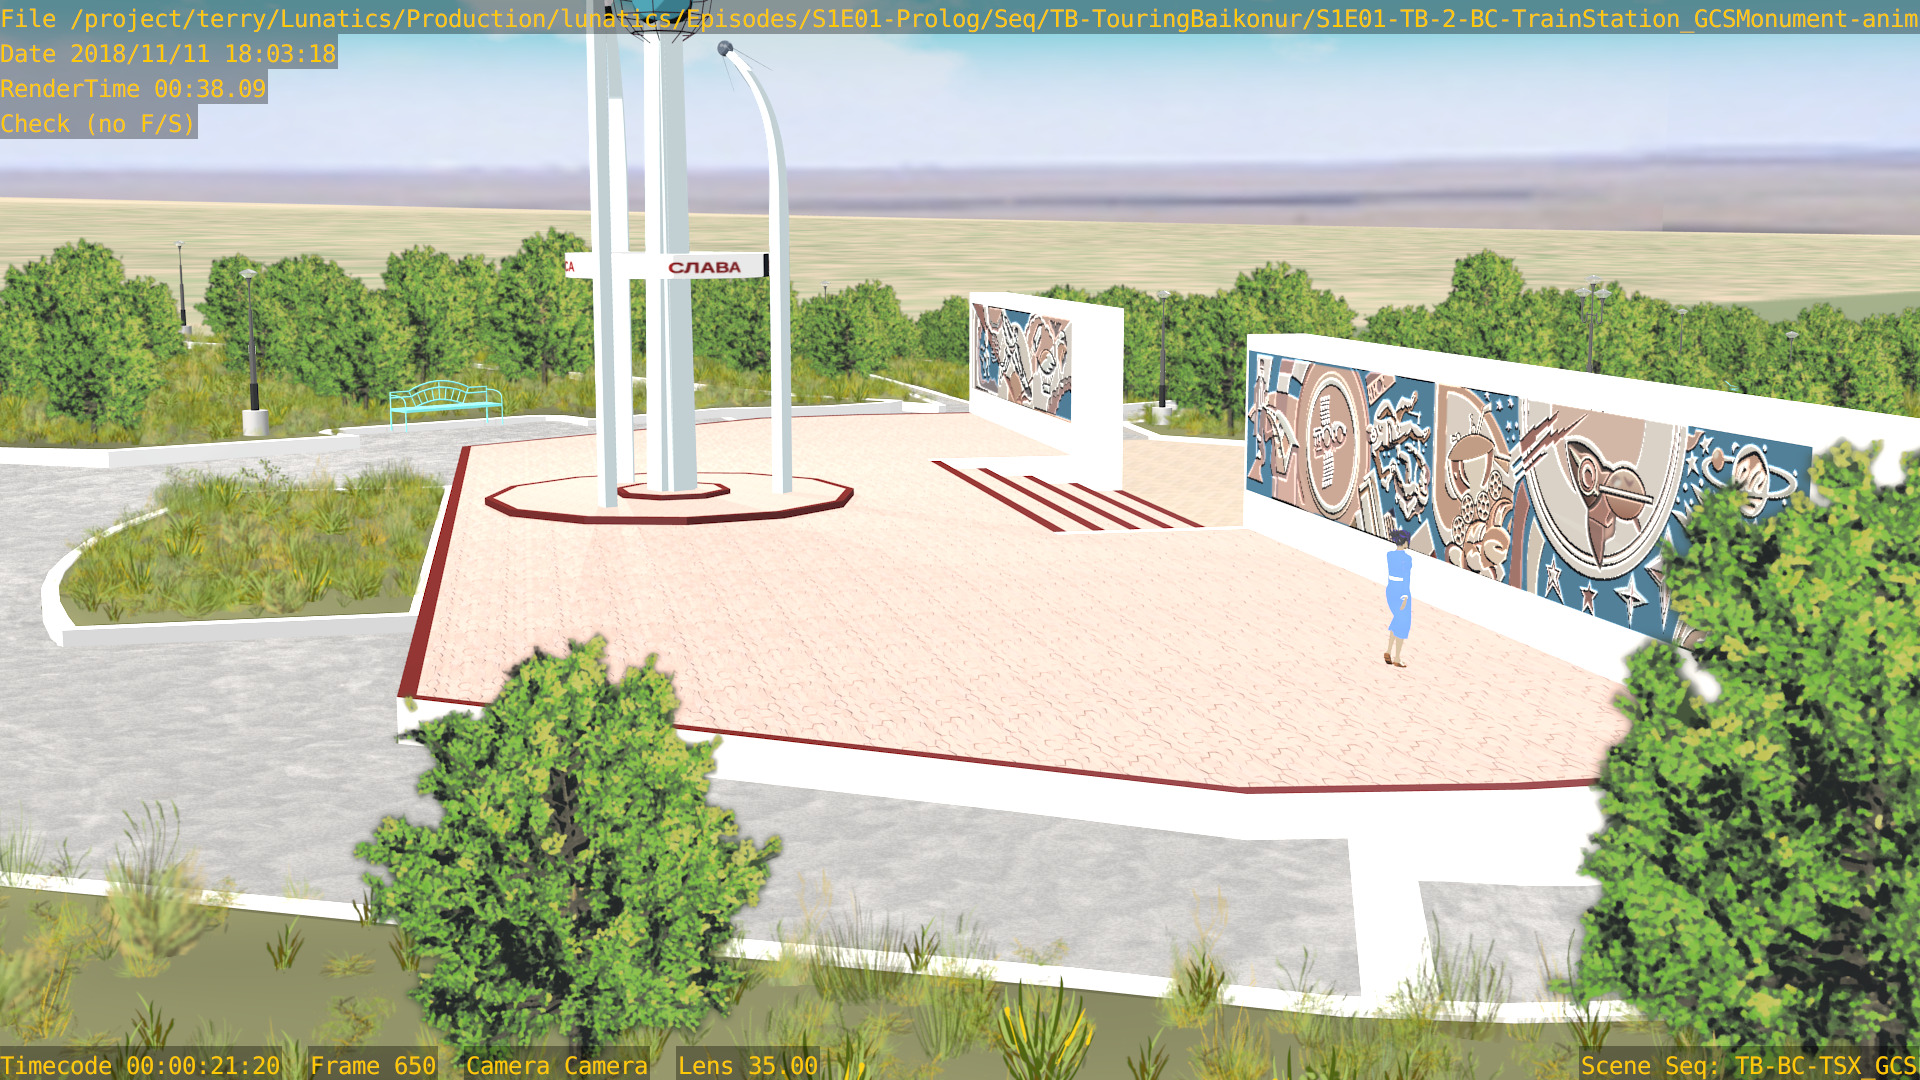
Nov 11, 2018 at 4:01 PM
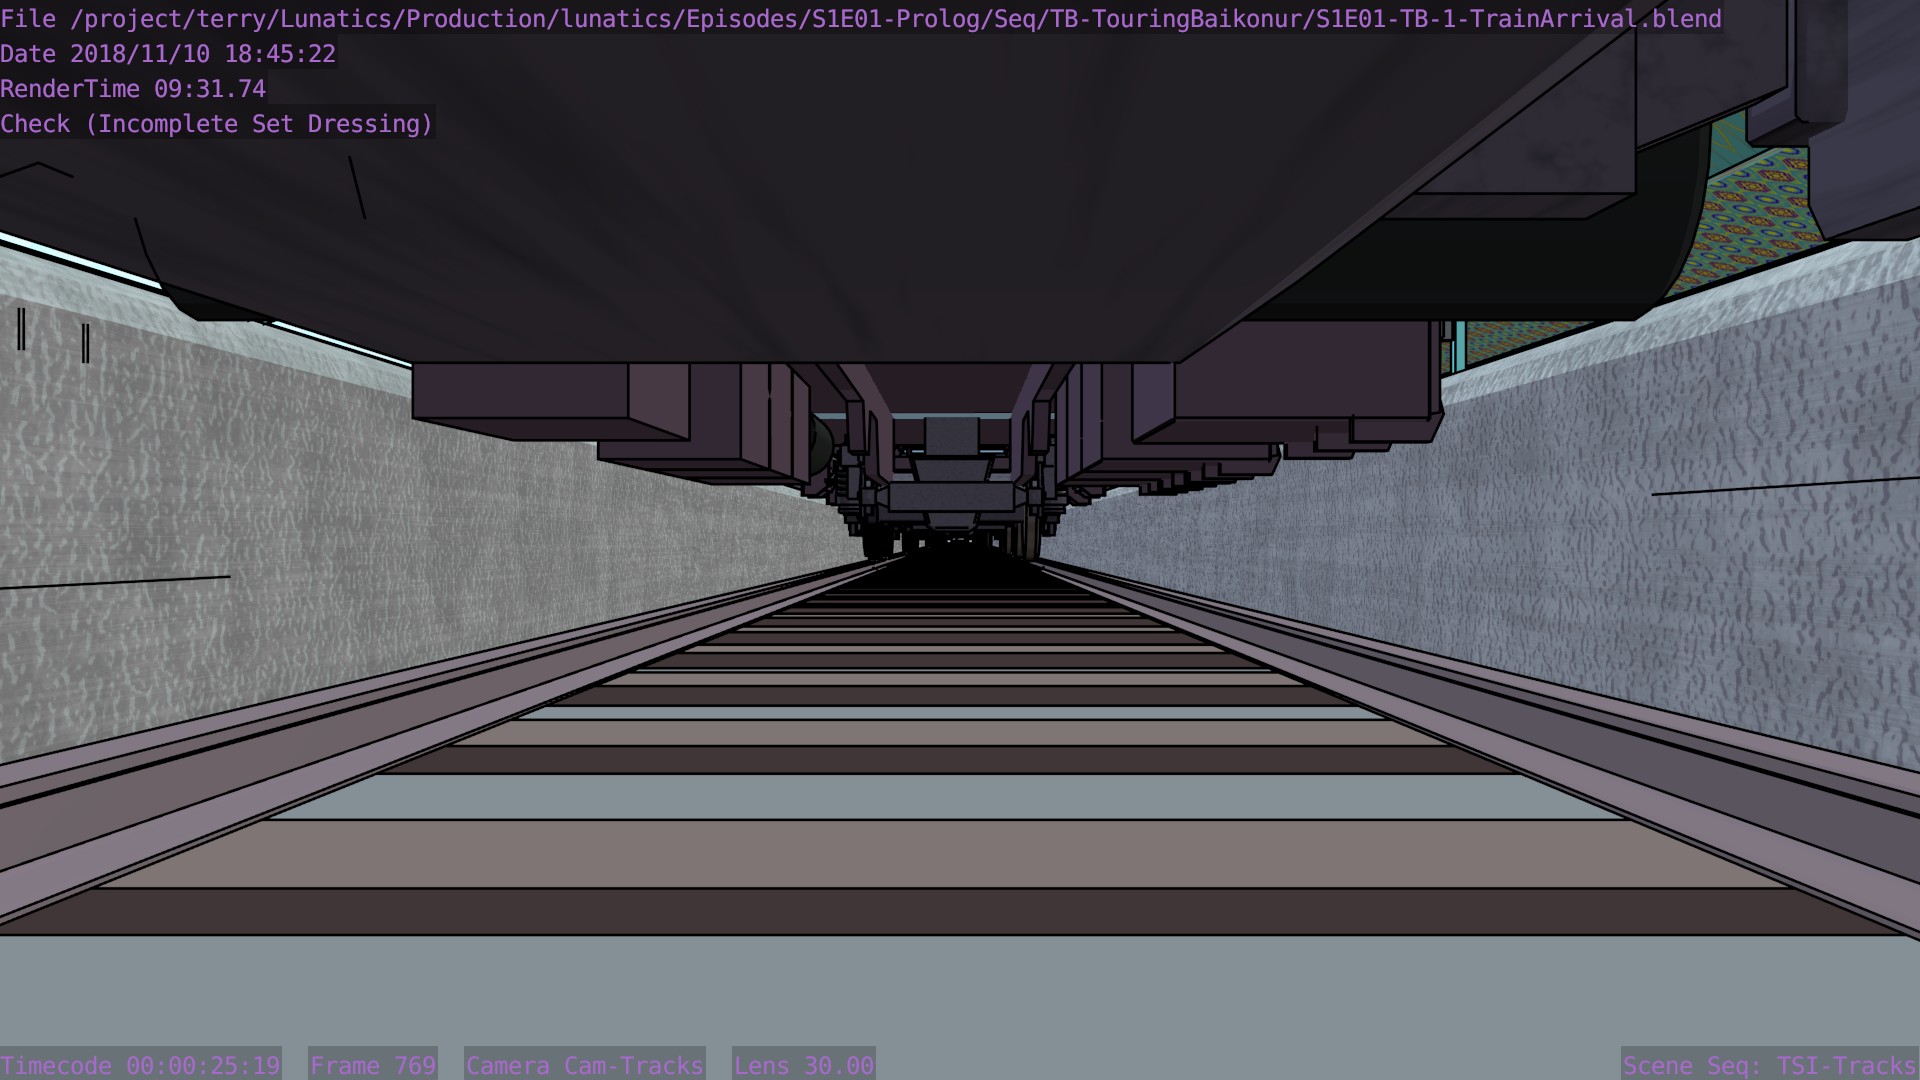
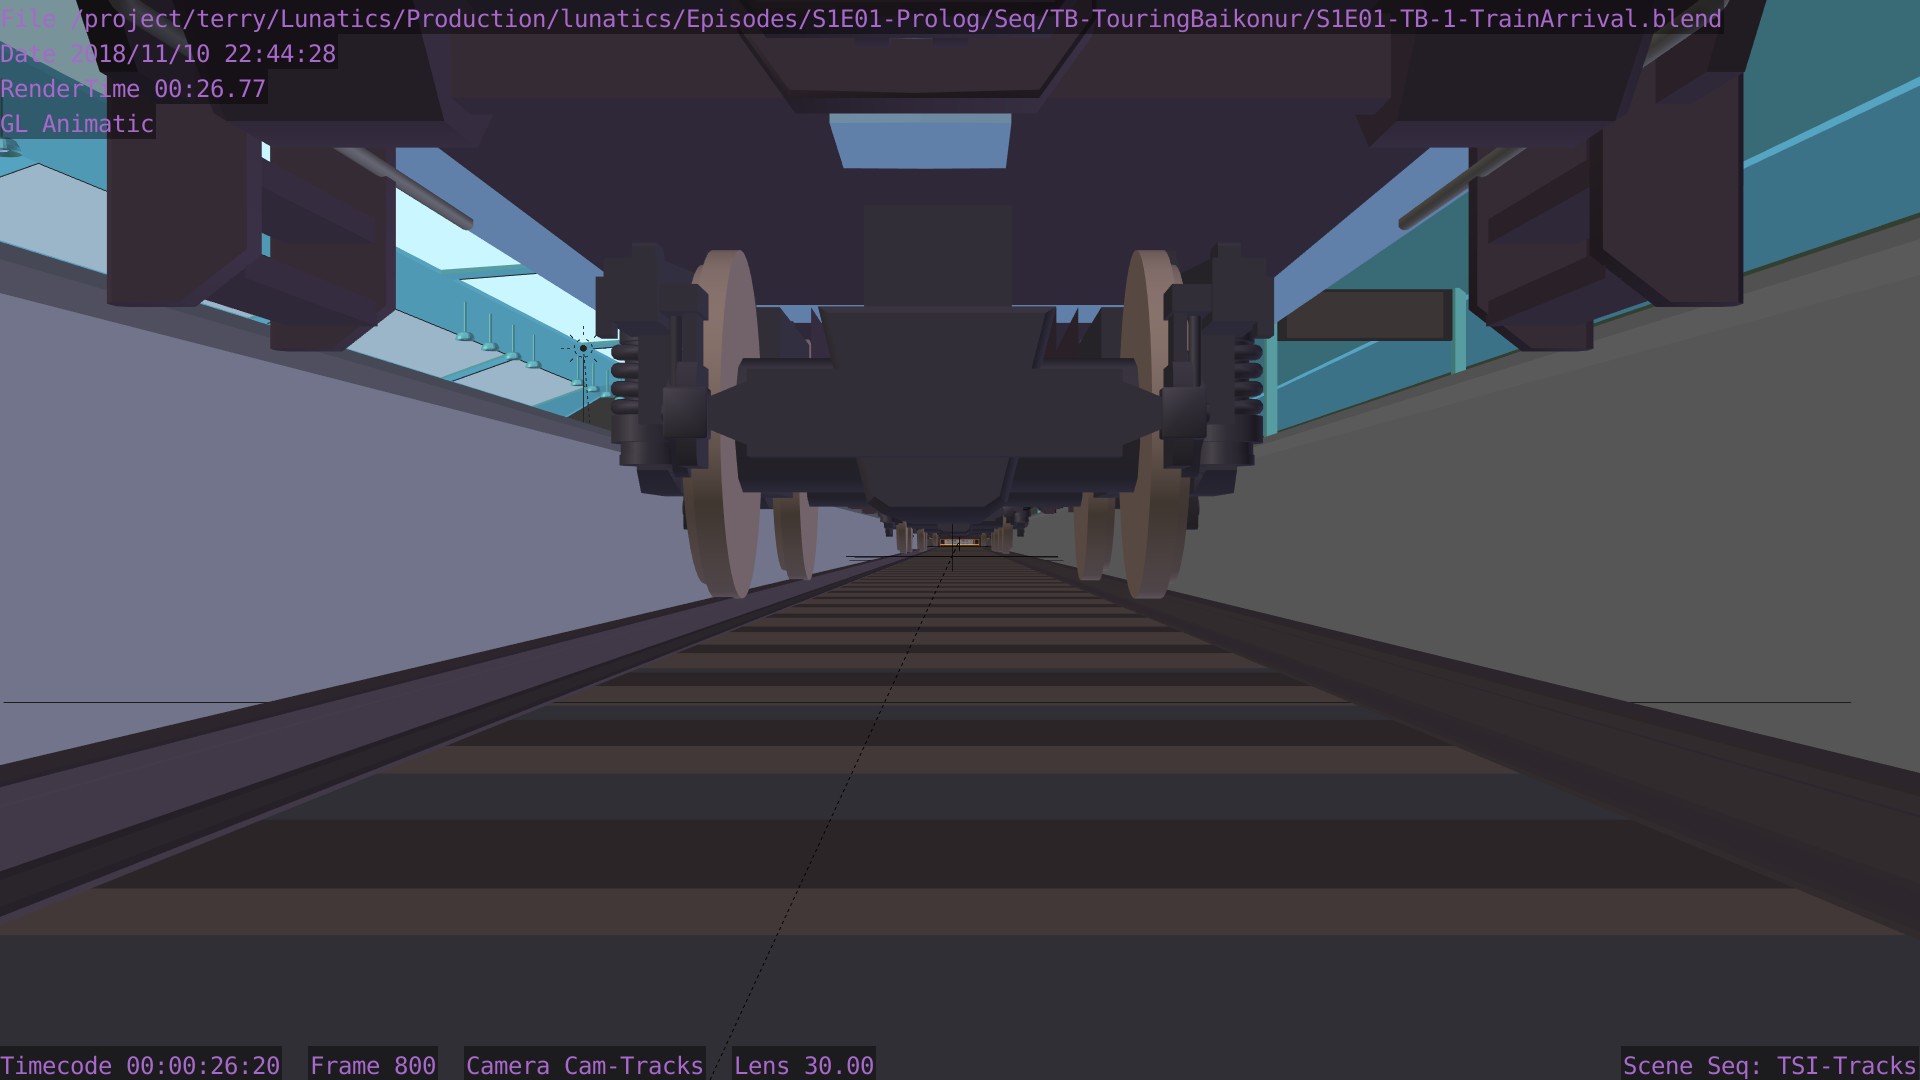
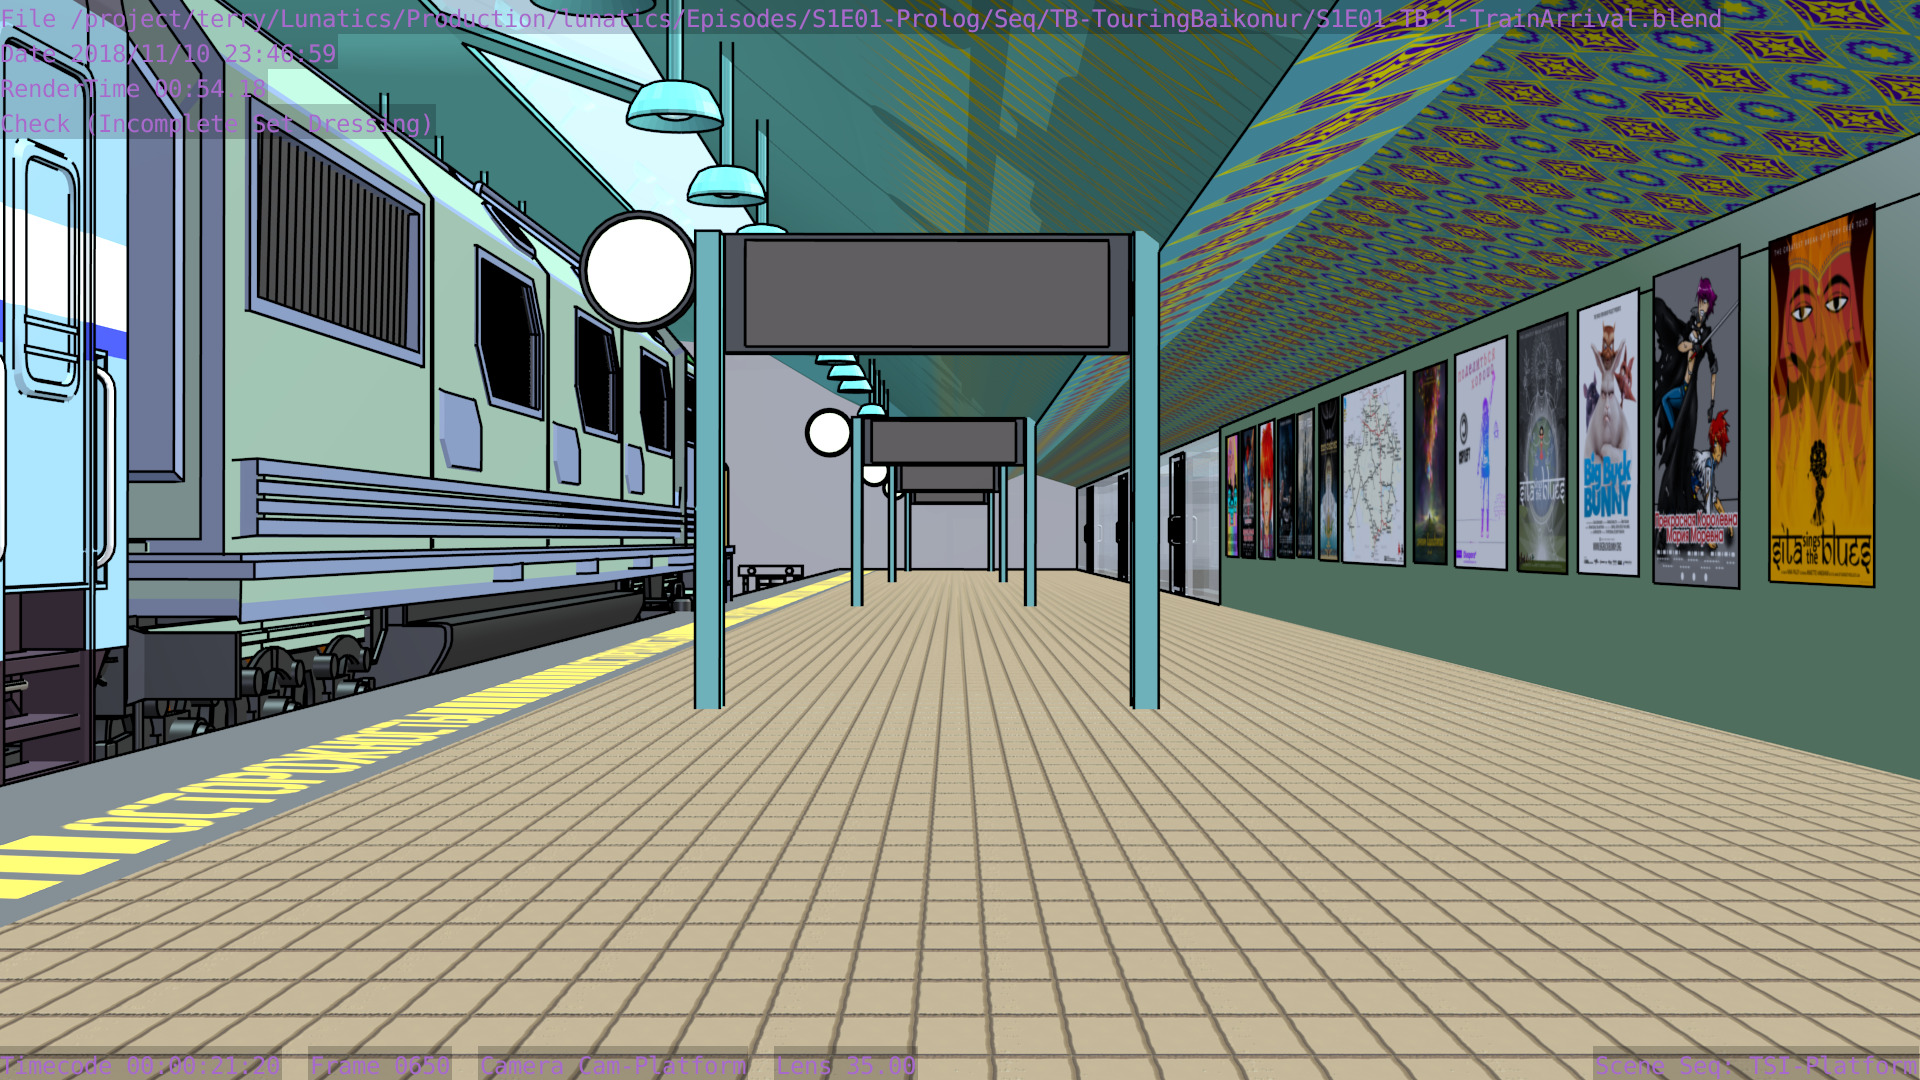
Check Rendering
I’m not sure what the correct jargon word for these is, but I’m calling them “check” renders. Basically, this is a still frame of the animation with all the bells and whistles turned on (and the marker stamp layer for reference) — to see whether the visual quality is adequate, what the render time is per frame, and other details. I was thinking this shot would require more detailing to be added to the undercarriage of the train. But actually, I’m pretty happy with it like it is.
Nov 13, 2018 at 4:00 PM
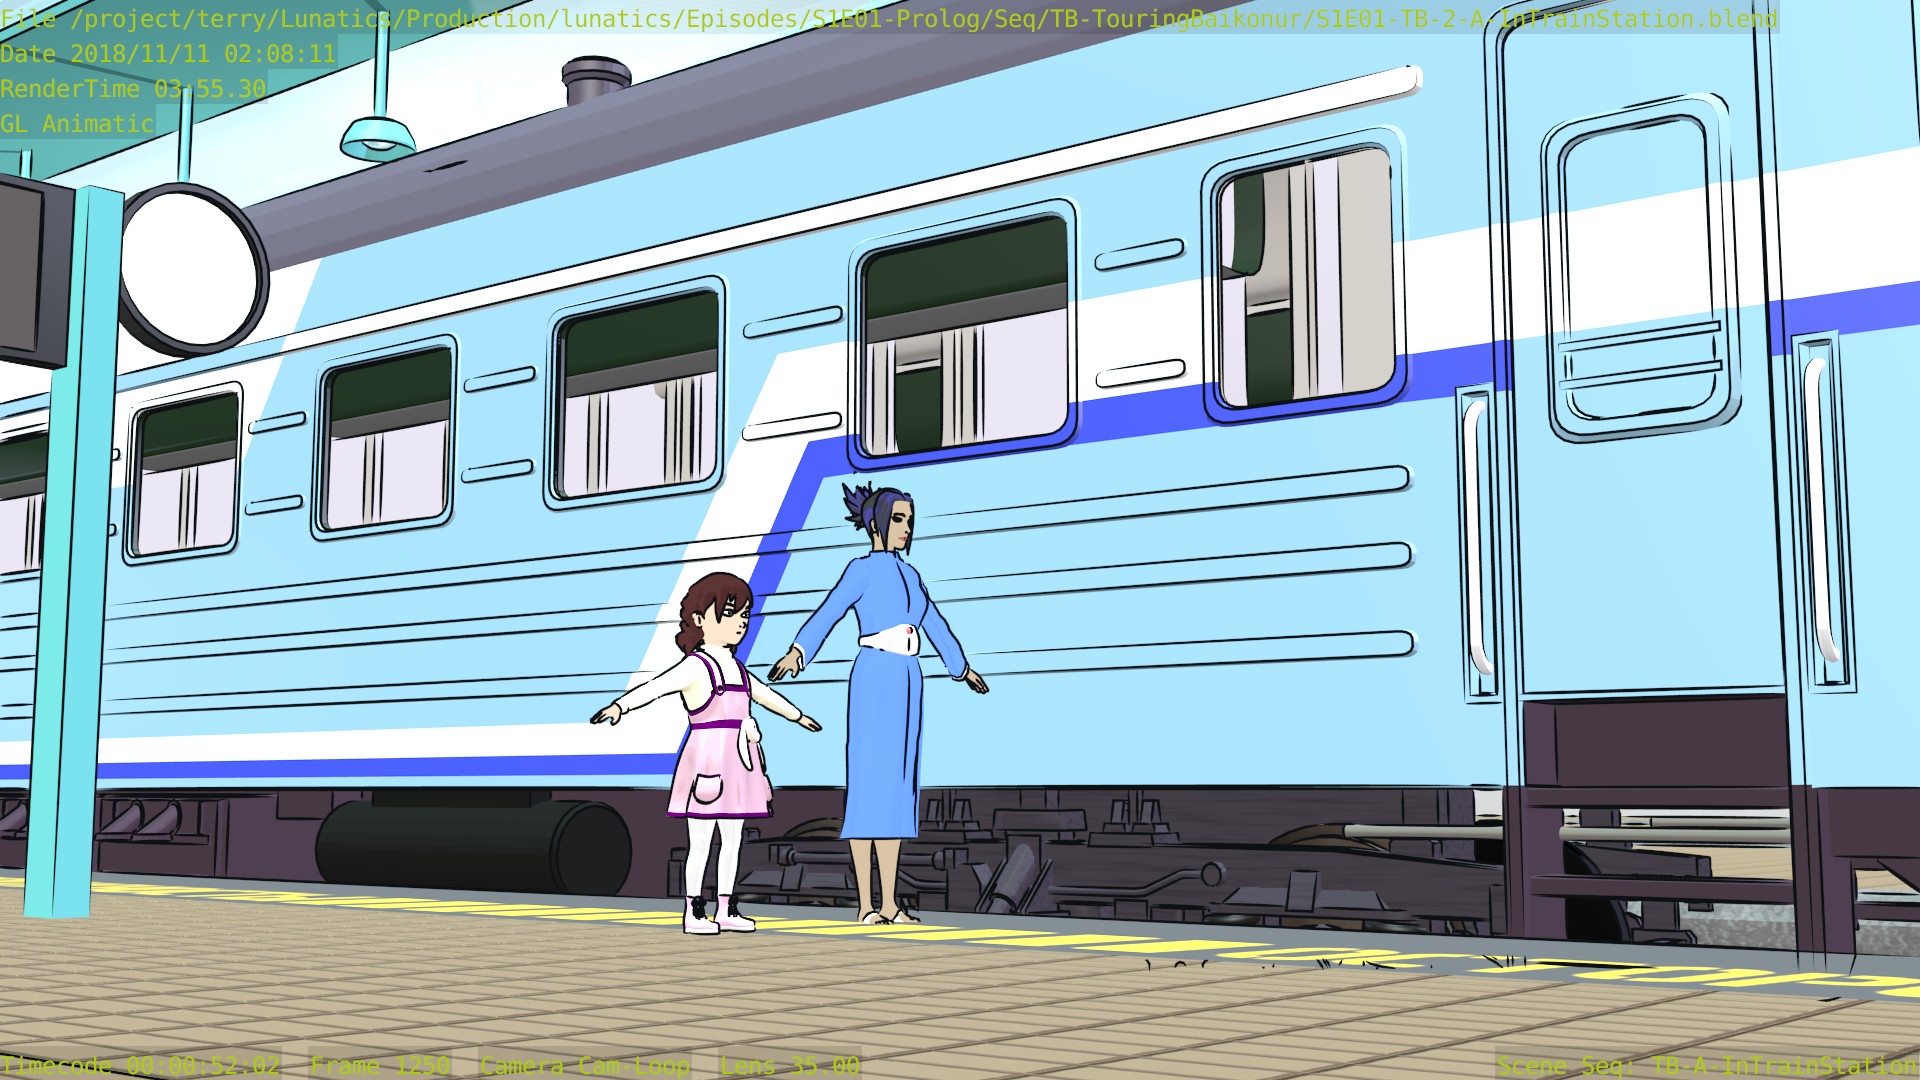
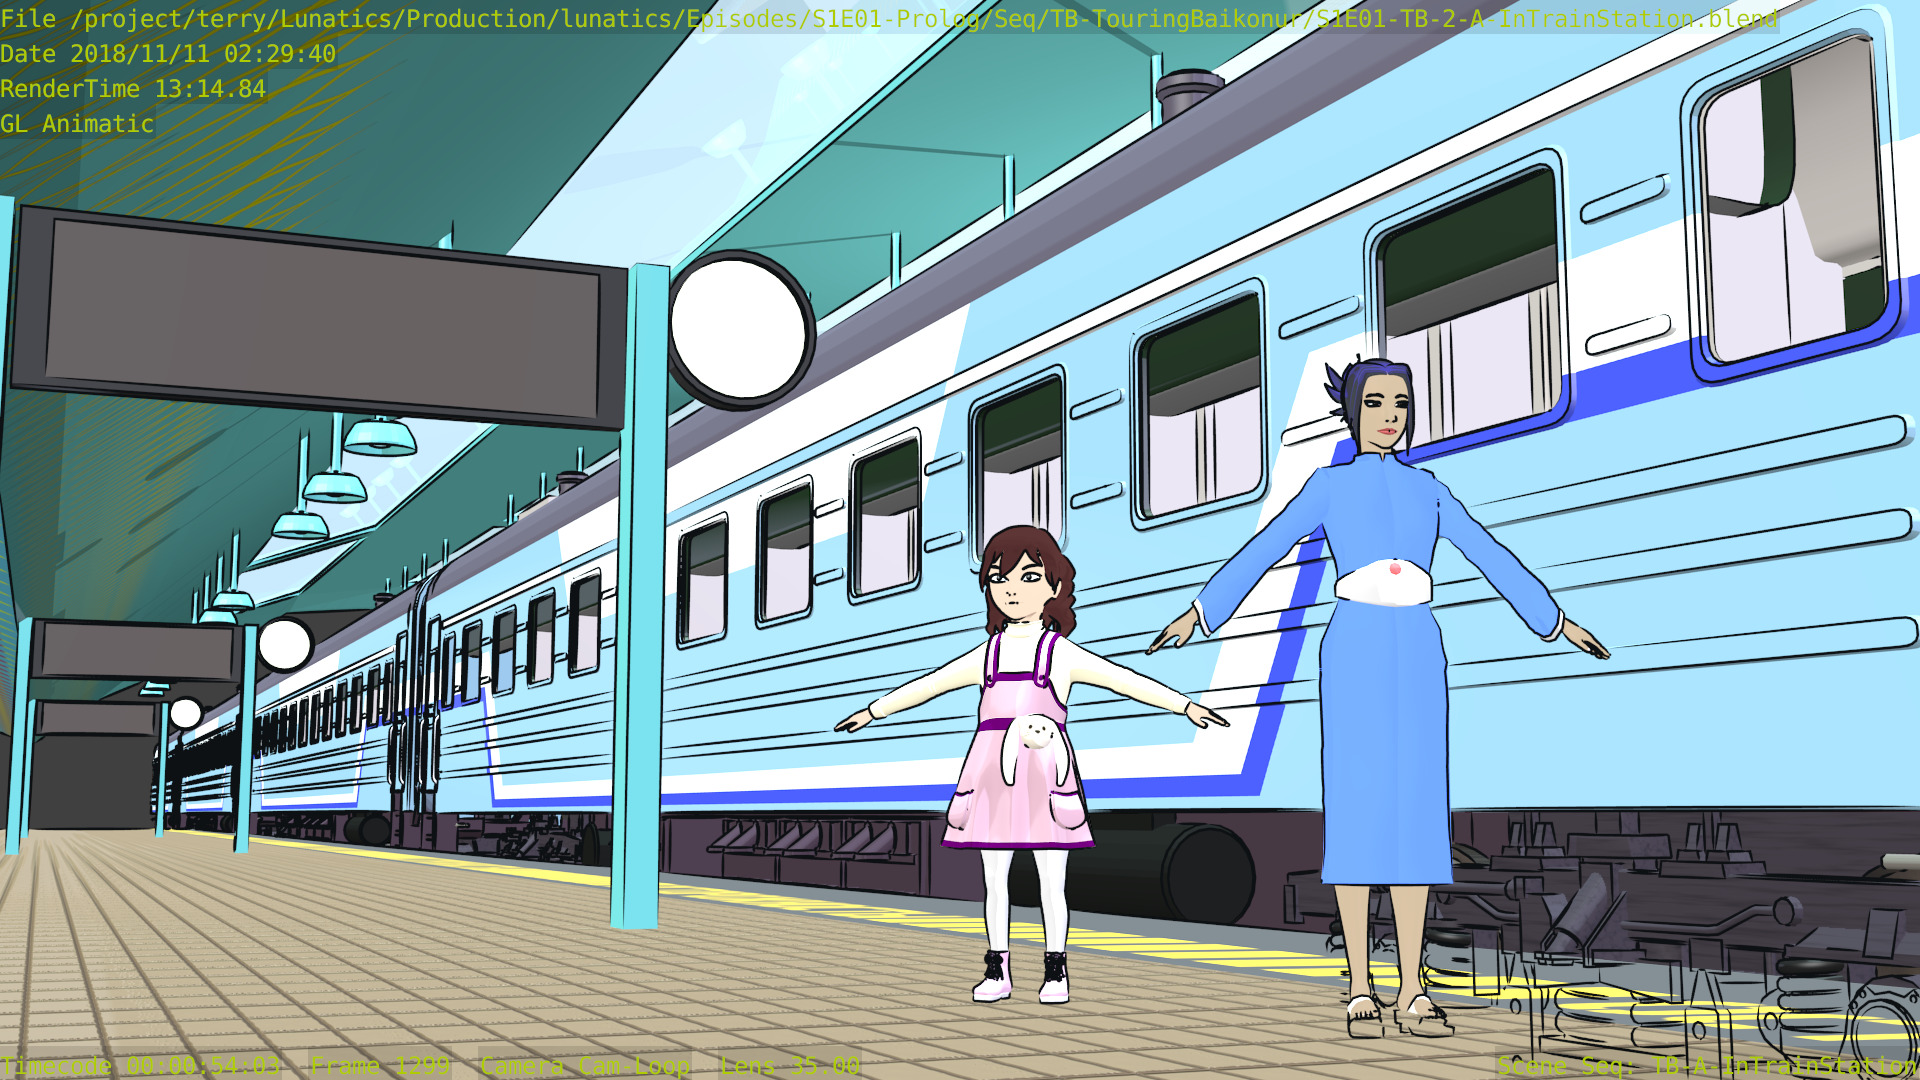
Greenscreen GL for Compositing Animatics
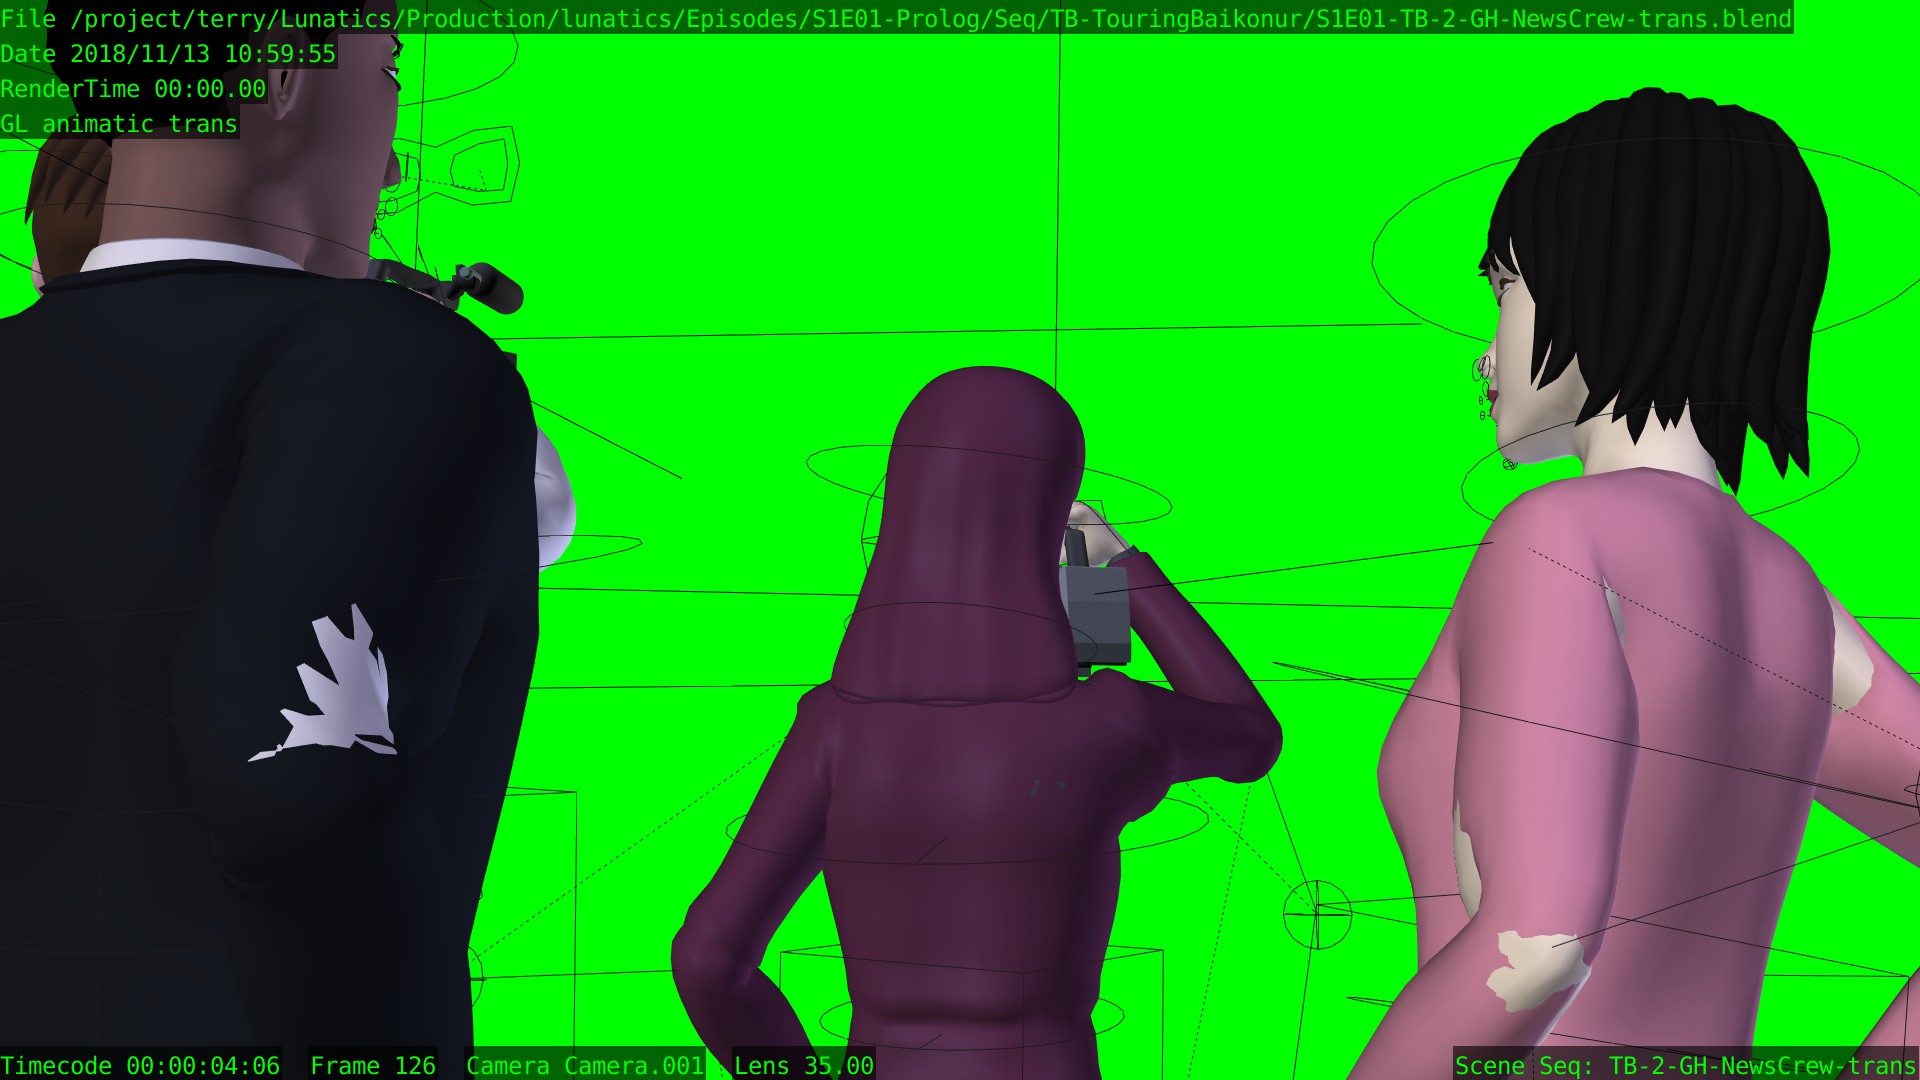
I discovered a useful shortcut this week for working with shots that are intended to be composited in my previz animatics. There is animated foreground action happening, while the background is from a different animation. I want to composite these shots in Kdenlive, rather than in Blender.
This is no problem for my final rendering workflow, because I will render PNG or EXR output, which supports transparency. In the past, the transitions were simple enough that I just went ahead with the PNG-stream render. But in this case, I wanted to review the character animation quickly, so I wanted to work with the rapid “GL” viewport rendering. But that outputs AVI (and I prefer to use JPG AVI to create less bulky files) — and it doesn’t support transparency (or at least, even if it does, Kdenlive doesn’t recognize it).But Kdenlive CAN do “chroma key” or “color selection” transparency (a.k.a. “green screen”, although it can actually be any color you like). To get this effect in Kdenlive, we just add the correct effect to the clip (it’s an “effect”, not a “transition”, by the way):
[Clip]->Add Effect->Alpha Manipulation->Color Selection
(I found that the “color selection” effect worked better than the chroma key did, although they are similar in concept).
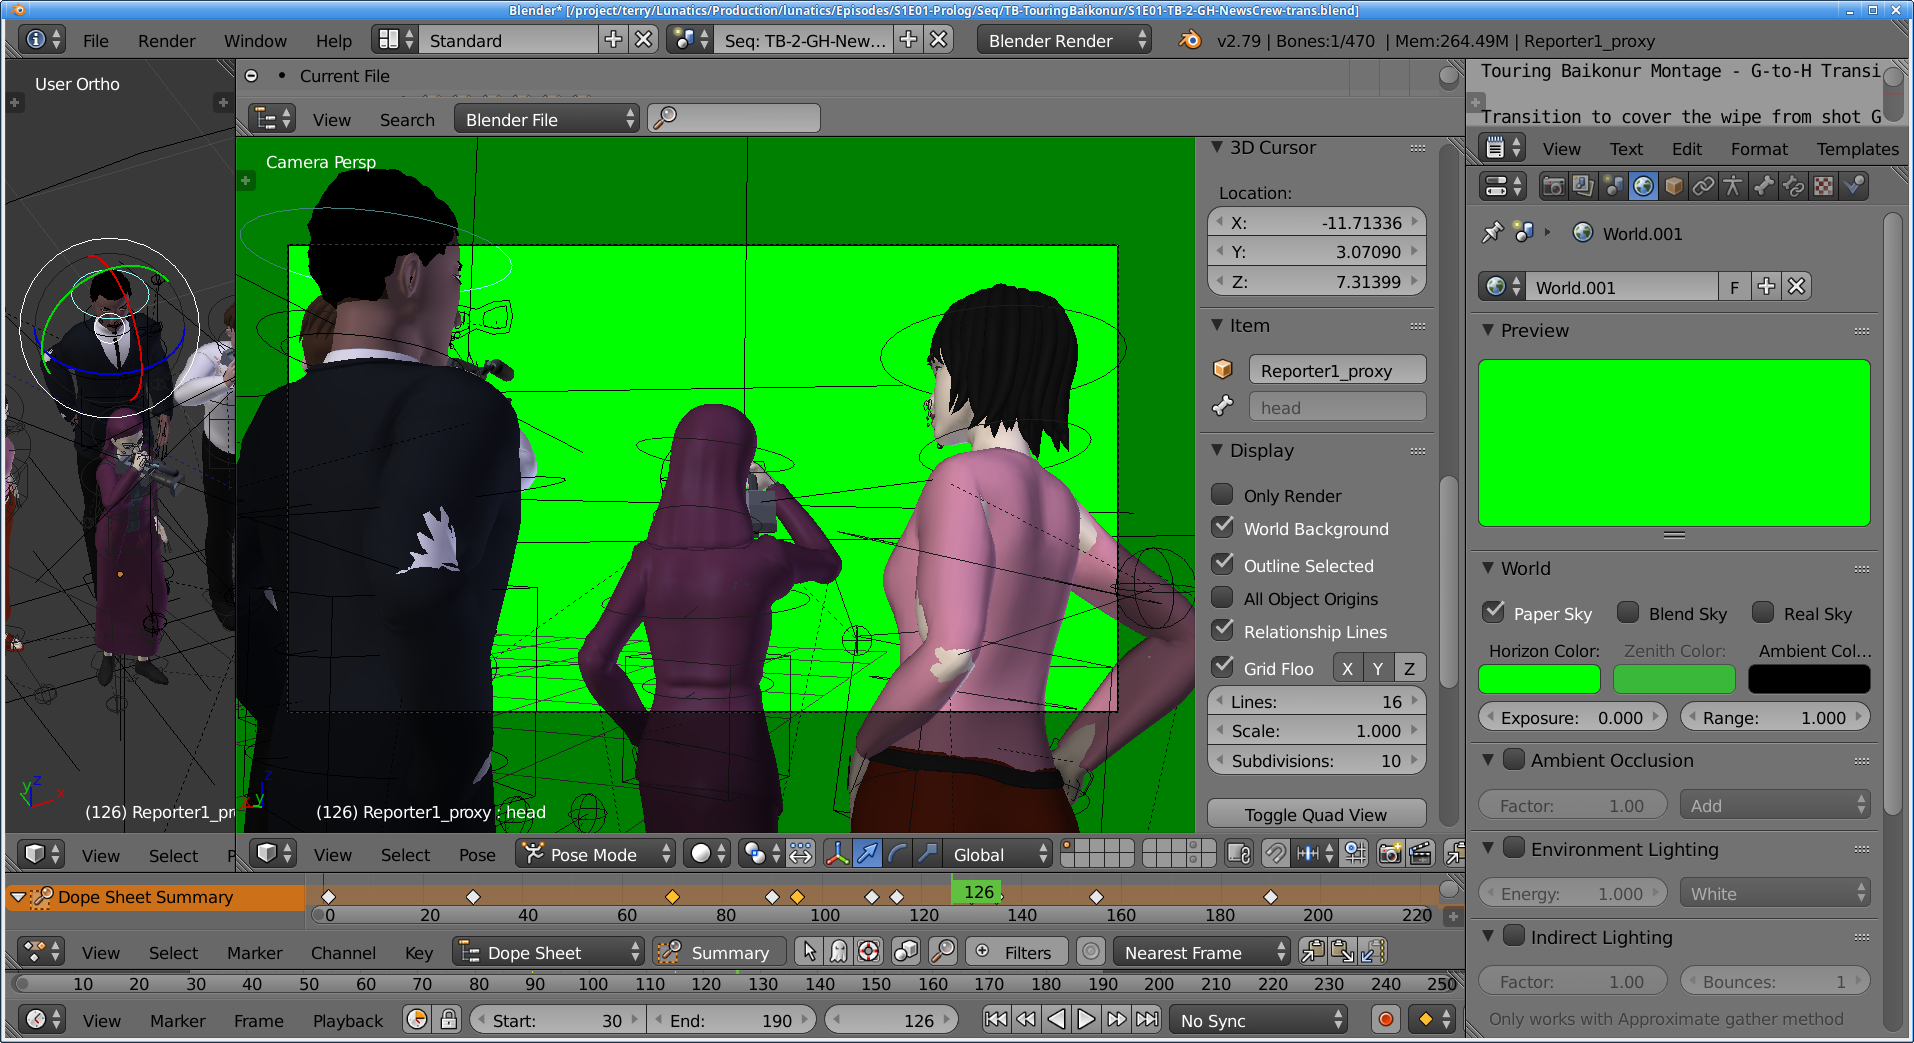
Great! Now all need is to figure out how to get a green background in my GL render. This is not really that hard:
Set the world background to “Paper” (i.e. a single plain color), and then set the color to pure process green (i.e. r=0, g=1, b=0). Nothing in my shot is going to be this color, which is the reason we use it for transparency. At first, this changes nothing, because it doesn’t show up in the viewport by default. But on the “Display” menu, we can check the “World Background” setting, and there it is:
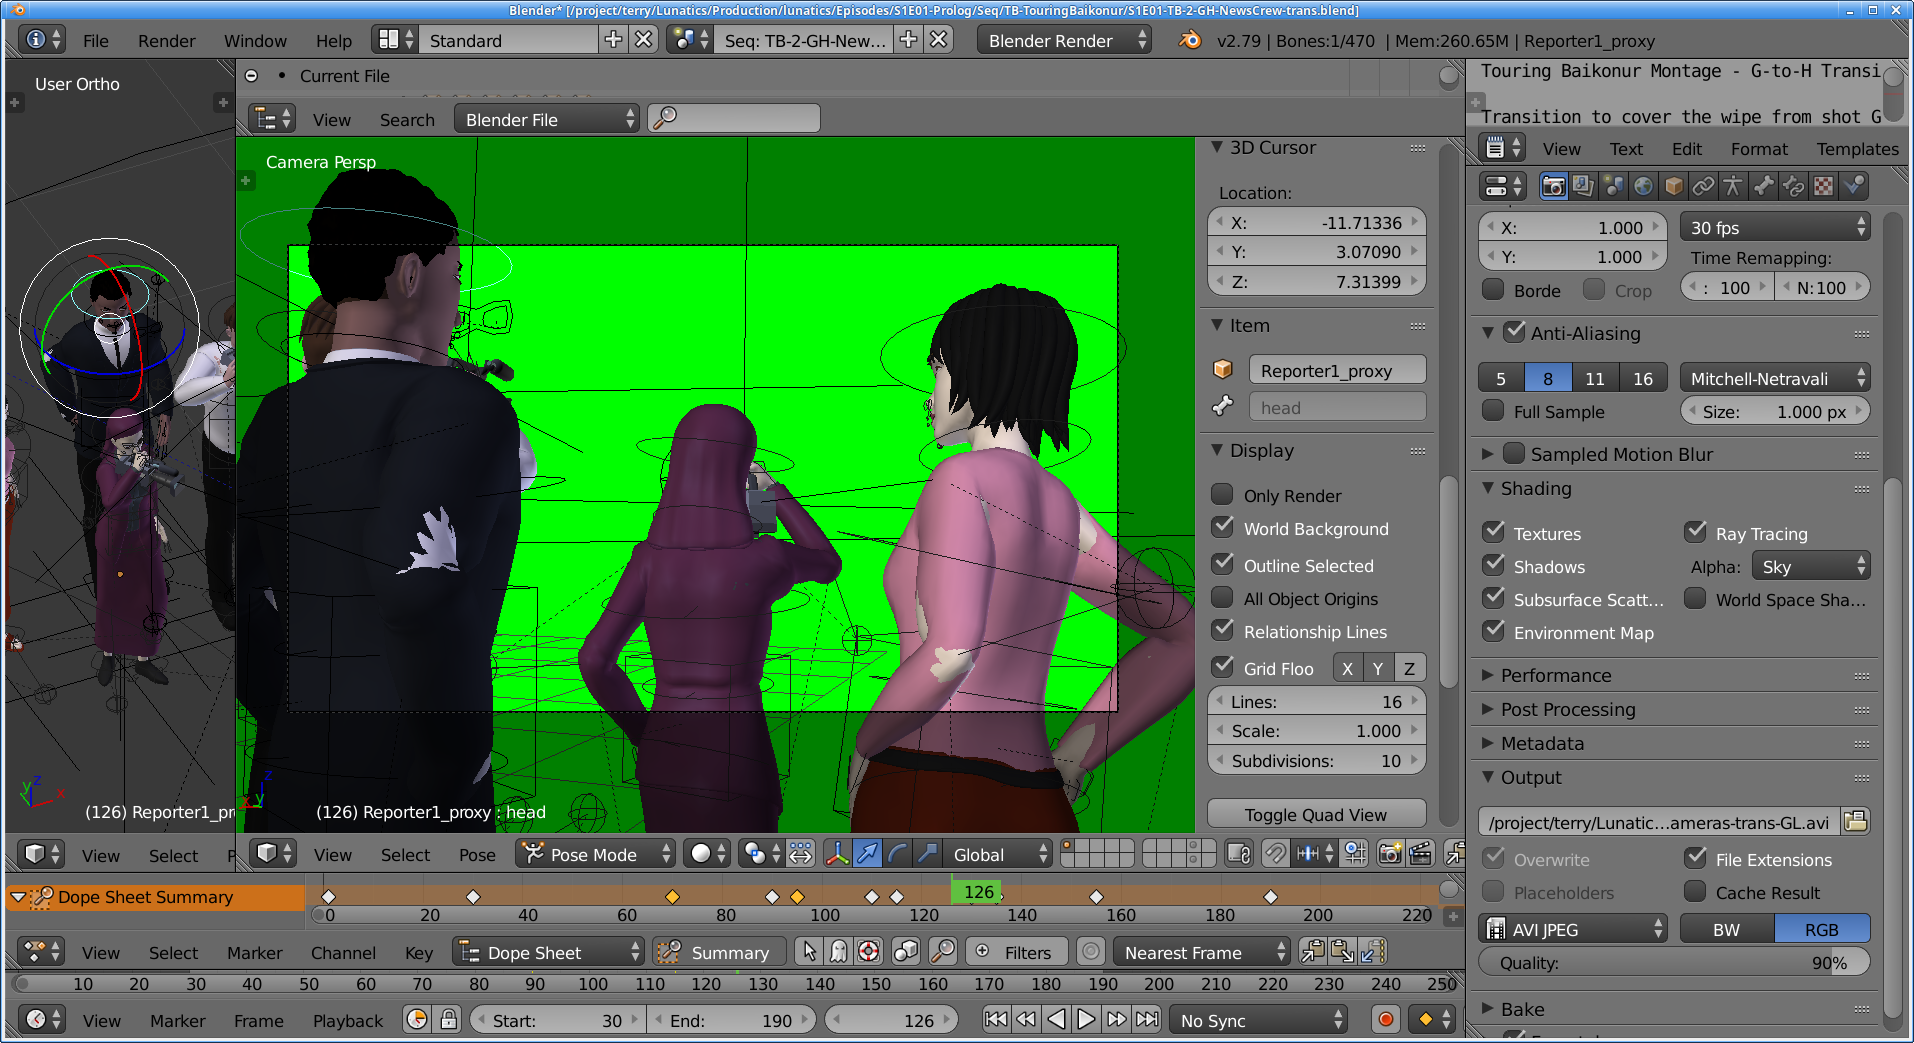
Even so, the render will be wrong, if we don’t also set the Shading alpha to “Sky” (I’ll use “Transparent” for the final render, of course):
Now, the output AVI video will have the green background, which is suitable for color keying in Kdenlive. Note that I have the “color selection” effects panel open on the left:
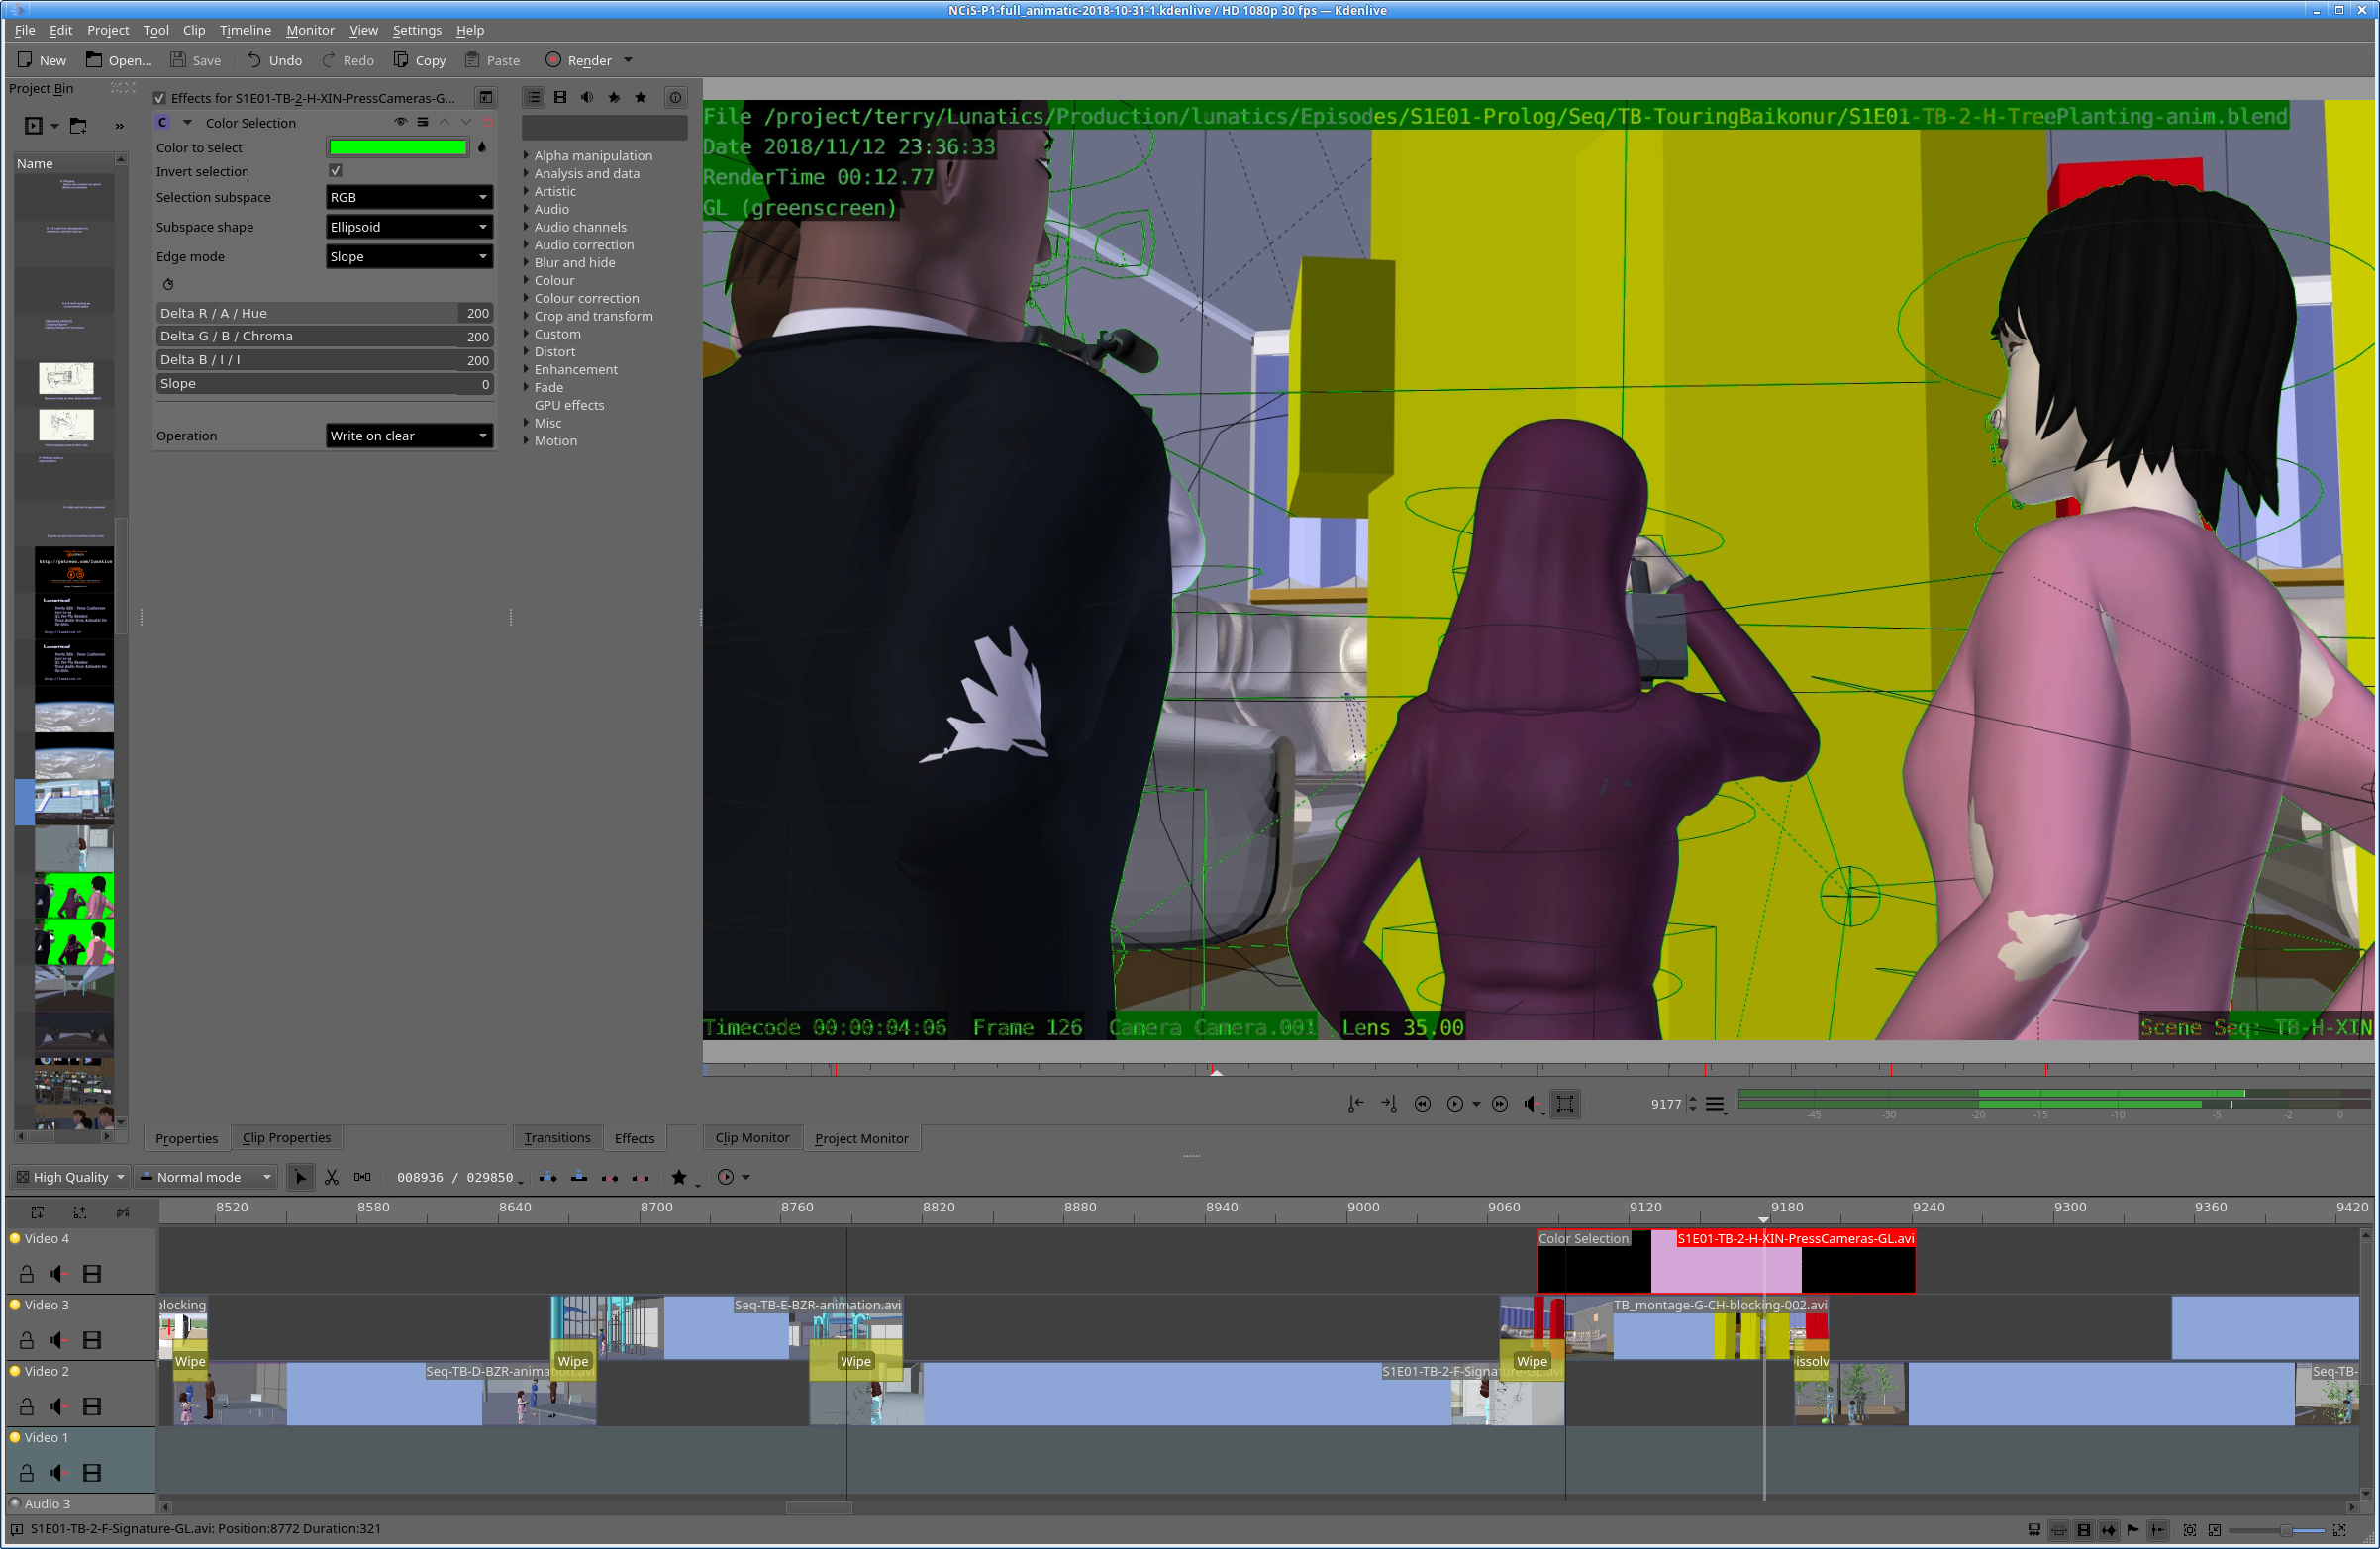
As with most GL renders, this has loads of artifacts and markers rendered (some of which are useful to me). But these renders are great for getting animation and timing correct. For this purpose, I don’t care that the compositing leaves green lines around the characters. And it’s very quick — I can now work with the viewport renders which take just seconds or minutes to render (they’re not quite real-time on my workstation, but there’s not a lot of waiting). That means it’s easy to go through the cycle of making changes and then seeing how they look in motion — a critical thing for animation quality.
I don’t recommend this technique for final rendering. Not only are there green lines, but some of the rendering features, like mirrored surfaces will reflect the world background color. And using PNG or EXR streams makes it unnecessary, so why would I bother? But it’s a nice workaround for previz!
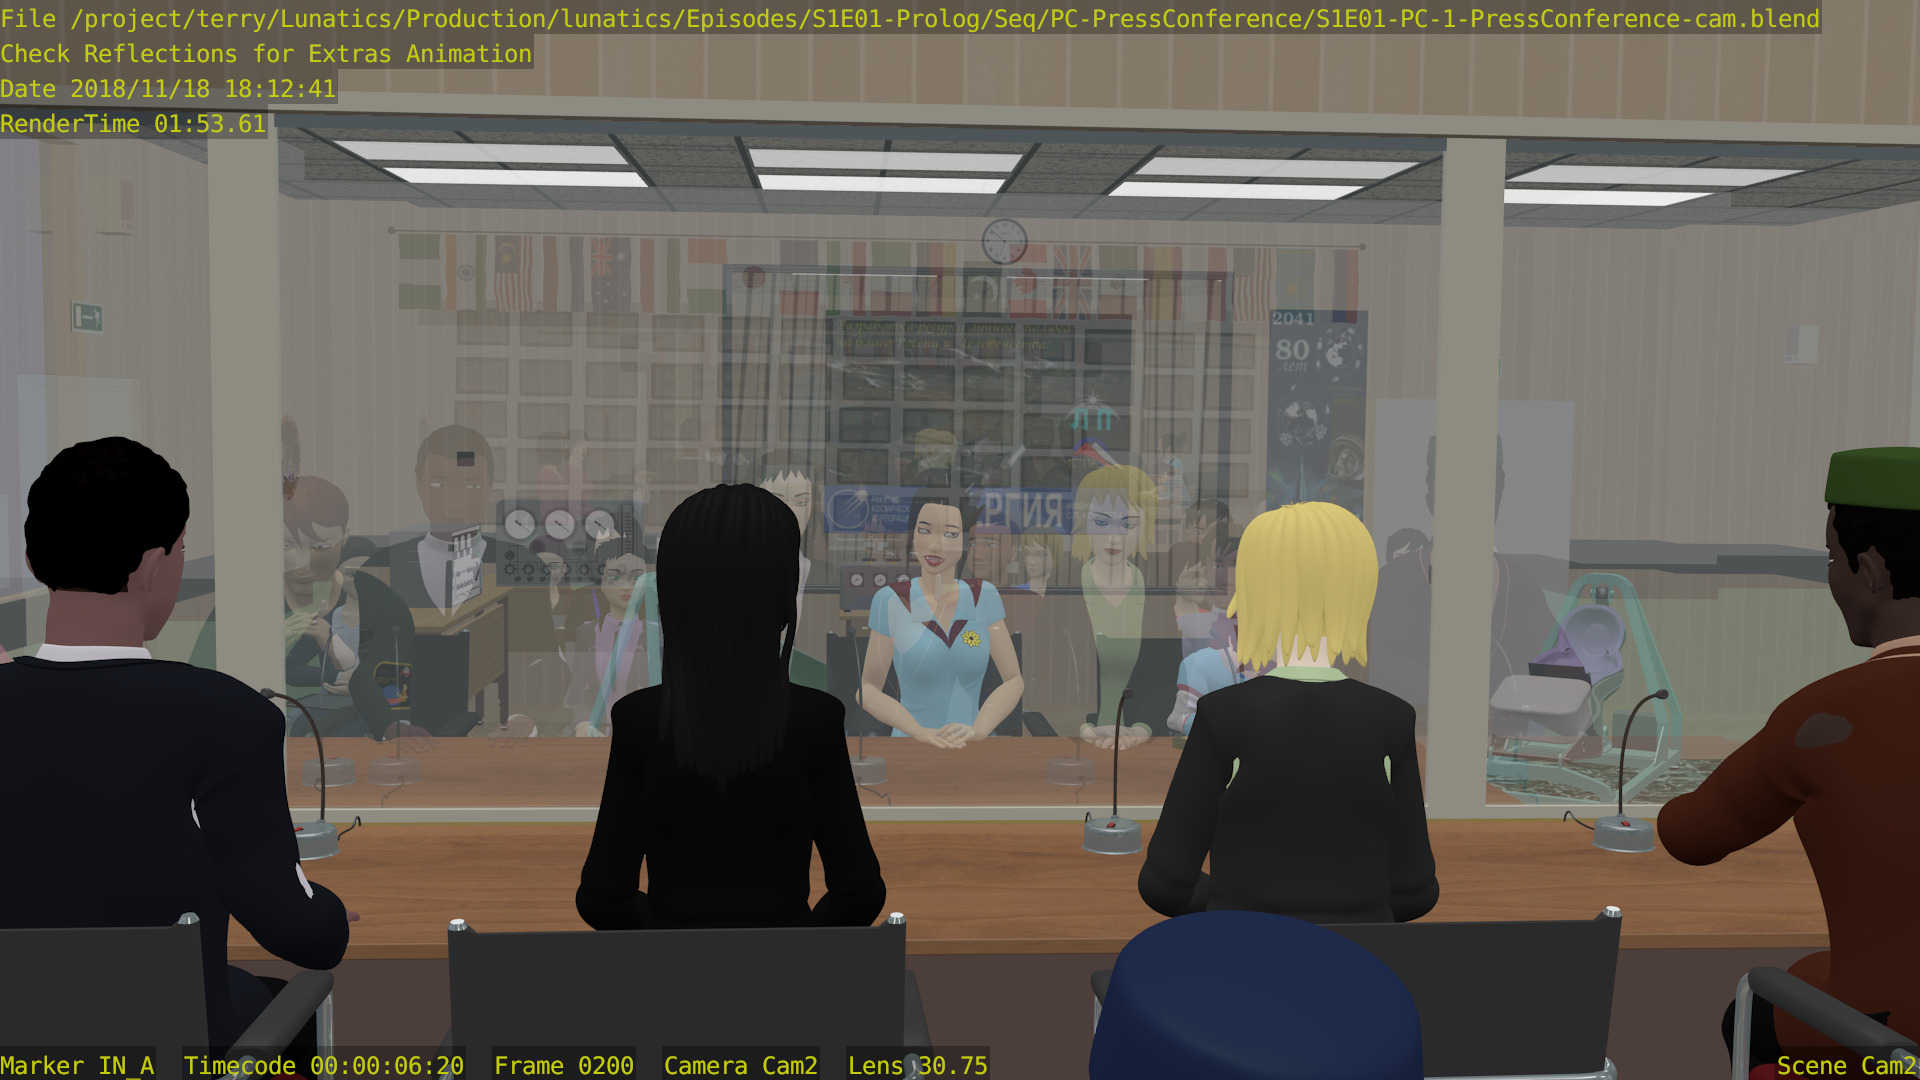
Nov 16, 2018 at 4:00 PM
Taking Out the Trash
This project has been going on for quite awhile, and the bitrot tends to set in, as we say.
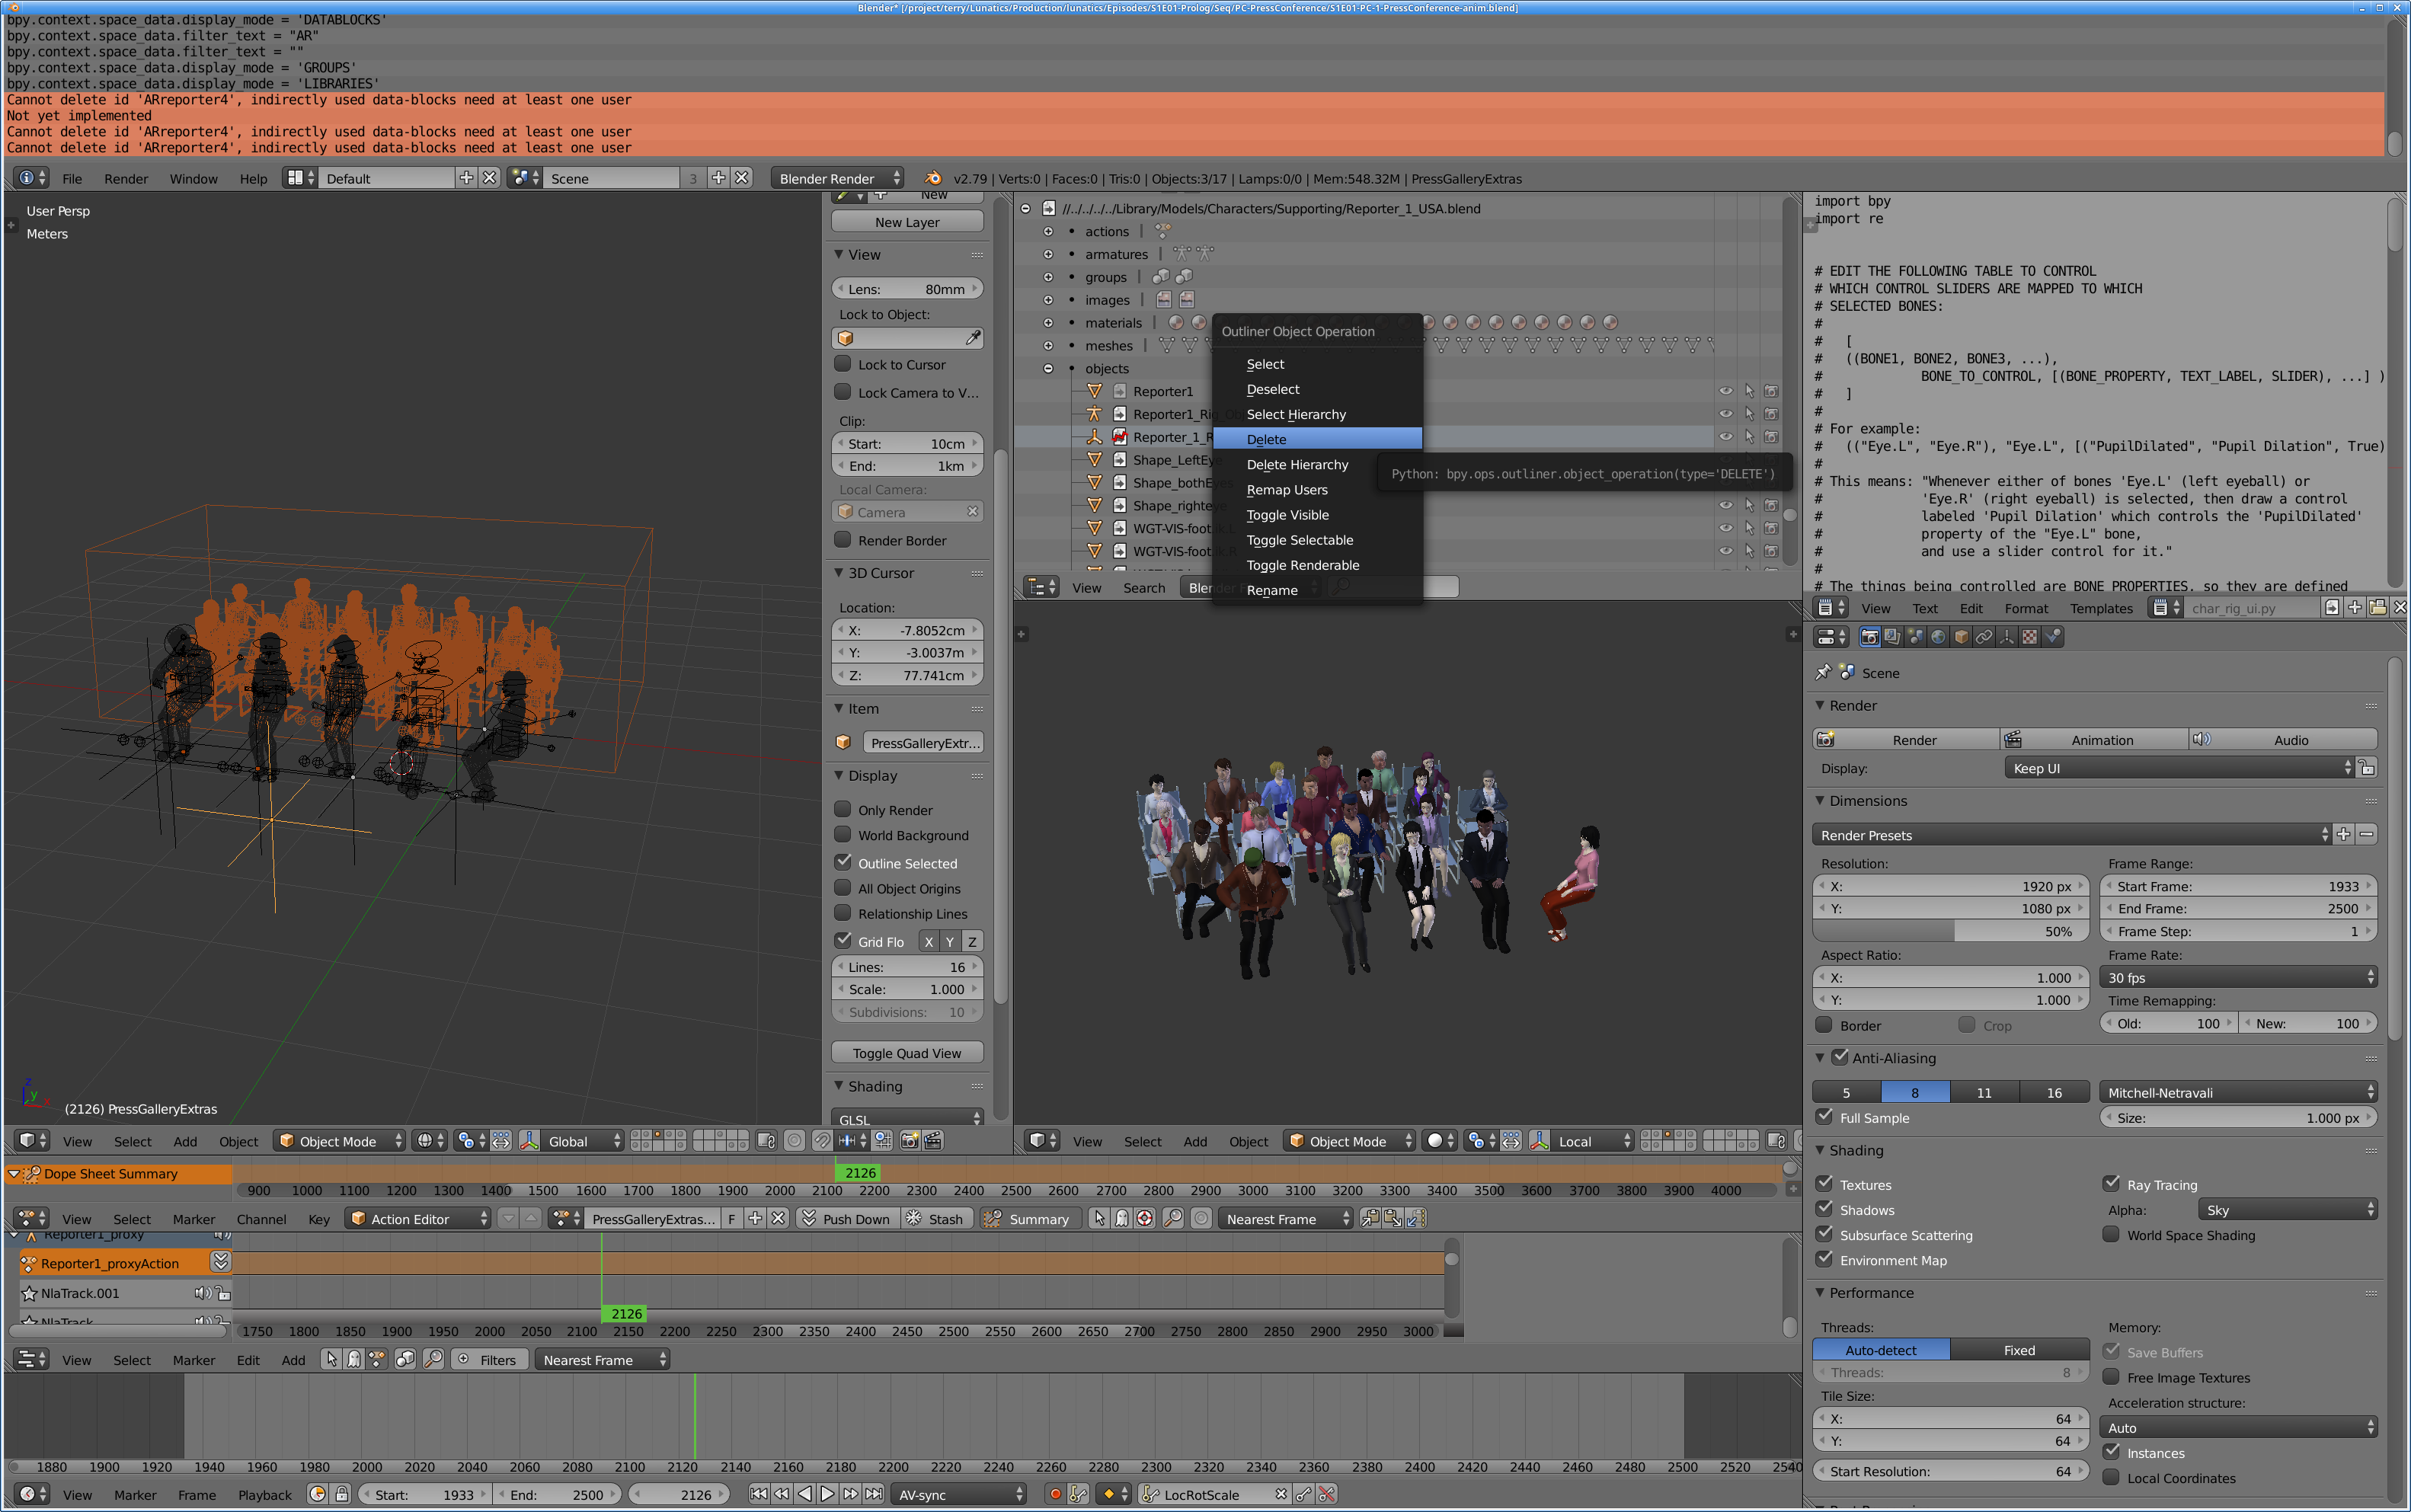
At some point, after many different editing sessions, our “Press Conference” sequence file acquired a number of unused objects, which then got broken when their antecedents were removed from a library file. Or perhaps they got broken first and that’s why we replaced them — at this point, I do not remember.But for whatever reason, we have broken objects that are just in the file.It’s possible to find these in the Outliner in Blender and delete them. There’s also a “delete hierarchy” to get rid of a tree of objects that are connected in the file’s database.
Naturally, you have to be careful not to delete objects that are in use, but it’s not too difficult.
I also found it was somewhat useful to use a bit of Python in the built-in interpreter. For example, I tried to delete an armature object initially, but found it was being used. To find out what was using it, I used the following snippet:
>>> armature_to_remove = ‘reporter2’
>>>for ob in bpy.data.objects:
>>> if ob.user_of_id(bpy.data.armatures[‘reporter2’]):
>>> print ob.name
Assuming the armature really was in use, this would tell me what object was using it.
This was faster than just browsing the objects in the Outliner to find the reference.
Nov 17, 2018 at 4:00 PM
Agh! Version Conflict
I’ve been using Blender 2.79 since it came out, partly because it has better features for managing the database (as described in my previous post). Specifically, it doesn’t silently erase broken references, but gives you a chance to fix them.However, it’s also the last version of Blender that will include the Blender Internal renderer that we are using, and Blender developers aren’t focusing on maintaining it anymore. So problems have crept in.
It turns out the Press Conference sequence won’t render in 2.79 — at least not the build I have. It crashes with a segmentation fault. Unfortunately, tracking down exactly what about this file causes it to crash is pretty impractical.
However, I do find that it still renders successfully with Blender 2.71, so I think our simplest solution will simply be to specify the version in our rendering process.
Thankfully, at least, we don’t seem to have added anything that Blender 2.71 doesn’t support, which would be the worst case scenario (a file that can’t be used with either version).
This is the sort of problem you dread: this file represents a lot of hours of work, and currently weighs in at about 165 MB. It may be the largest Blender file I’ve ever worked with. So it would be hugely bad if it became corrupeted before we were able to use it!
Nov 20, 2018 at 4:00 PM
Waiting for a GL Render…

The 3-minute PRE-VIZ render on this “Press Conference” sequence takes about 12 HOURS PER CAMERA to render using the viewport GL rendering feature in Blender. With 4 cameras, that’s 48 hours, or about two days of rendering.You understand, that’s not a final render. That’s the “quick” “GL blast” render for previz. This is usually close to realtime for most shots.
I guess this is because there are 13 rigify character rigs to calculate (7 main characters and 6 extras). Armatures are one of the less-optimized features of Blender, as I understand it.
Probably could be optimized, with more effort than I’m willing to spend on it. For now, I’m just going to plow through — this is not intolerable for this episode. But it is giving me some things to think about:
- “Solid” mode is probably a little faster than “materials” (but I don’t think rendering is the main issue here. I think it’s the pose calculations for the characters).
- We could do even GL pre-viz renders on a cluster (at minimum, we could do each camera in parallel on different machines). I will have to learn how to script viewport rendering, which doesn’t use the same interface as regular rendering (not sure how the API handles it).
- I guess that means I should get back onto building the cluster soon (and installing the software on it).
- These characters are animated in two separate files (one for the extras and one for the main characters) and then combined. But it may be more efficient to actually render the two animations and then combine them in compositing (this wouldn’t work in this sequence, but might in others).
- Some of this is paying off the convenience of the multicam approach in the animation phase. In general, though, that’s a good trade: more computer time for less human time.
- Freestyle inking is still the driving factor in final render times — they haven’t gone up significantly (although 10-12 minutes per frame is a lot to begin with).
- This is an interesting test of our technical capabilities. It’s also not a situation I plan to repeat very often in future animation plans. It’s practically a stunt: how many characters can we animate in one sequence?
Fortunately, most of our other shots are nothing like this slow in pre-viz.
Nov 23, 2018 at 4:00 PM
Proxy Workflow in Kdenlive
After a frustrating two days reading conflicting reports on Kdenlive’s capabilities, experimenting with difficult-to-reproduce errors, and finally some random tweaking of profiles, I finally figured out how to use Kdenlive’s proxy system. So I figured I should share a few pointers.
Proxy-Editing
Although I’ve been doing rough animatics with AVI video output from Blender, what we will be using for final renders is either PNG or EXR image sequences. In general, this is the high-fidelity way to store animation output from Blender: you create an image for each frame, with a number appended to a prefix for the shot name (also typically in a directory named for the shot). PNG is a compressed, lossless image format, so you save exactly what you render.
EXR is an even higher-end option, in which you preserve multiple image layers (similar to the layered formats used by bitmap editors like Gimp and Krita). I have not really explored EXR workflow yet, but I think it may be possible to store extra information in EXR, to allow for changes to compositing after rendering (which could be very useful). For now, though, I’ll assume I’m using the simpler PNG stream option — those are just plain flat images, already composited.
In any case, the image sequences then need to be read into Kdenlive as a clip to be edited as video. But, if you work with this format directly, the editor quickly becomes unusable — it simply can’t render the video anywhere near realtime in the editor window.
The solution? Kdenlive can make a “proxy” clip: a much more optimized video that it uses in place of the PNG-stream while editing. This is much faster to render, so playback is quick. It’ll be lower resolution and more compressed.
When satisfied with the edit, though, the rendering step will go back to using the real PNG-stream footage to cut together the edit.
Pointers:
Blender Output – PNG (RGB/RGBA): Even though I’m still using GL viewport renders at this point, I’m now switching from using the compact AVI-JPEG video output to rendering PNG-streams, just like I will do for final renders. Conveniently, this means the render-panel output settings will be the same as for the final render. Some of these include transparent video (the “transitions”, which are meant to overlay other animation). So for those at least, I’ll be using the “RGBA” option for PNG output (i.e. including the “alpha” channel).
Kdenlive version: 17.12.3 (version standard in Ubuntu Studio 18.04 — but probably applies to later and somewhat earlier versions).
1920×1080 PNG stream: to use this technique, we need to have our footage in final form, which is a full-resolution PNG stream (that is, a directory full of numbered PNG images).
Image Sequence + Transparency: I turned these on in our project defaults, but there are also checkboxes in the clip file browser. I’m not positive, but I believe this is exactly the same result whether you use this feature in the “Add Clip” file browser or instead use the “Add Slideshow” selection (except, I believe this “Add Clip” method defaults to a duration of 1 frame per image, which is what we usually want for animation — though I suppose you could animate “on twos” or “on threes” using this setting if you prefer not to do it in Blender).
Proxy Clips: This checkbox has to be set in the “Project Settings” for you to be able to use proxies.
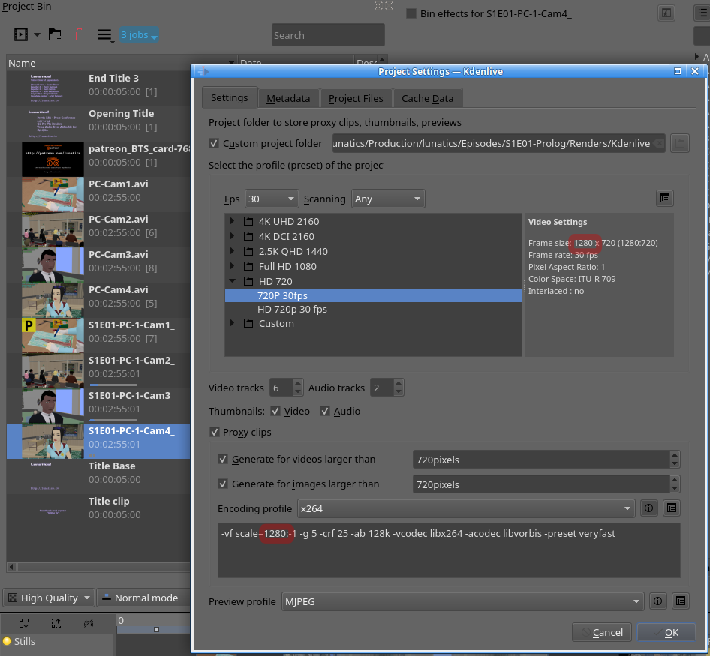
GOTCHA – Settings: This is what held me up for a couple of days. The project profile for this workflow should be the PROXY size, not the full size of the video. In my example, I’m using 1280×720 for editing, but the final video will be 1920×1080. You could use an even lower resolution on a slower computer. The advantage of proxies is not just in the size, though, but also the codec used. You’ll notice this project is set to use the ‘x264’ codec (a.k.a. ‘mp4’) for proxies. It’s a common format used for web video, that you may recognize.
Match SCALE! Also, and this was what nearly stopped me dead: open up the FFMPEG settings. Check that the “scale” parameter actually matches the project profile’s image width (in this case, 1280). If this doesn’t match, the clip won’t work at all. It generates corrupt proxies which don’t render at all in the editor. I’m not sure why — it’s not the failure mode I would expect, and there’s nothing in the interface to clue you in on what’s gone wrong, which I would probably call a “bug”. But if this is set correctly, it appears to work.
Yes, Image Sequences Work: Kdenlive did not support proxy editing for image sequences in the past. The web being the web, there’s a lot of obsolete information about that online. Ignore it. If you have a recent version of Kdenlive, it does work, just as it does for regular clips.
Create Proxies: You actually create the proxies one at a time as you load your clips. Right click on the clip in the “Project Bin” and select “Proxy Clip”. A check will appear in the box to show that you’re now intending to use the proxy clip for editing. A progress bar will appear underneath and a “Job” will be mentioned at the top. Kdenlive is using ffmpeg to create the proxy clip in its cache area for the project.
‘P’ for Proxy: This takes a few minutes, but then a yellow box with the letter ‘P’ will appear over the clip (see the image) to indicate that we are now using the proxy rather than the original footage.
Symlinks: Unfortunately, this does not solve the problem if you want to replace a clip with an updated clip (as in our case, the final render in place of the GL previz). I did find a trick that works for this, though: as long as the filename is the same, Kdenlive is none-the-wiser about the video. It has to reload it every time it plays the video anyway. So it is possible to use a symlink to identify your shot, and then just change which version of the shot it points to. For image sequences, I imagine it is essential that the shot prefix matches as well, though. This won’t work if the video clip is fundamentally different, though — in particular, if you’ve already cut a video with AVI videos, you can’t just drop in a PNG-stream. Which is why I’m now creating PNG-streams from my GL renders.
Markers: Note that since I am setting things up so I can just swap in the finished video with the symlink technique, I can leave marker text, including frame numbers, on my GL footage, and use that for alignment during editing. I won’t have to manually match animation without the markers.
I realize this explanation may be a little hard to follow if you aren’t already an experience Kdenlive user. I may create a video tutorial based on it in the future. But I wanted to write it down for you while it’s fresh in my head.
Nov 26, 2018 at 4:00 PM
Linking Diagrams
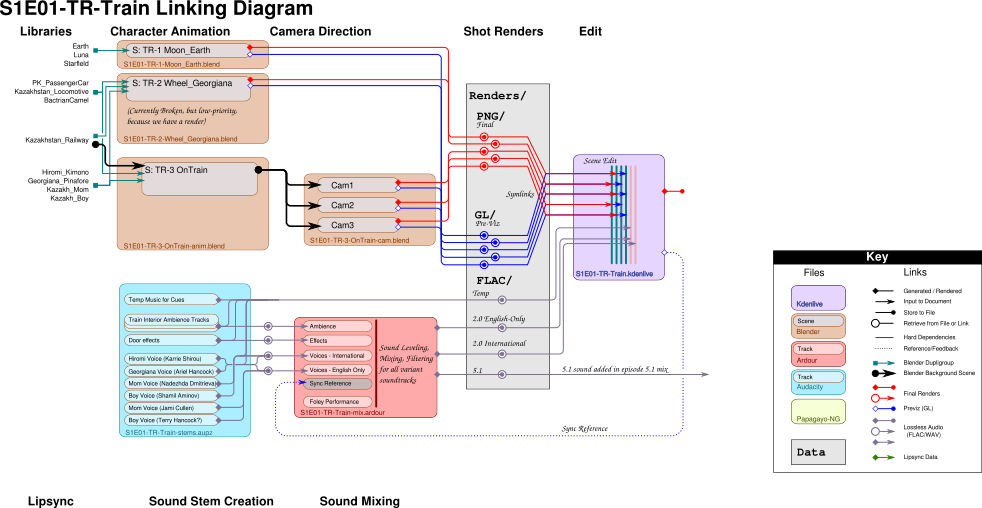
The diagram I created for the “Suiting Up” sequence was so useful, I decided I need to make it a standard part of my workflow. The “Source Edition” disk will include these along with the source files, to help sort out how the files work together to create the episode.I break each episode down into “sequences” (alternatively, these could be called “scenes”, but as “scene” is a jargon term for a single model setup in a Blender file, this would lead to confusion). Then that’s broken down further into sub-sequences and isolated shots. Different techniques lead to different breakdowns below that point: “multicam” sequences get one or more “character animation” files, which are then referred to by a “camera direction” file, which produces output for each of the cameras in the setup (so far, I’ve got one 3-camera and one 4-camera setup).
Or, we can have a non-sync “montage”, in which the animation files are accessed by a lot of separate “shot” scenes in the camera file. Like this one, for the “Touring Baikonur” sequence:
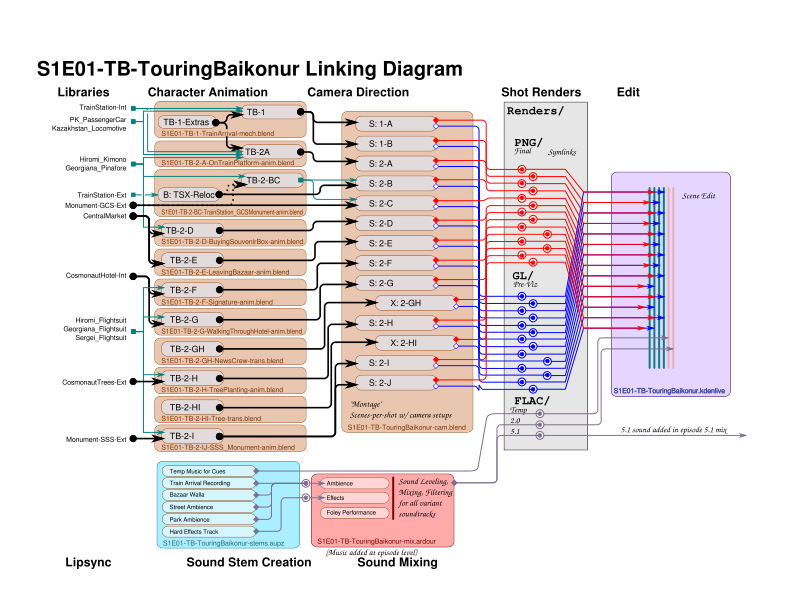
You’ll notice there are blue lines indicating the “animatic” workflow, using GL/AVI video clips rendered using “viewport” rendering in Blender. These are quick, and allow me to make editing decisions while I’m working on shots. The red lines are the final renders, using Blender Internal renderer, which will be used to make the final episode.
I’ve also added the sound production workflow to these diagrams. So they’ll include the structure of the Audacity projects (“.aupz” is my abbreviation for a ZIP file containing both the Audacity project file and its associated data — at the time I started this, Audacity did not have any sort of portable archive feature, and the clip files it produces play merry hell with Subversion, so I just check them in as compressed archives).
In fact, we have so far only used Audacity for the soundtrack (shown here as a “temp” track), but I plan to introduce Ardour for assembling and balancing the audio “stems” produced from Audacity. This should give us a little more flexibility with mixing and also allow for better workflow in creating the 5.1 surround sound audio track.
As in a lot of other areas of production, I’m doing this not just with the idea of getting one 15-minute short produced, but rather of establishing a good procedure to follow with repeated episode releases. I’m hoping to get episode 2 produced in a MUCH shorter time, using all this experience and experimentation that I’ve put into episode 1.
Nov 27, 2018 at 4:00 PM
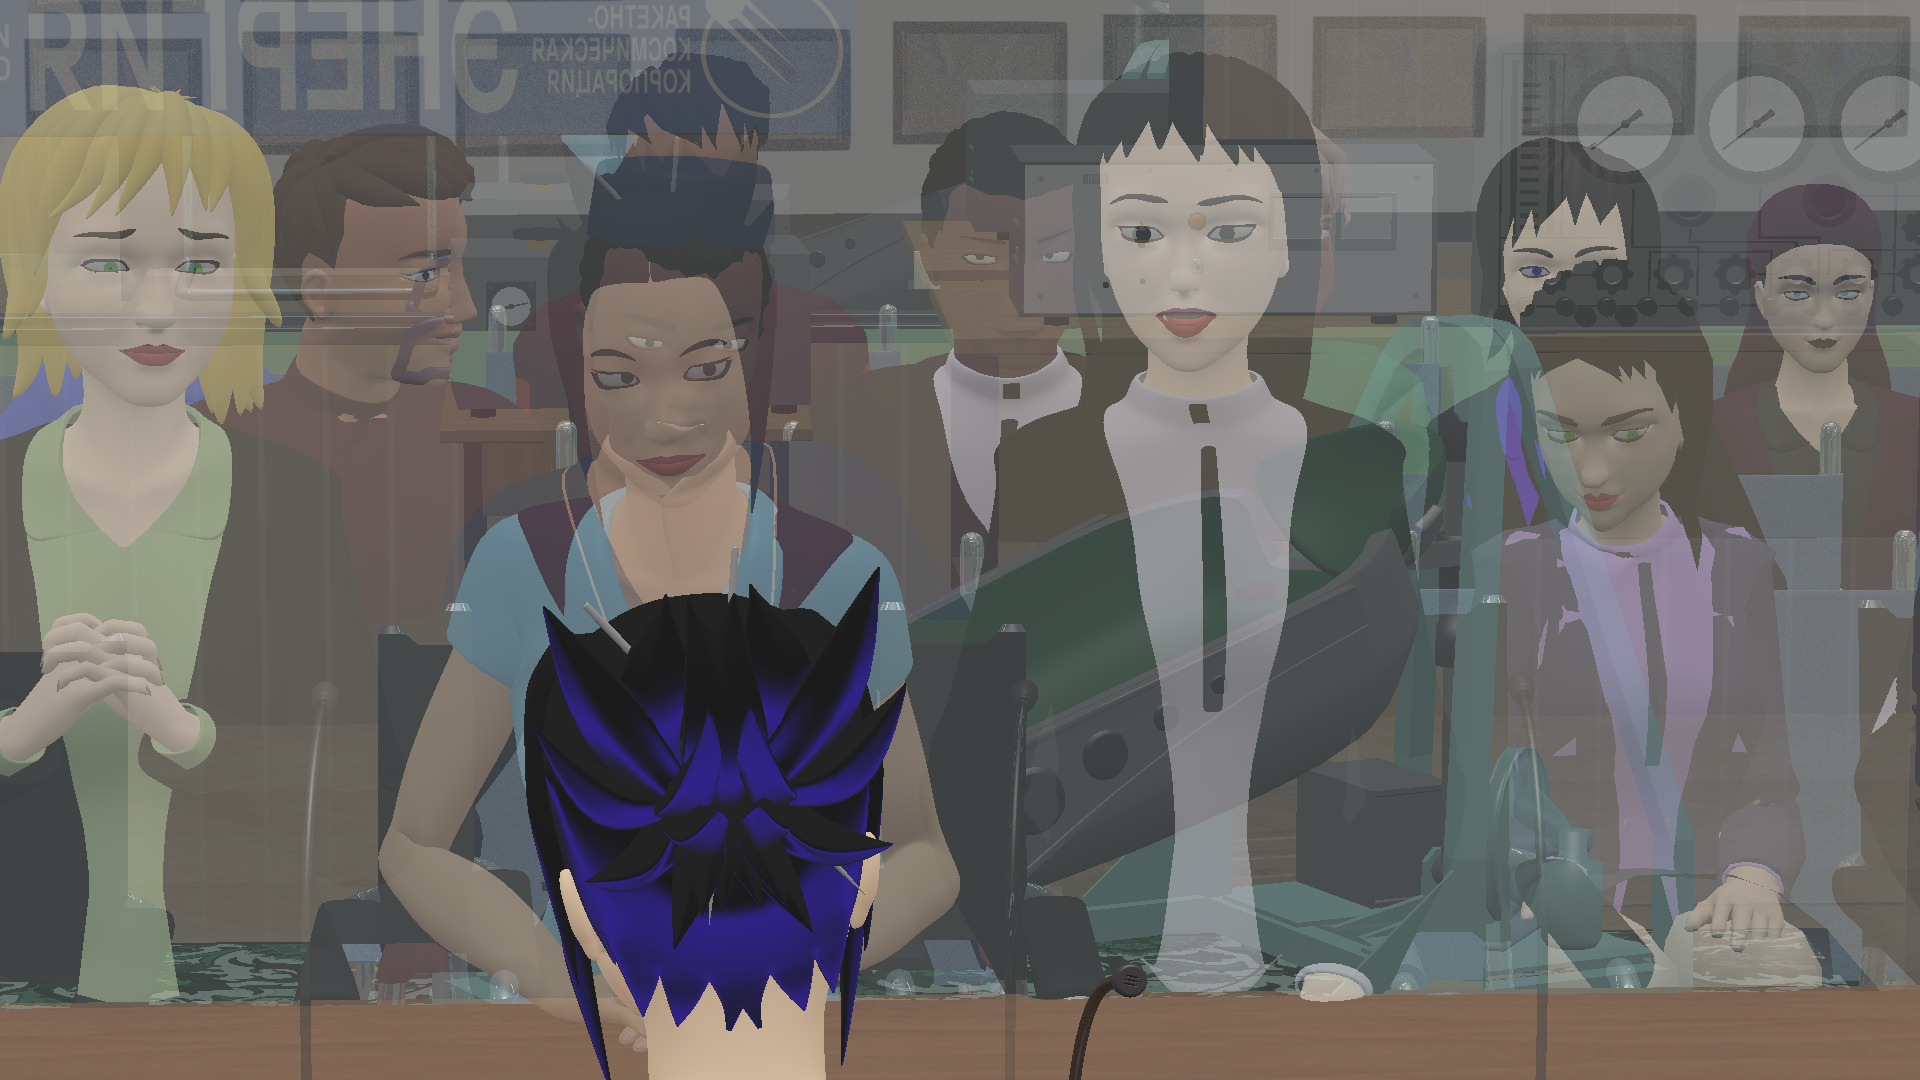
Gimp has a Color Blindness Display Filter
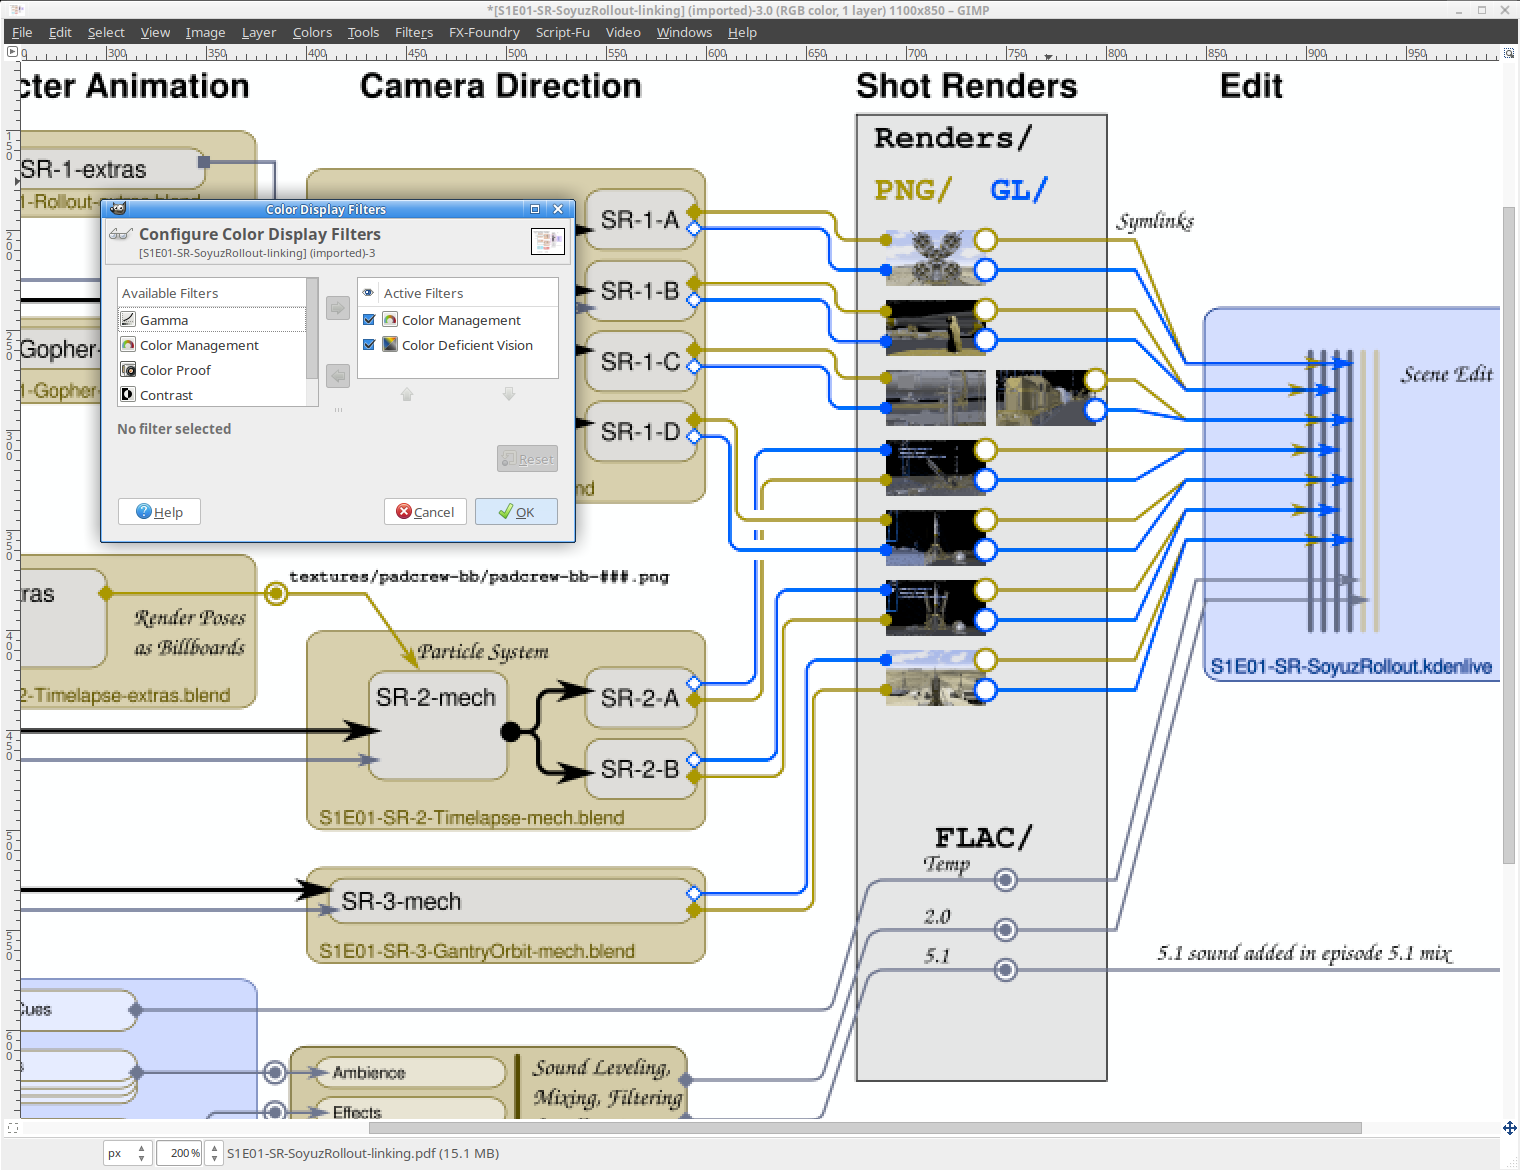
Interesting design tool I just learned about. I’m not sure how old this is, but at least in Gimp 2.8.22, there are “Display Filters” on the “View” menu in Gimp, which affect how an image is displayed on your screen while editing it.One of these is a “color blindness” filter, which approximates three different types of color-blindness — that is, how your design is going to look to someone with this condition. In the lead image, I’ve selected “green insensitivity” which I believe is the most common sort.
A useful tool for avoiding confusing palette choices in your diagrams.
I found out about this today, because I was wondering whether my red and blue lines where going to create a problem. It seems like not — the contrast is still fairly high in all three cases.
I also decided to include storyboard thumbnails for the shots in my linking diagrams. I realized that otherwise, a reader might not understand which shots are being referred to, since the names might seem kind of cryptic to someone who hasn’t been staring at the storyboards for months (or years).
Nov 29, 2018 at 4:01 PM
Refining the Linking Diagram Concept
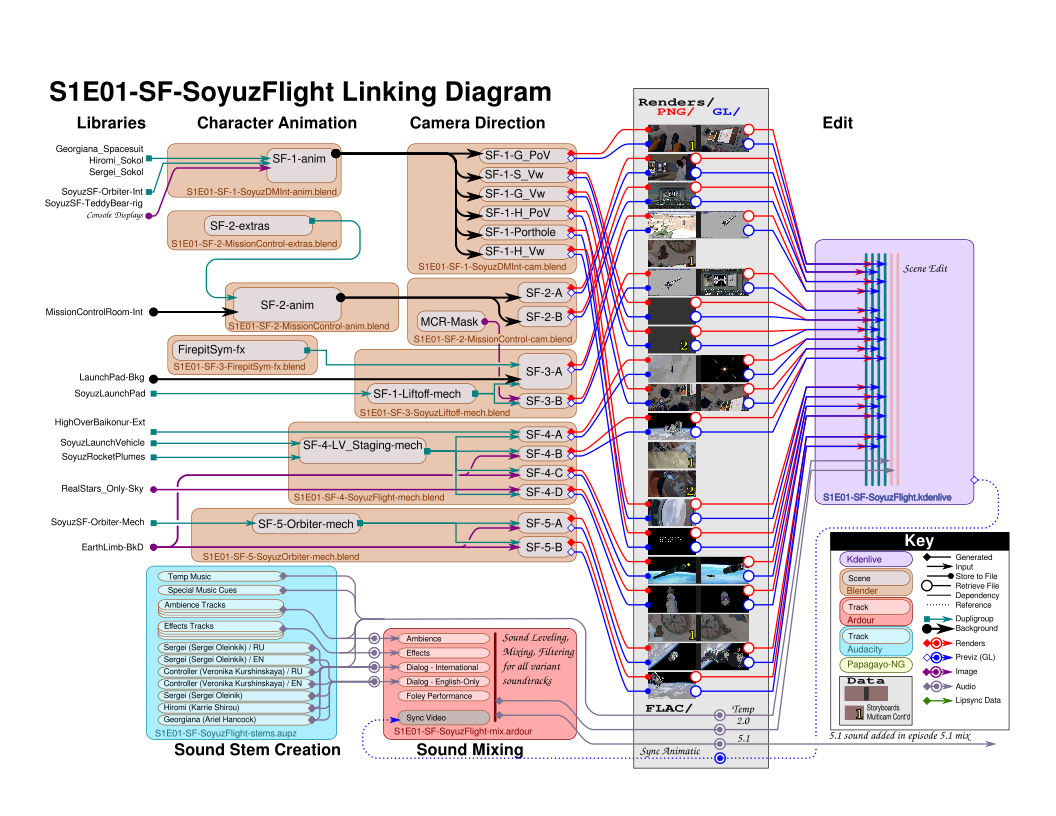
I’ve been continuing to create linking diagrams for the rest of episode 1, and gradually refining the graphical language for them.This might be where I should start the production process (possibly the last pre-production step, since the next step is to create the Blender files based on the diagram).
Working from right-to-left (“backwards”), this goes from the desired result (storyboard thumbnails of the shots), through new episode Blender files needed to create them, to the library files required for the sequence (down the left side of the diagram).
Right now, all the library files are being used on their first episode, but I can imagine in future that I might color-code them to call out the new files required beyond what we already have (and then that becomes a list of new library assets to create). In the middle of course, we find the character animation actions that need to be created, as well the mech and camera animations.
At the bottom is the sound production sequence, which I described in an earlier post.
I find this representation much more intuitive and complete than using text lists or spreadsheets with requirements.
Could it be automated?
Of course, this is essentially a node diagram. With a little tweaking, this could probably be represented with a special node-editor mode in Blender. In fact, that rings a bell. Urchn.org (the organization behind the “Wires for Empathy” open movie, a.k.a. “Tube Project”), created something very similar a couple of years ago:
https://urchn.org/post/planning-in-blenderorgnodes
The node system outlined there is “Tasker“, available from the project’s Gitlab repo.
So I wouldn’t even have to start from scratch. Might just be a matter of learning to use their add-on.
I don’t find the Blender node diagrams as intuitive to read as this diagram (although that might be partly a matter of familiarity), but as it is possible for a python script to traverse such a nodetree, it might be able to do automated consistency checking with the real project files. Or it might even be able to create a skeleton project.
Alternatively, it could be a way to encode project dependencies for a tool like RenderChan (beyond what it can discover by analyzing the project files). Or, potentially, RenderChan’s inspection code might be able to generate the nodetree for documentation purposes.
So, it seems to me there is some potential for automation, although I’m not sure if it’s a good idea or not.
I think for the present, I’ll be content with creating these diagrams by hand and then using them as a guide to set up the files myself. But I do like to keep an open mind.