HIGHLIGHTS:
- Worked on Sets & Set Dressing for Launchpad, Train Station Int, & Mission Control Room
- Texture maps for Launchpad Ext Set
- Ink Tests (Different ink methods and parameters, using both Freestyle & EdgeNode)
- Launchpad Ext Render Tests
- Planning Open Movie Release Organization
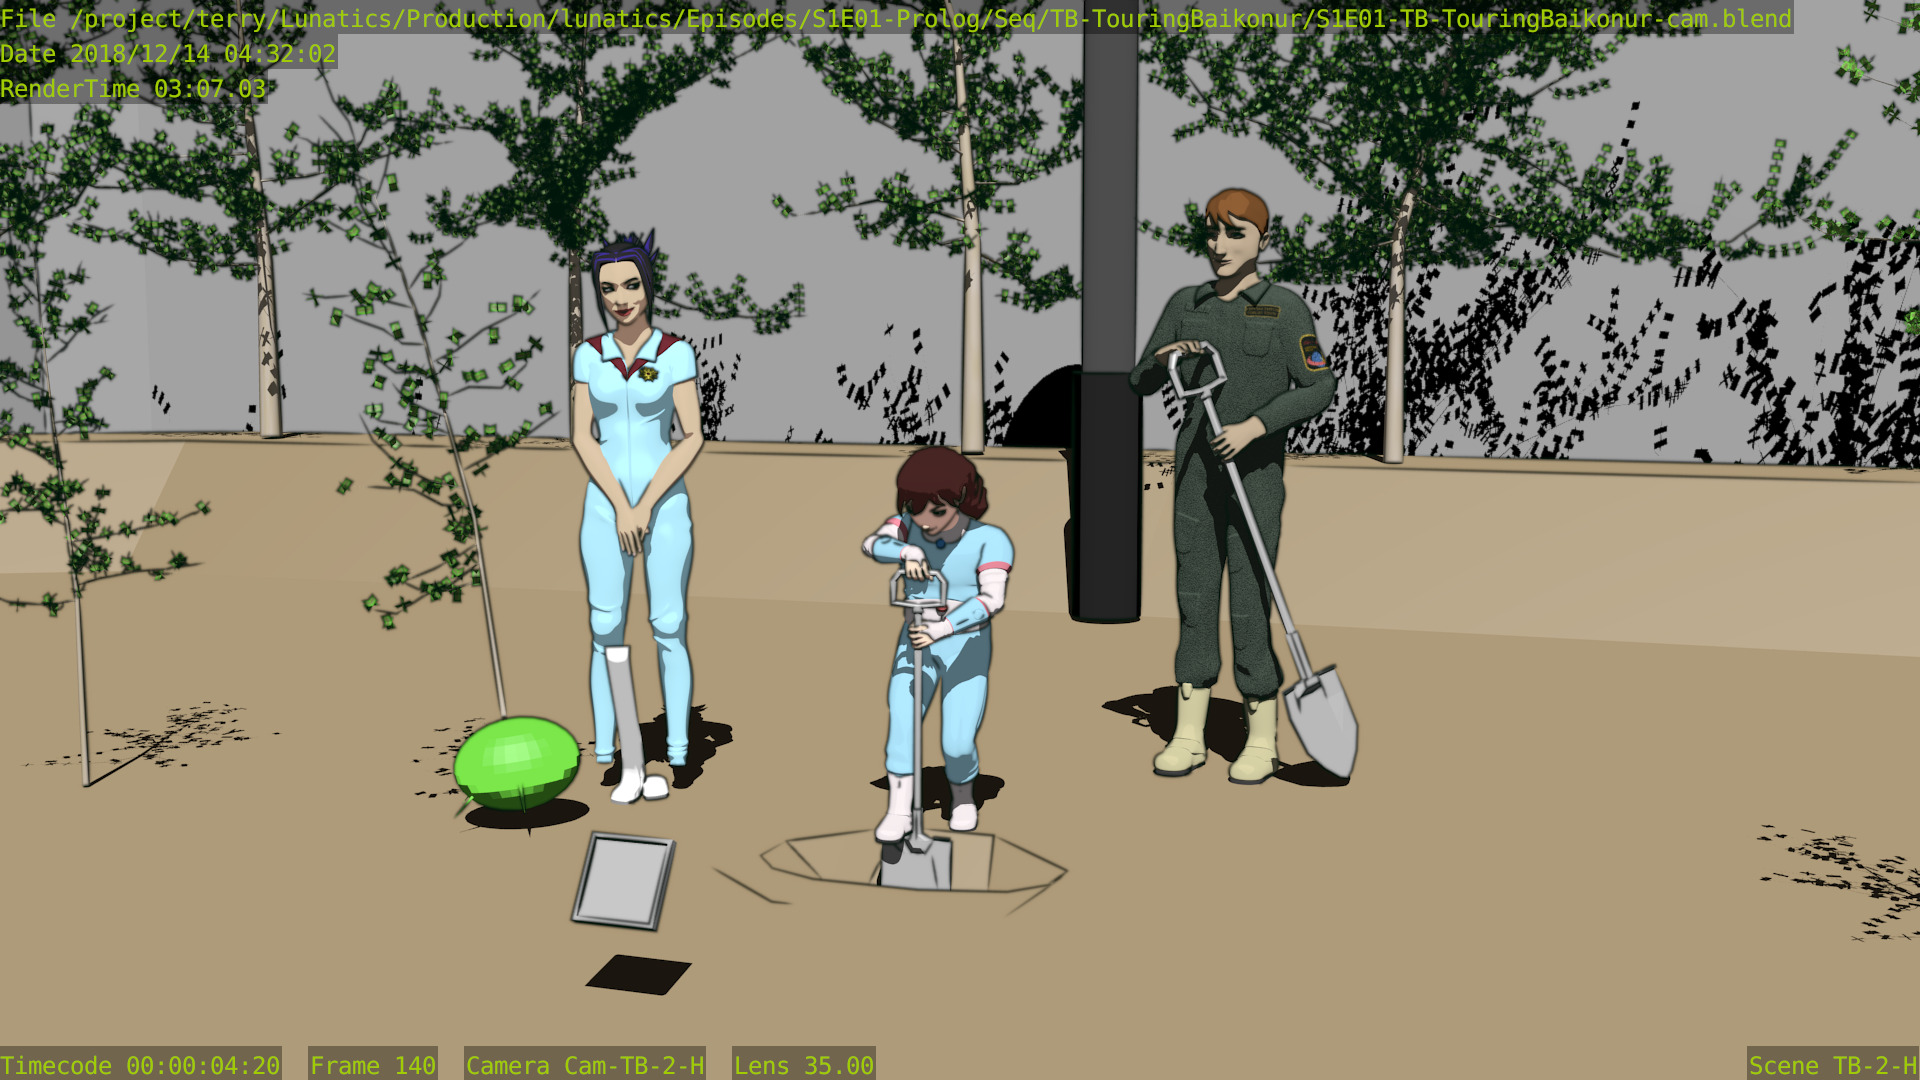
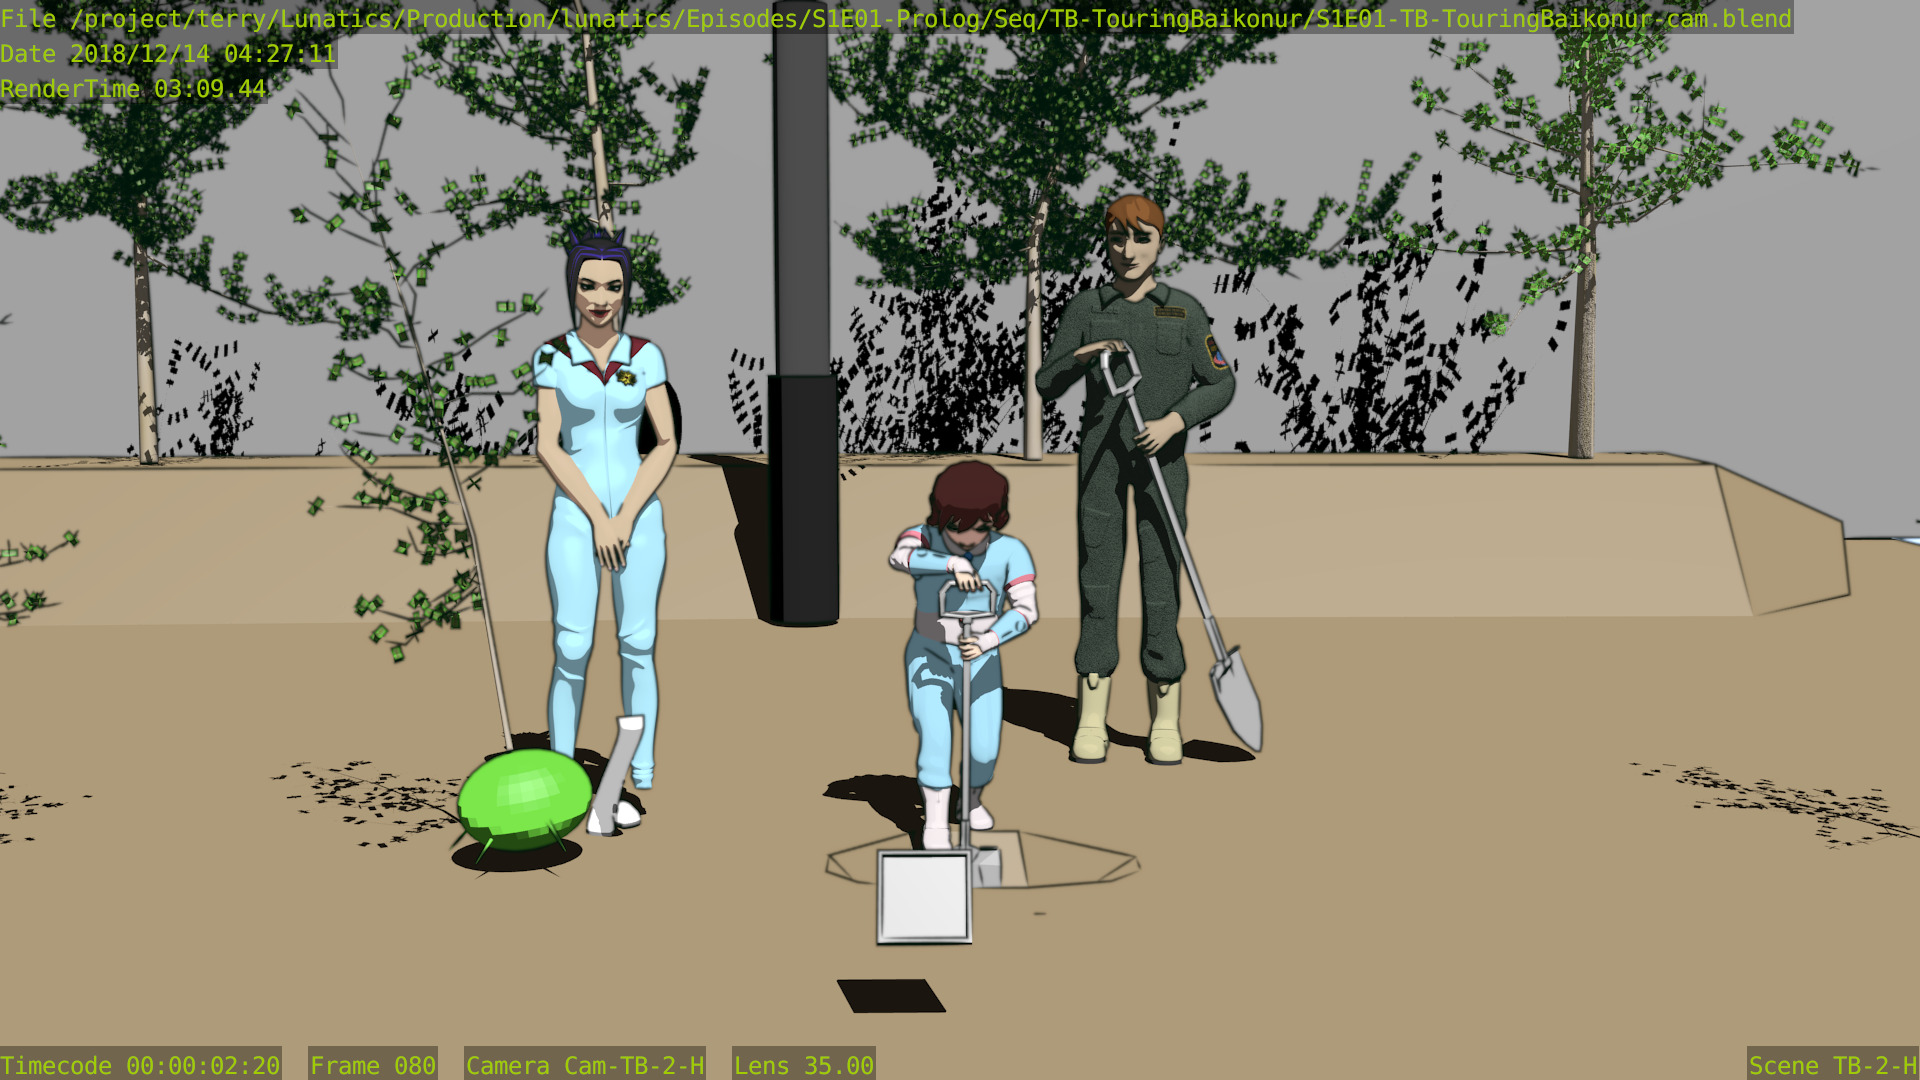
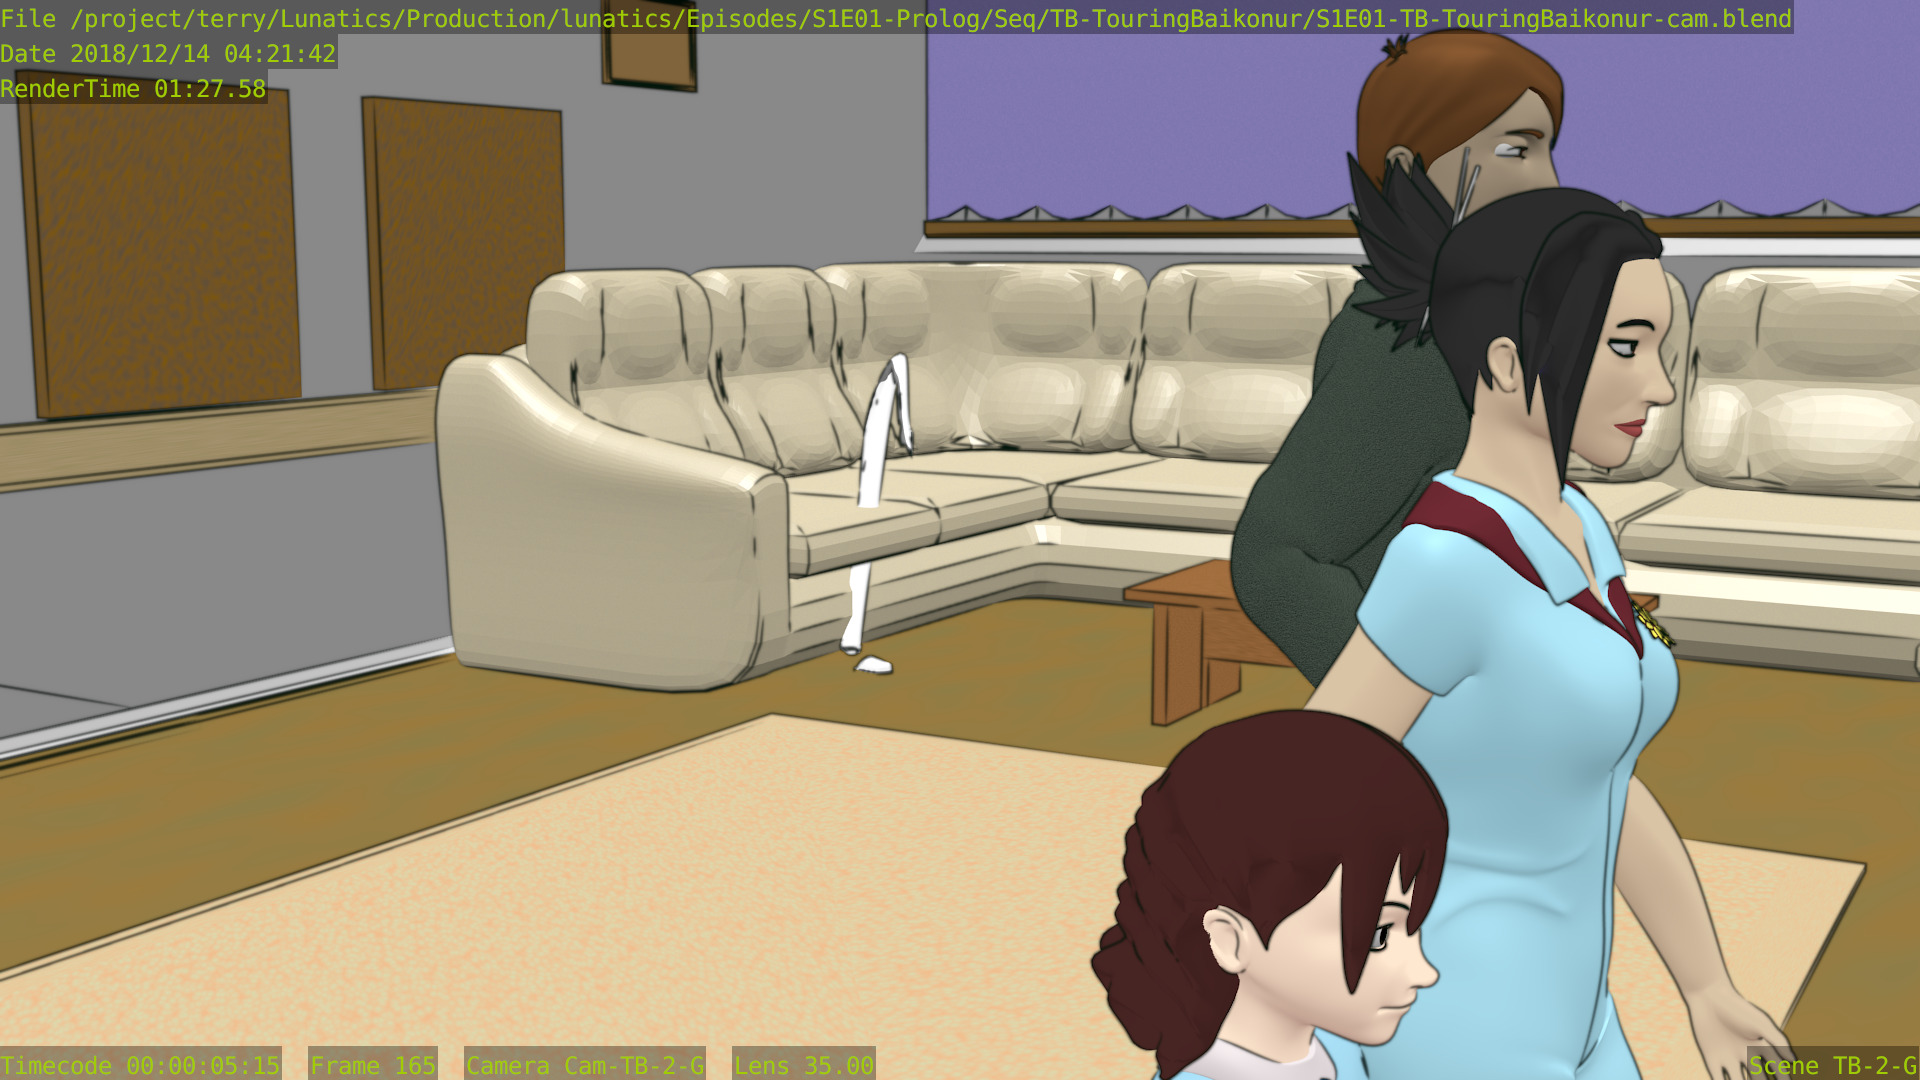
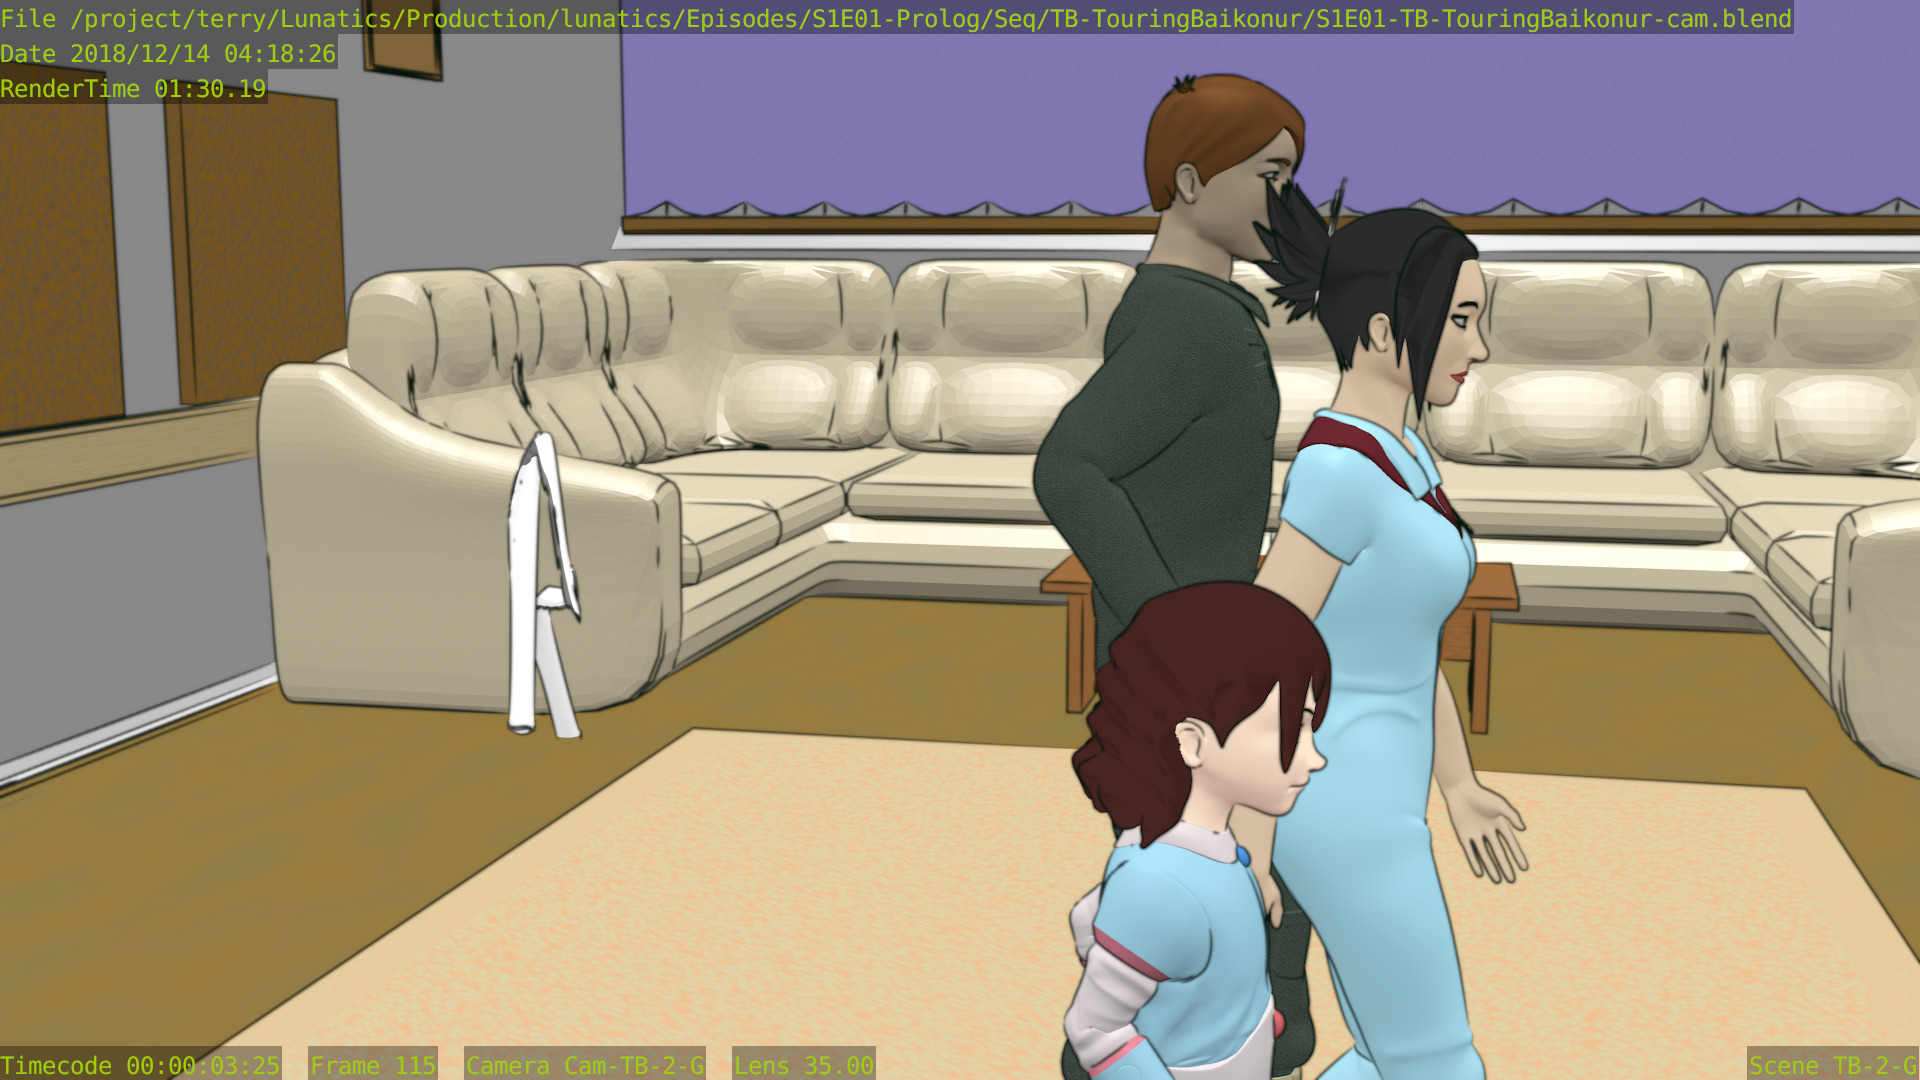
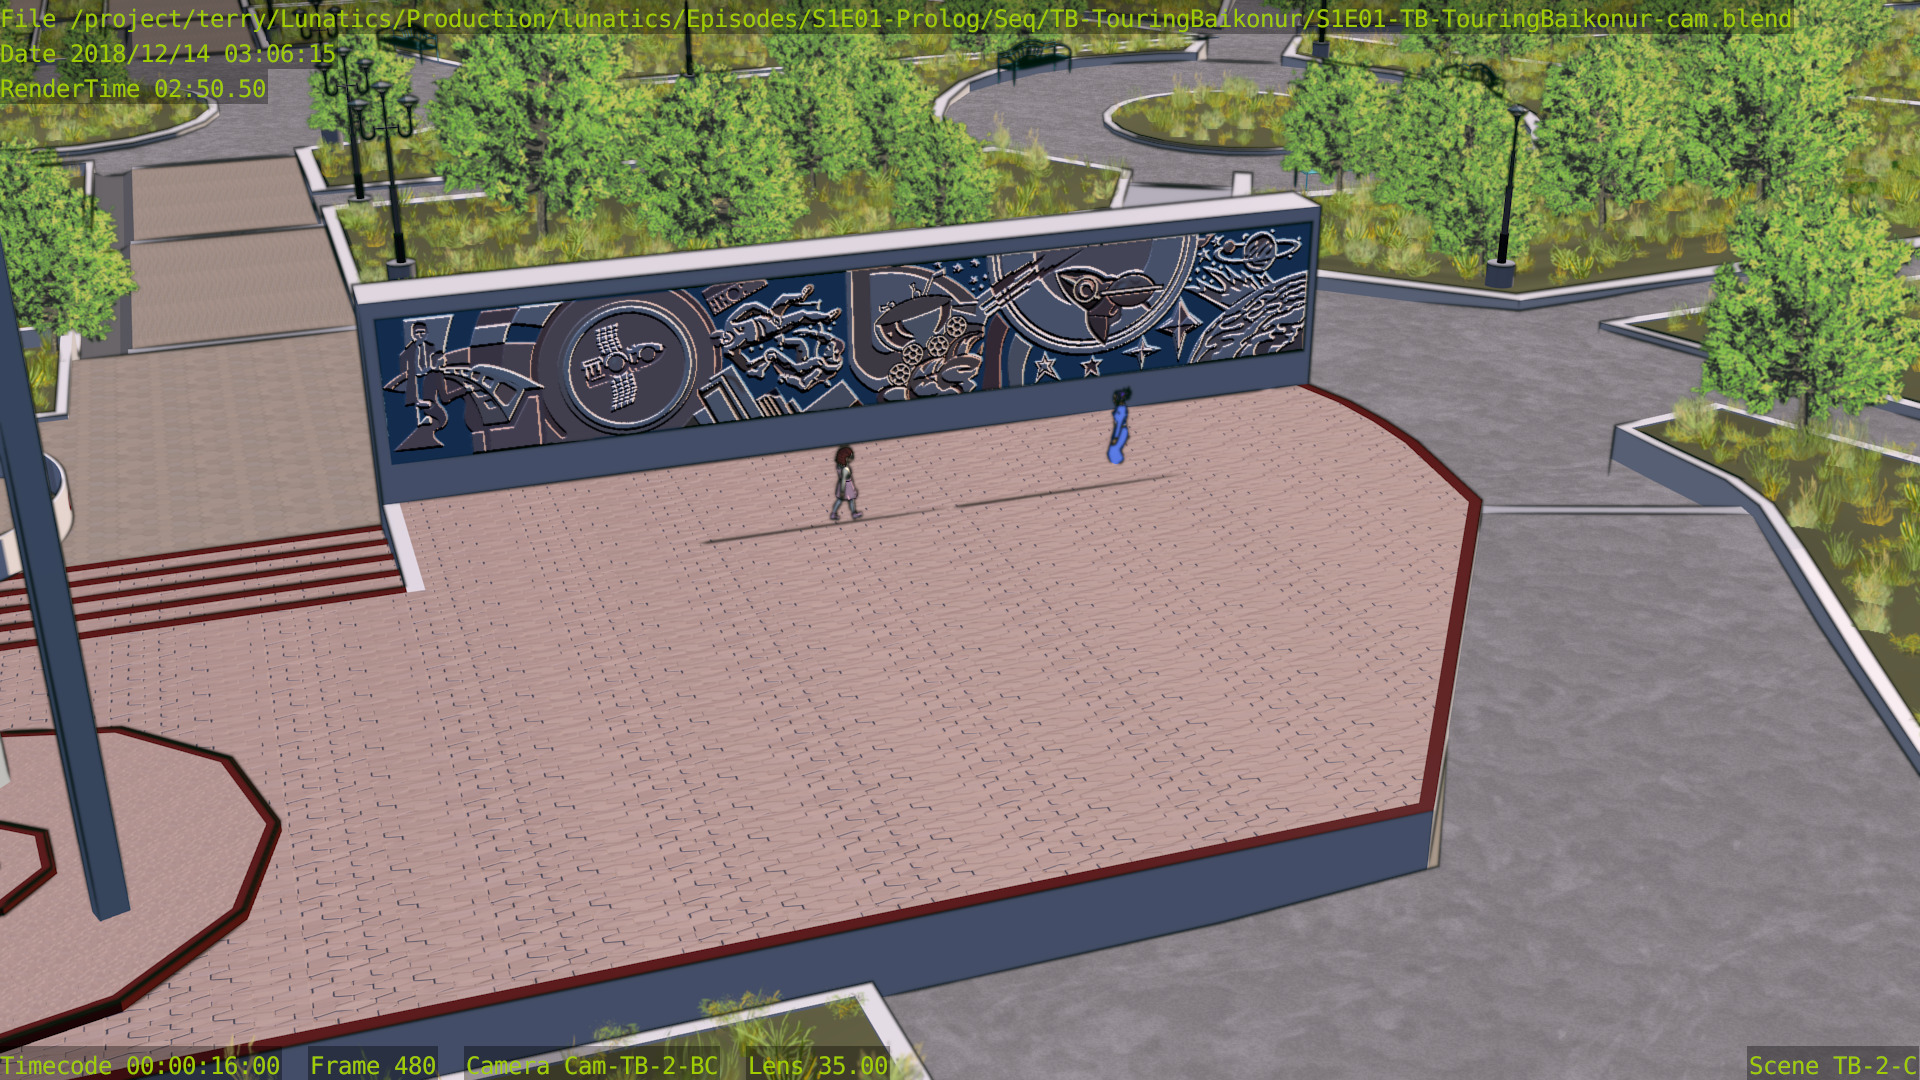
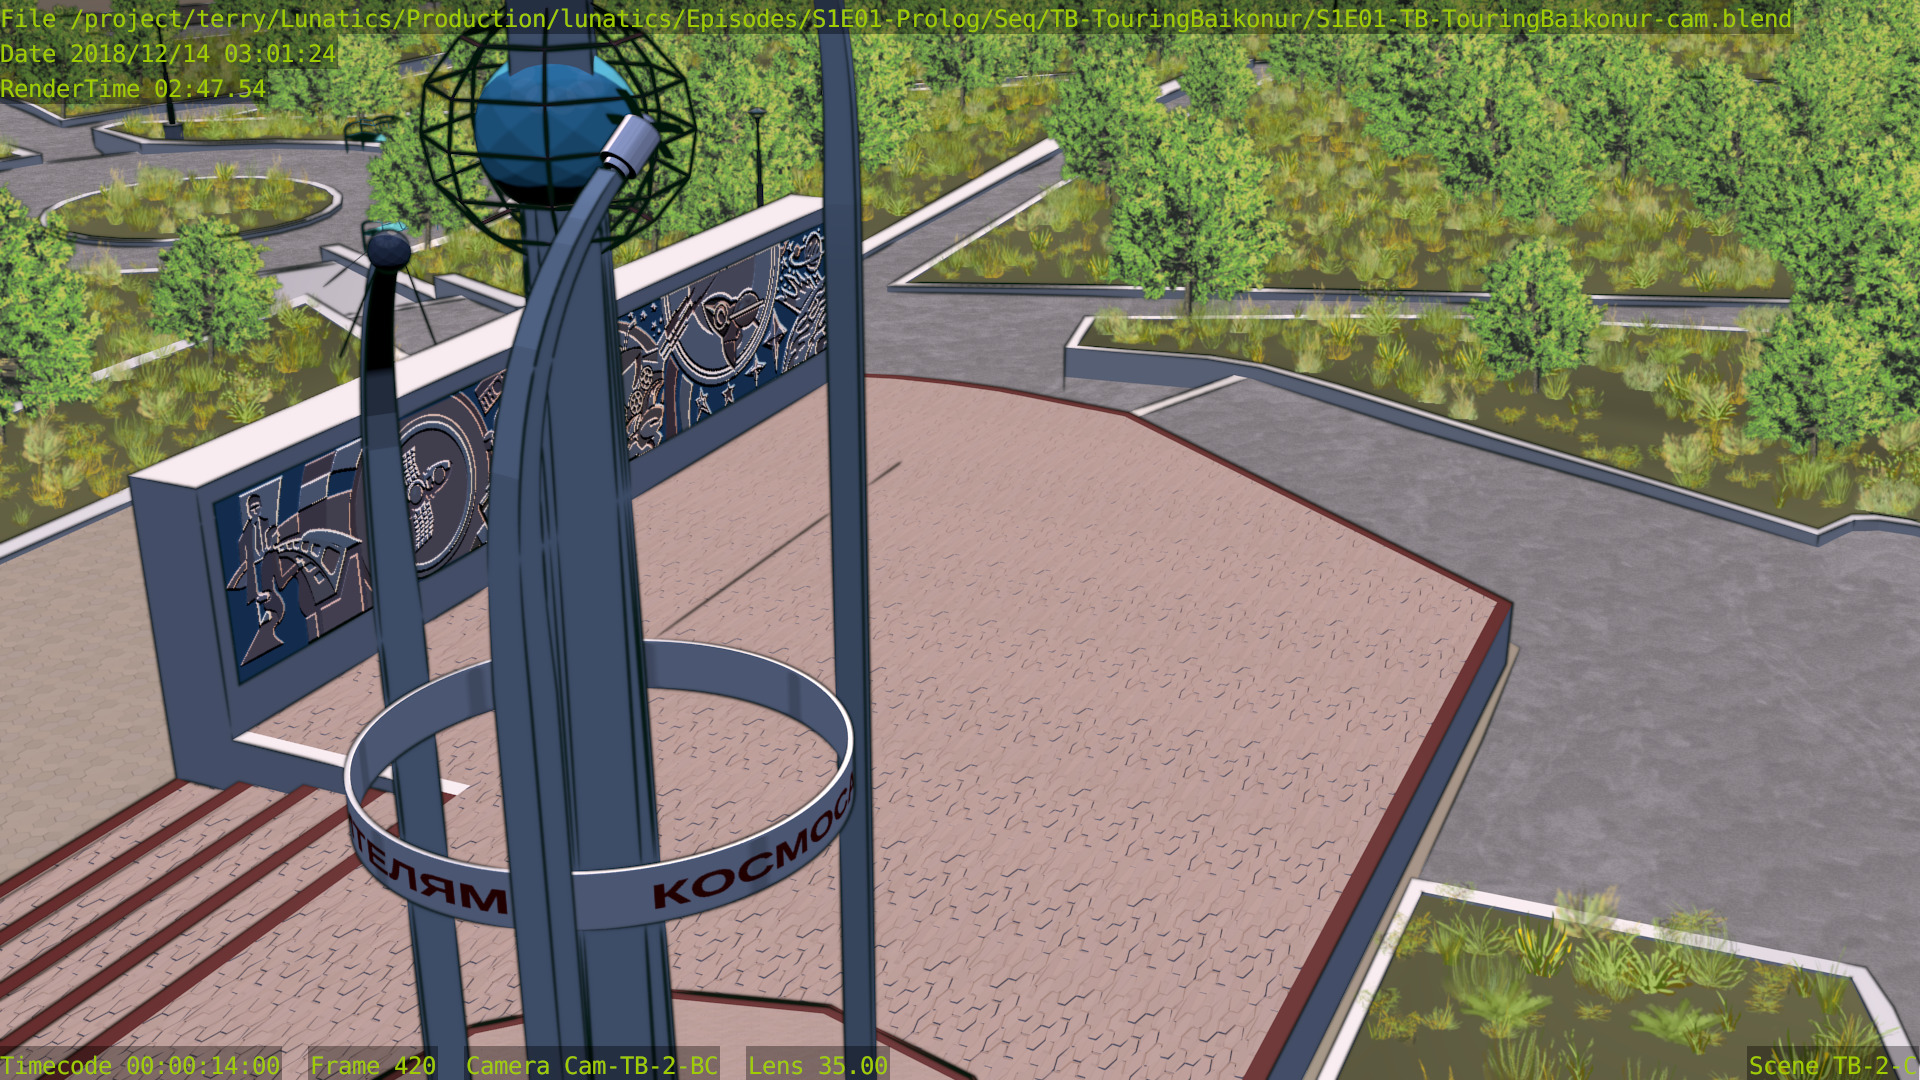
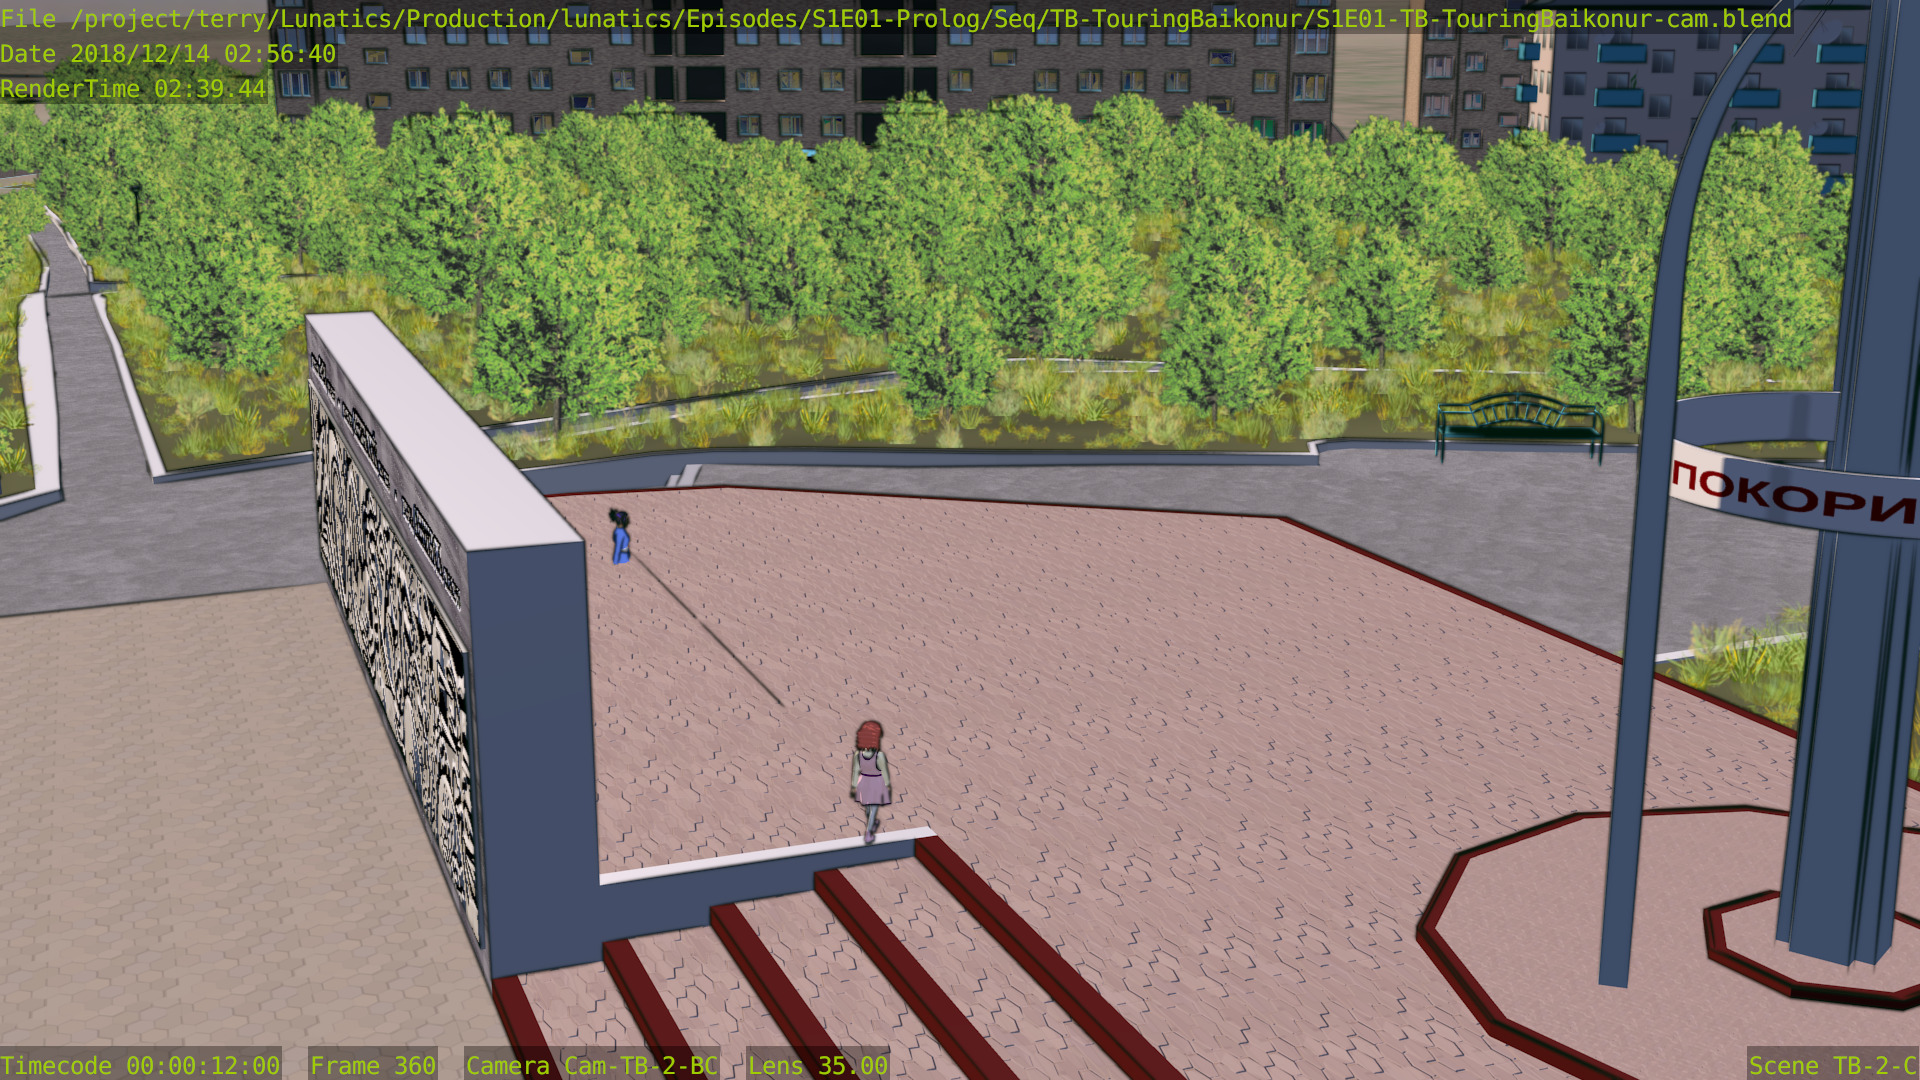
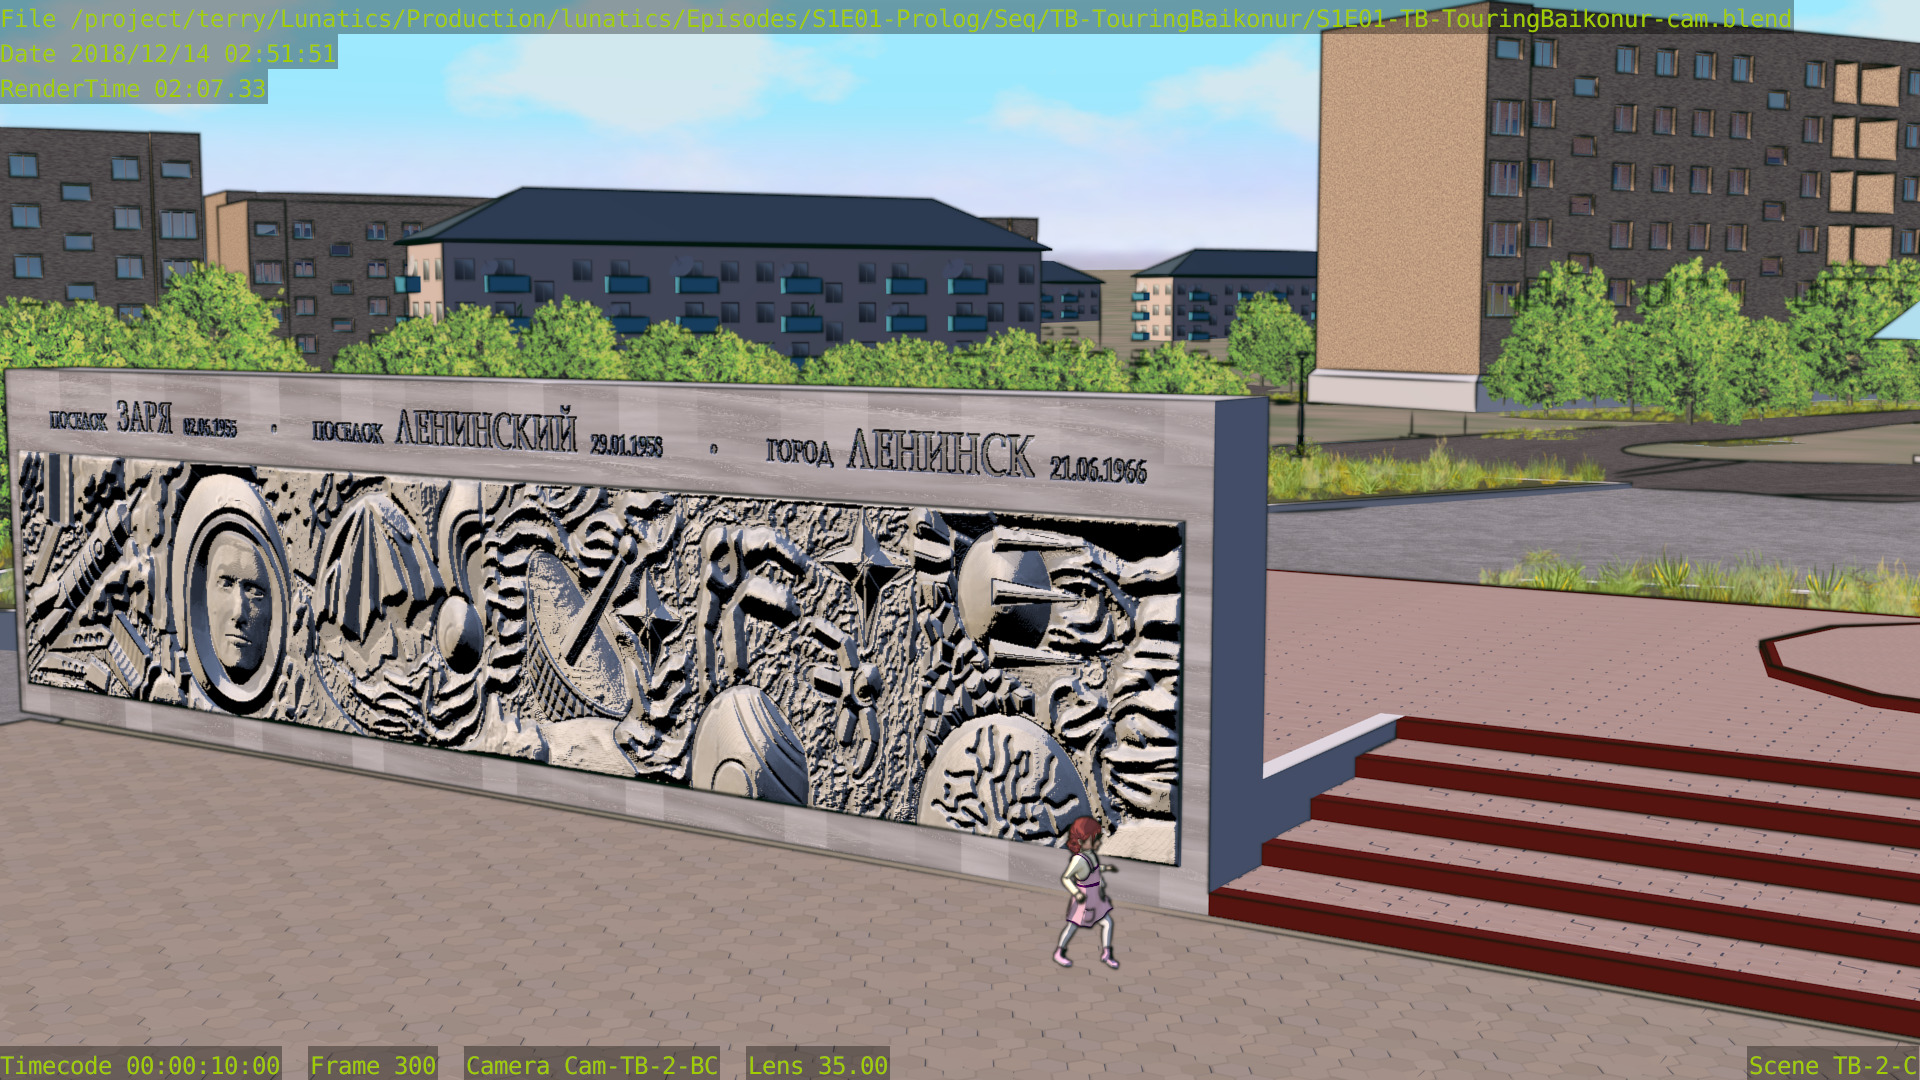
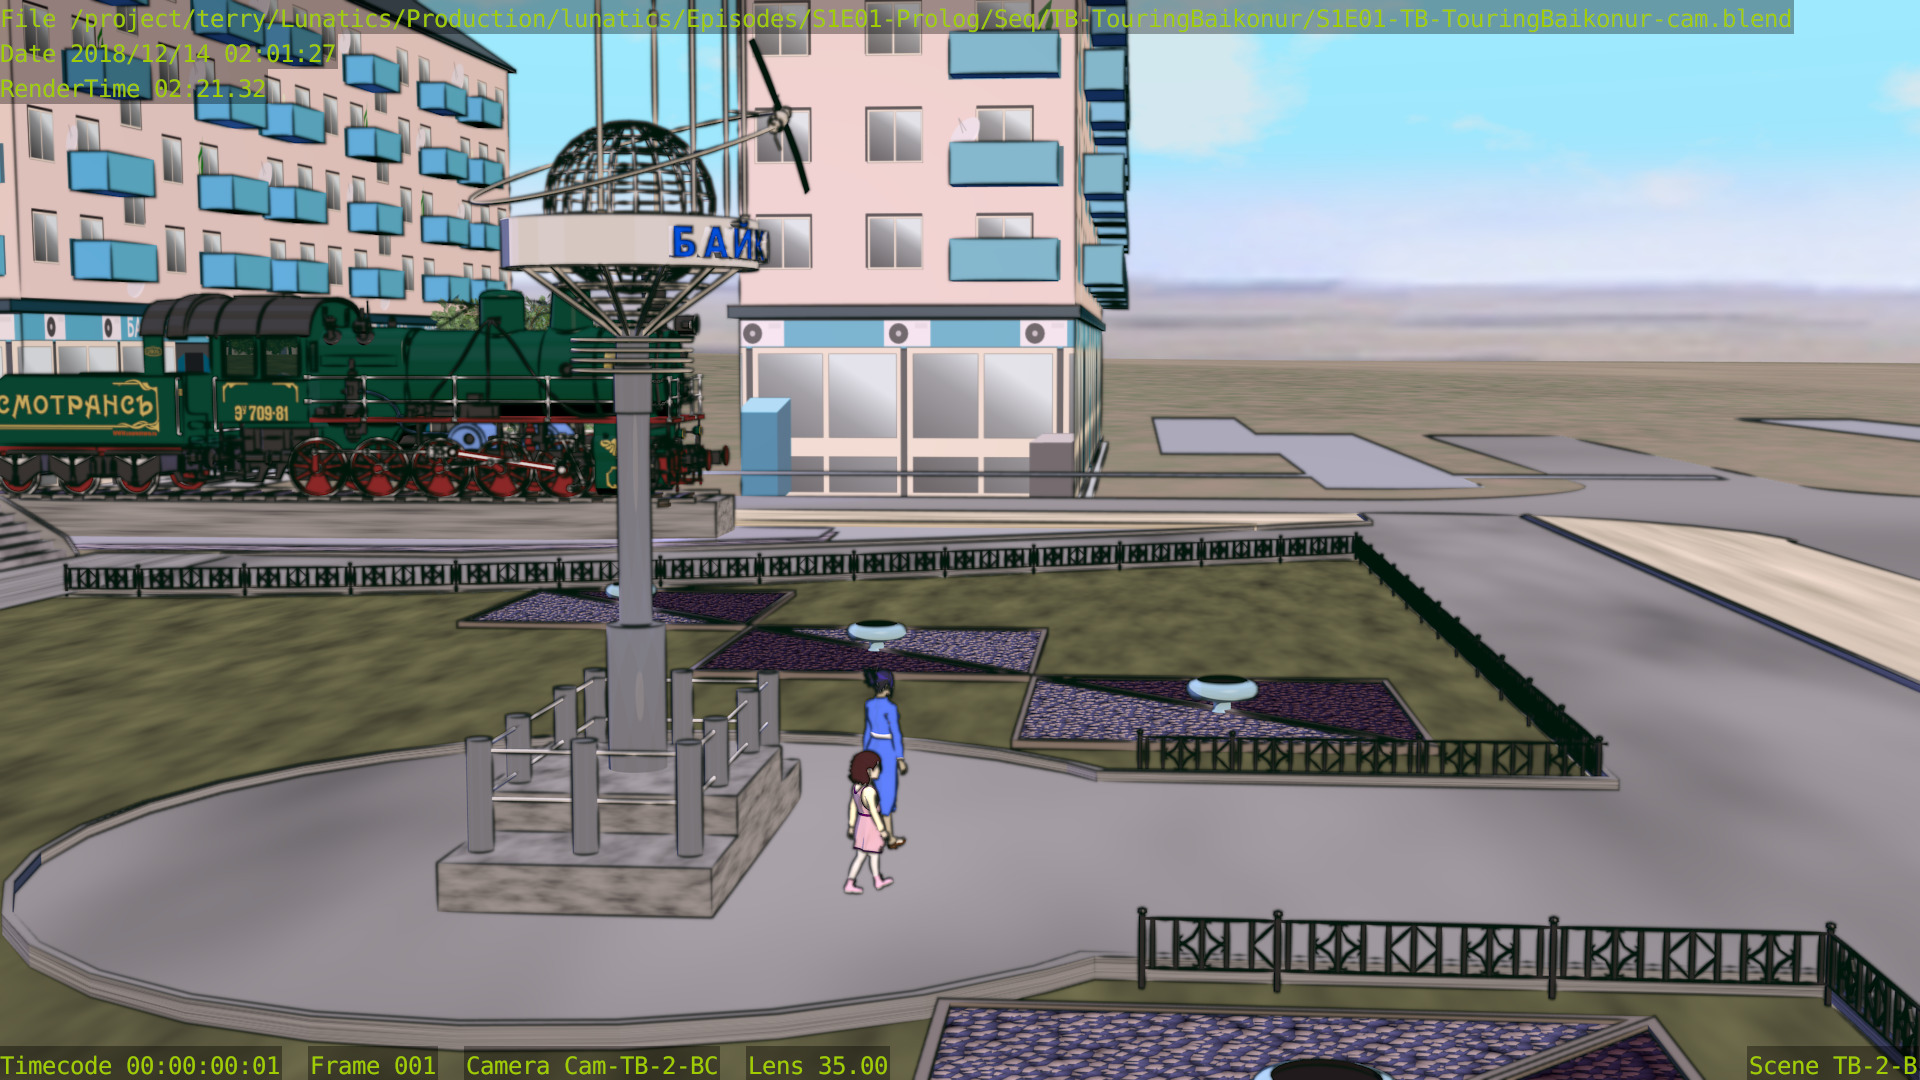
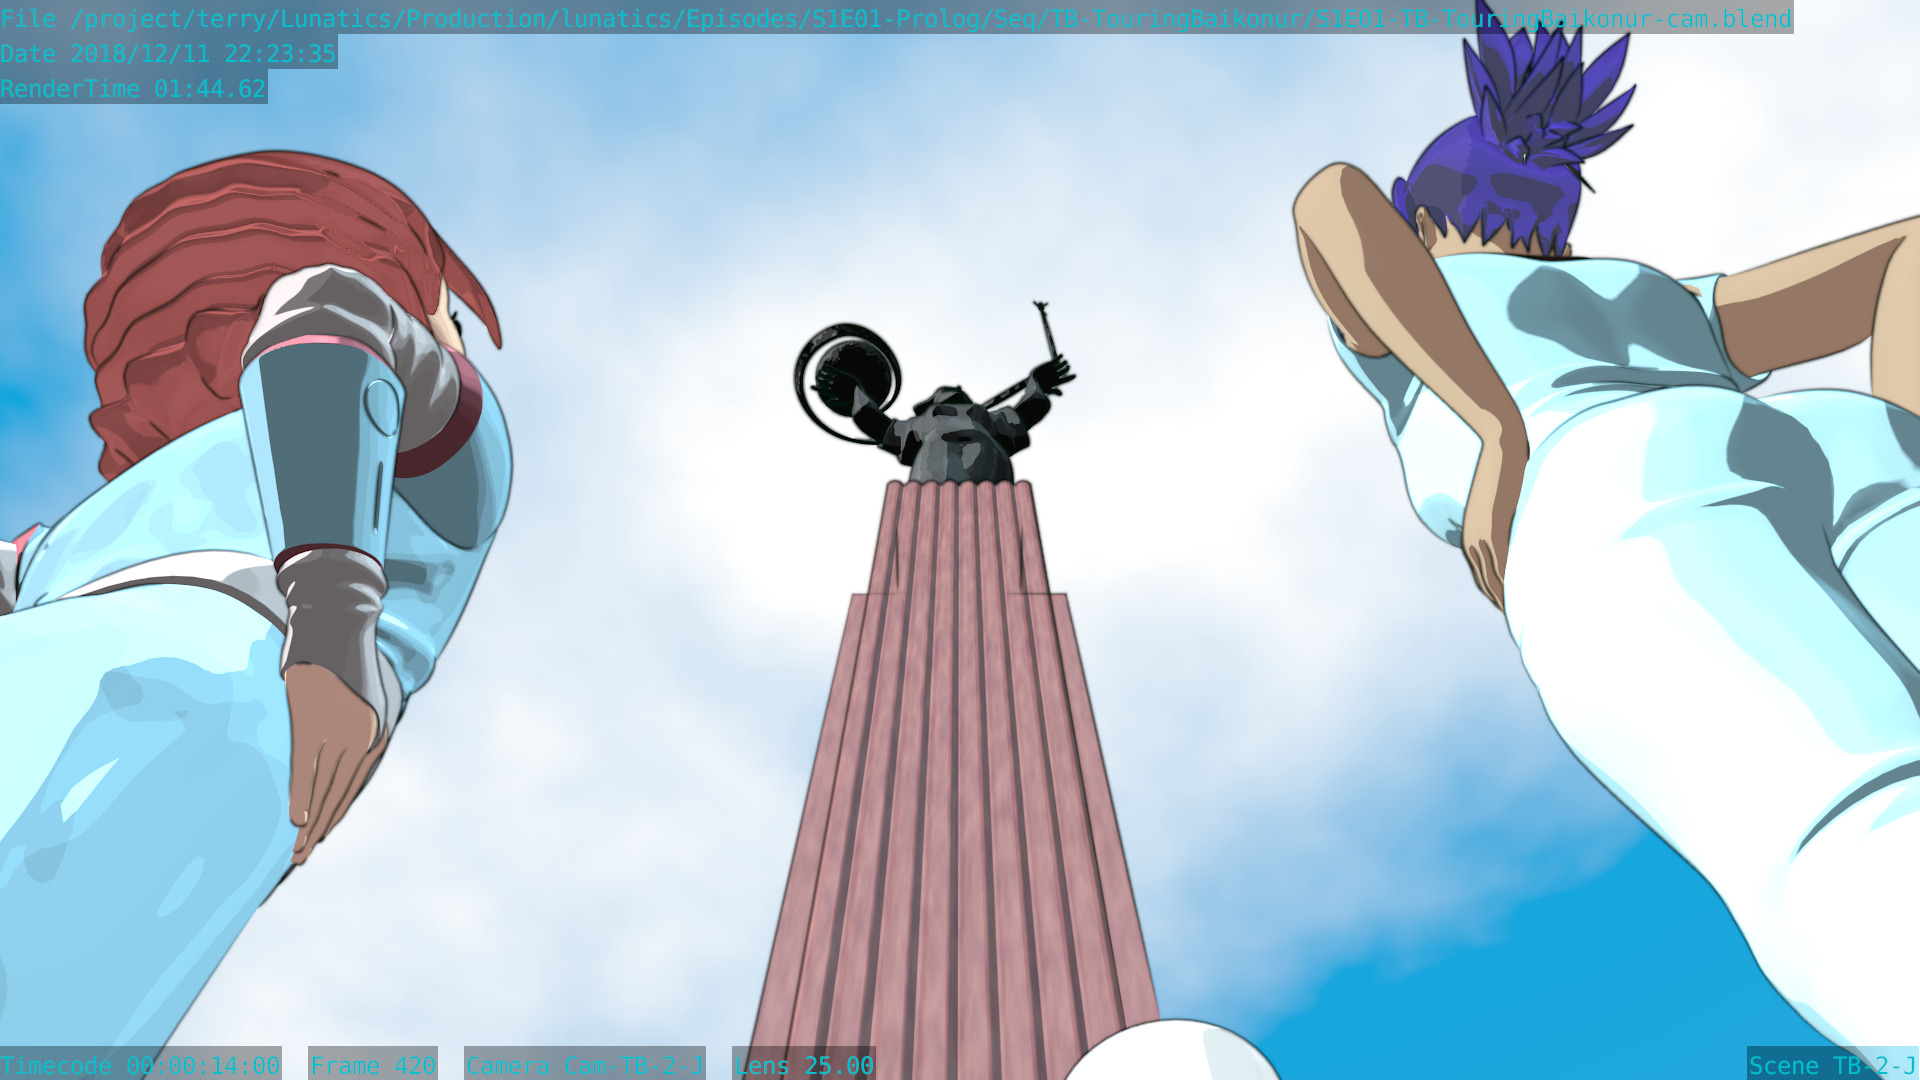
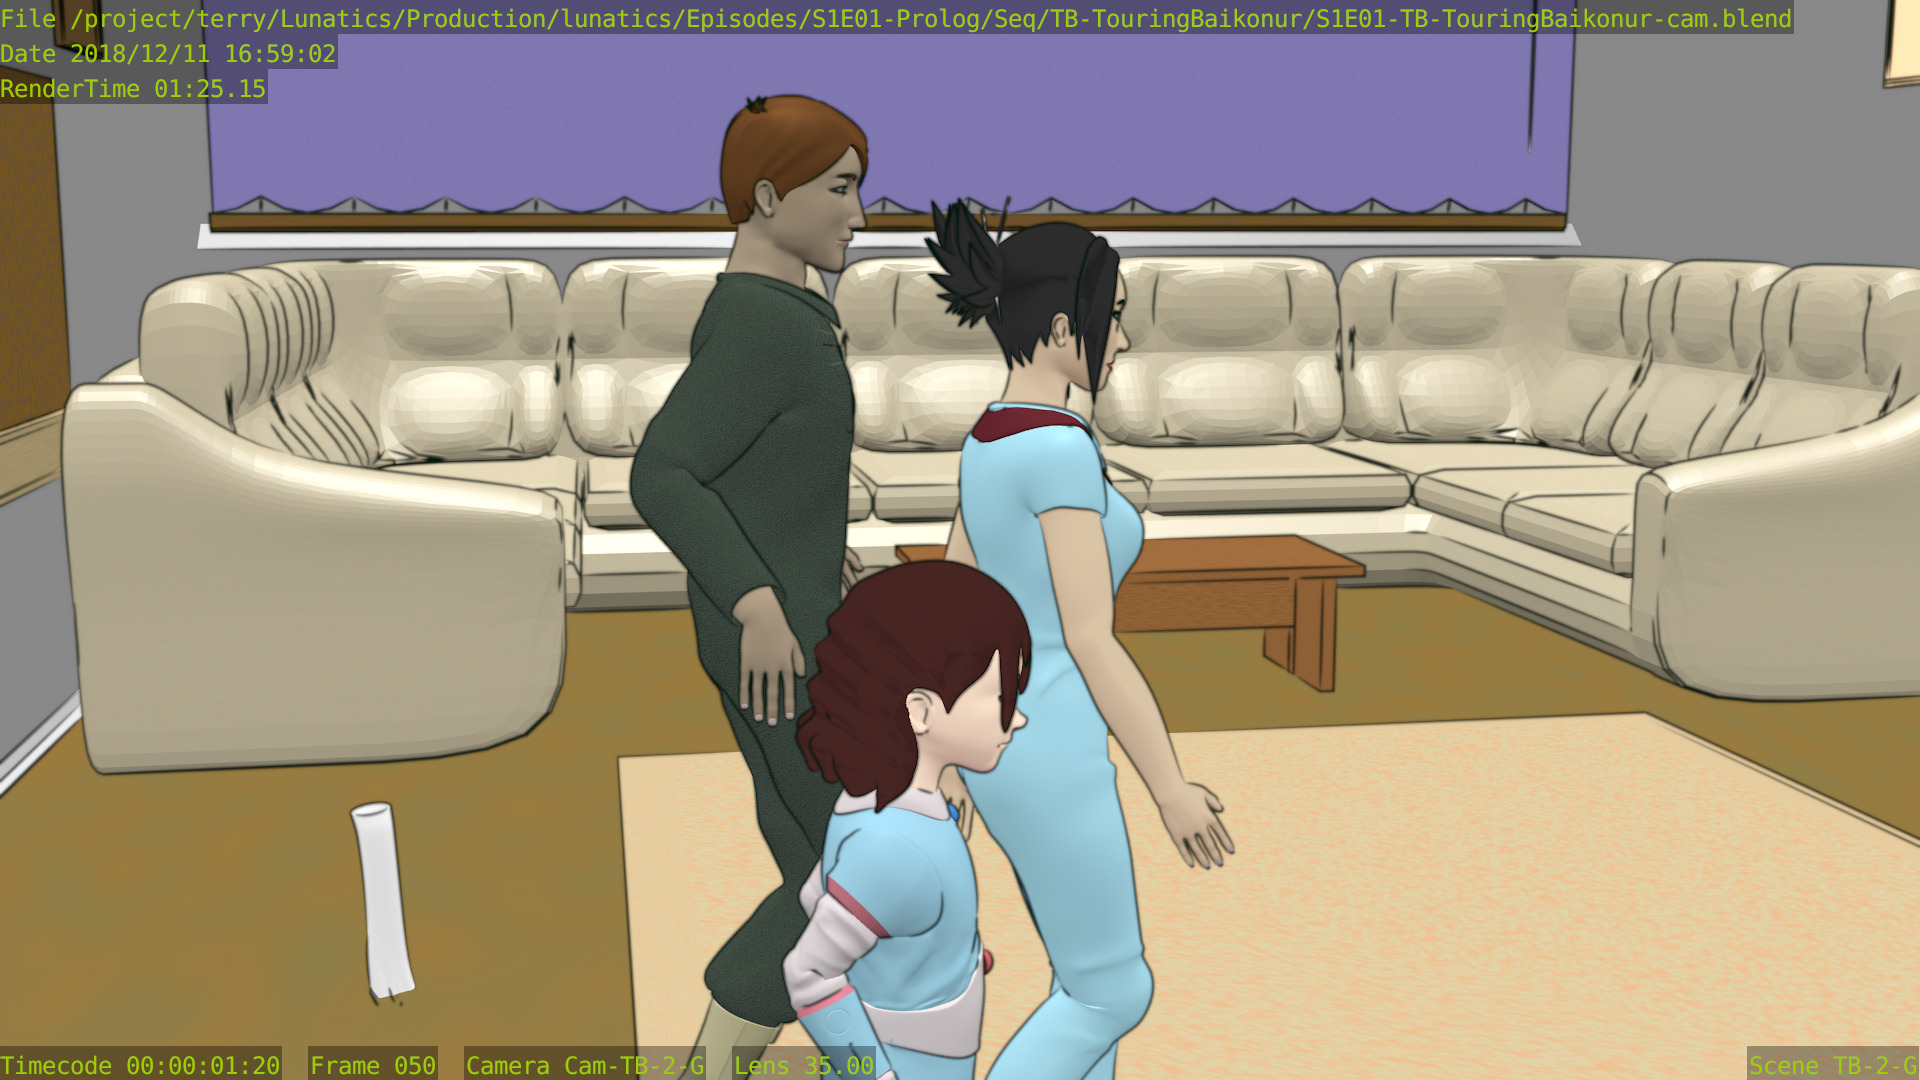
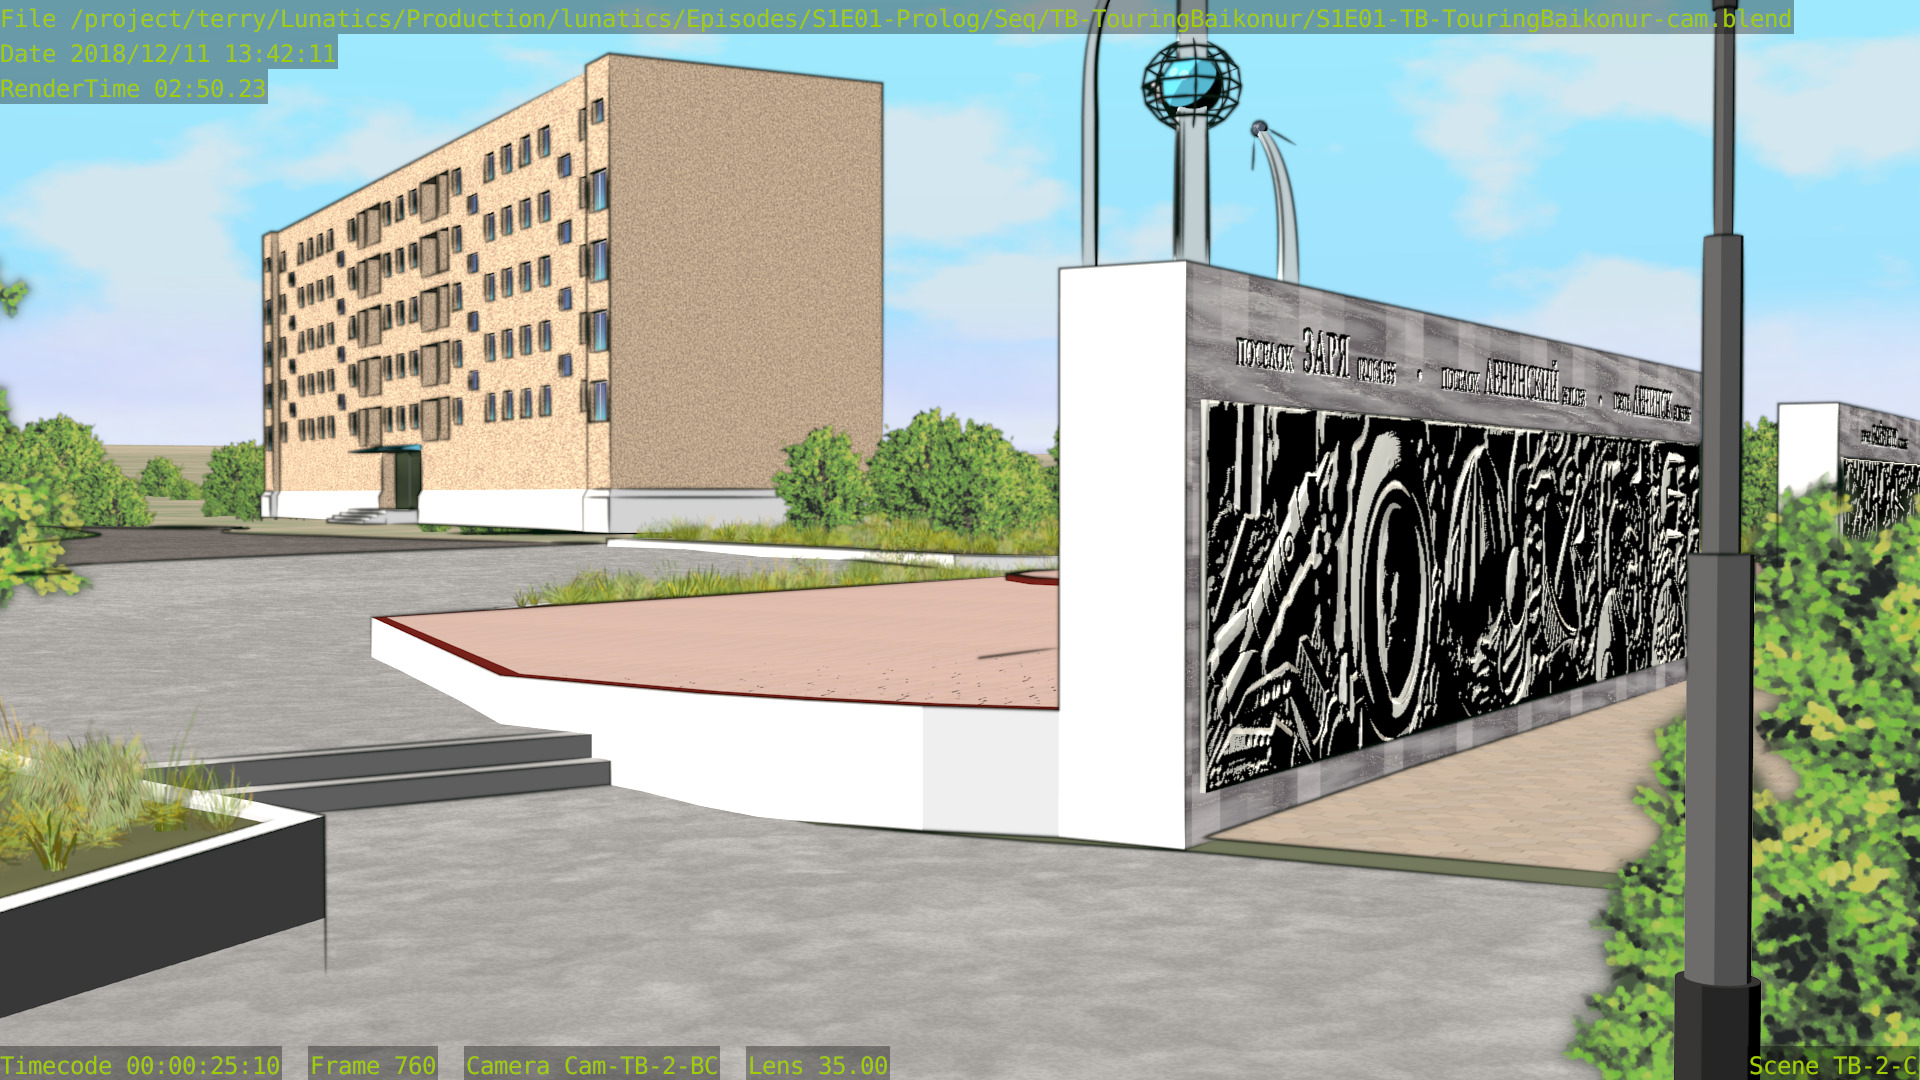
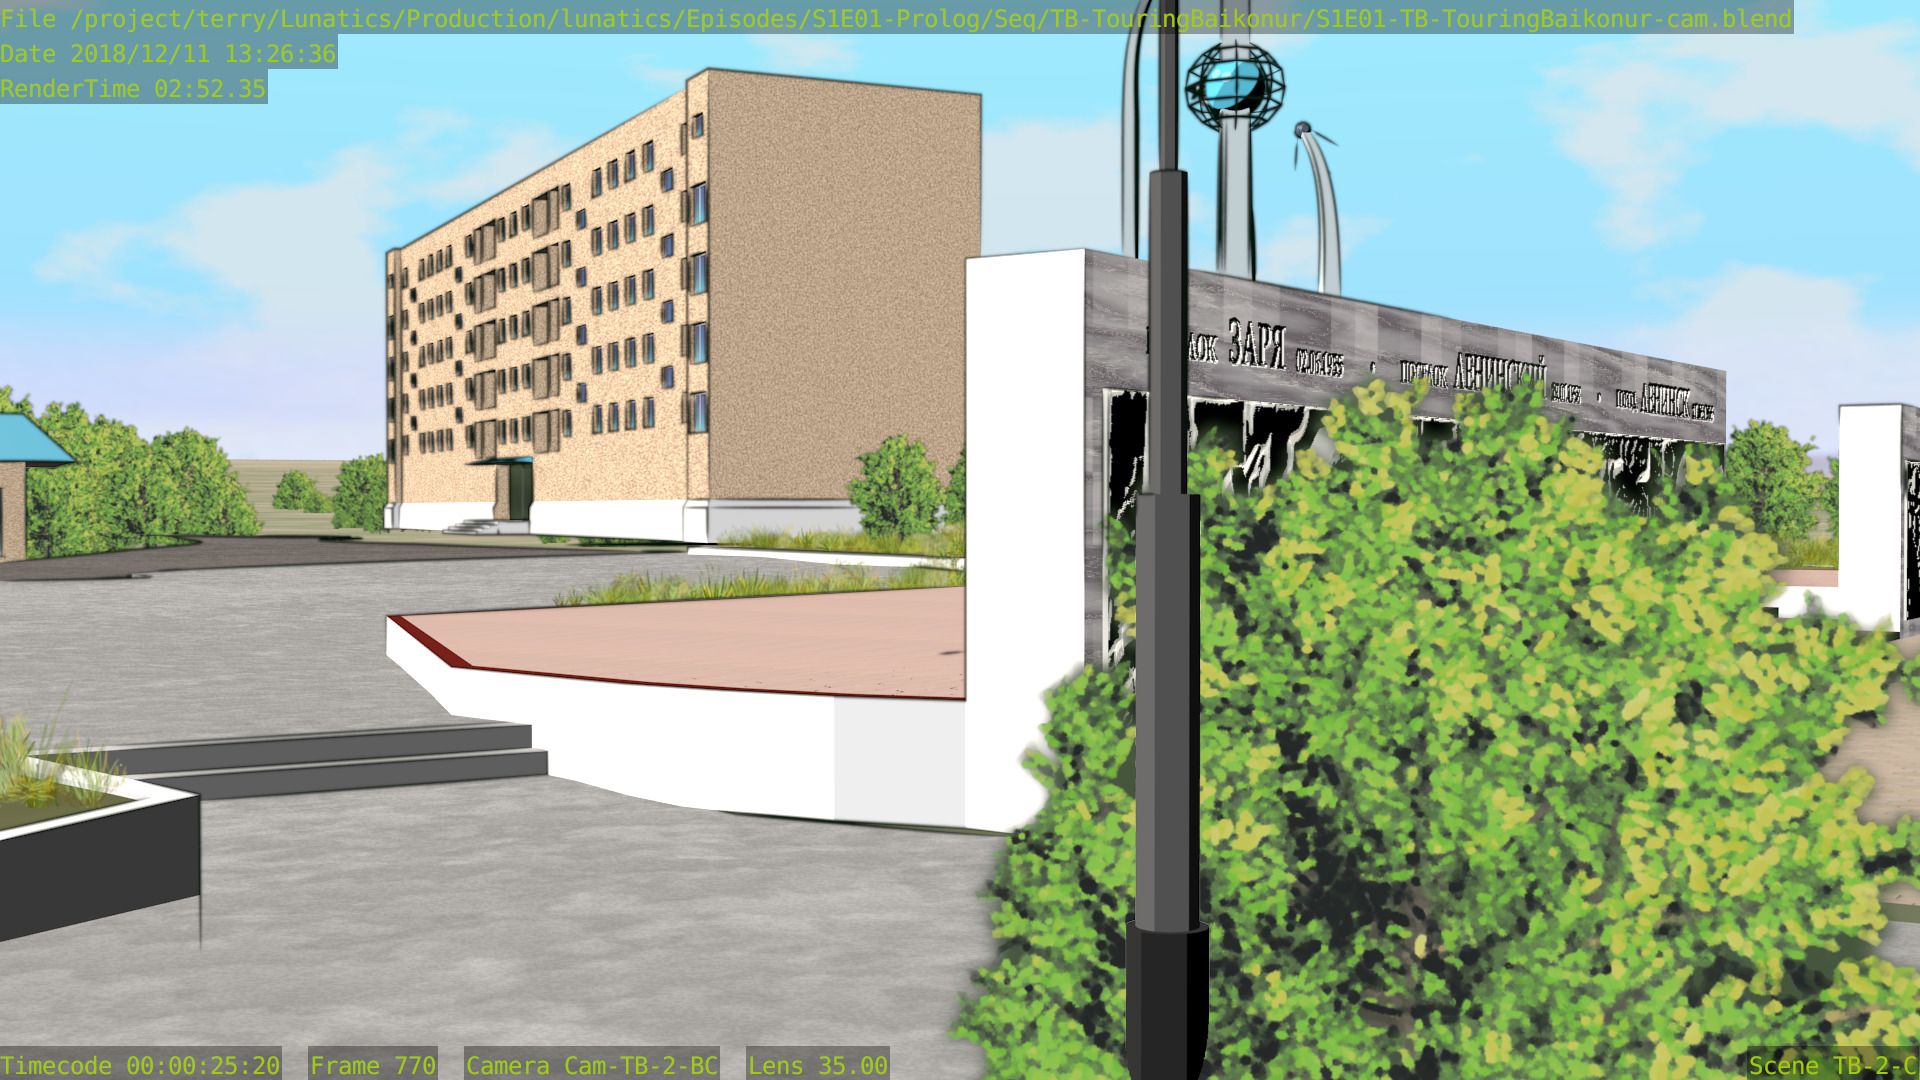
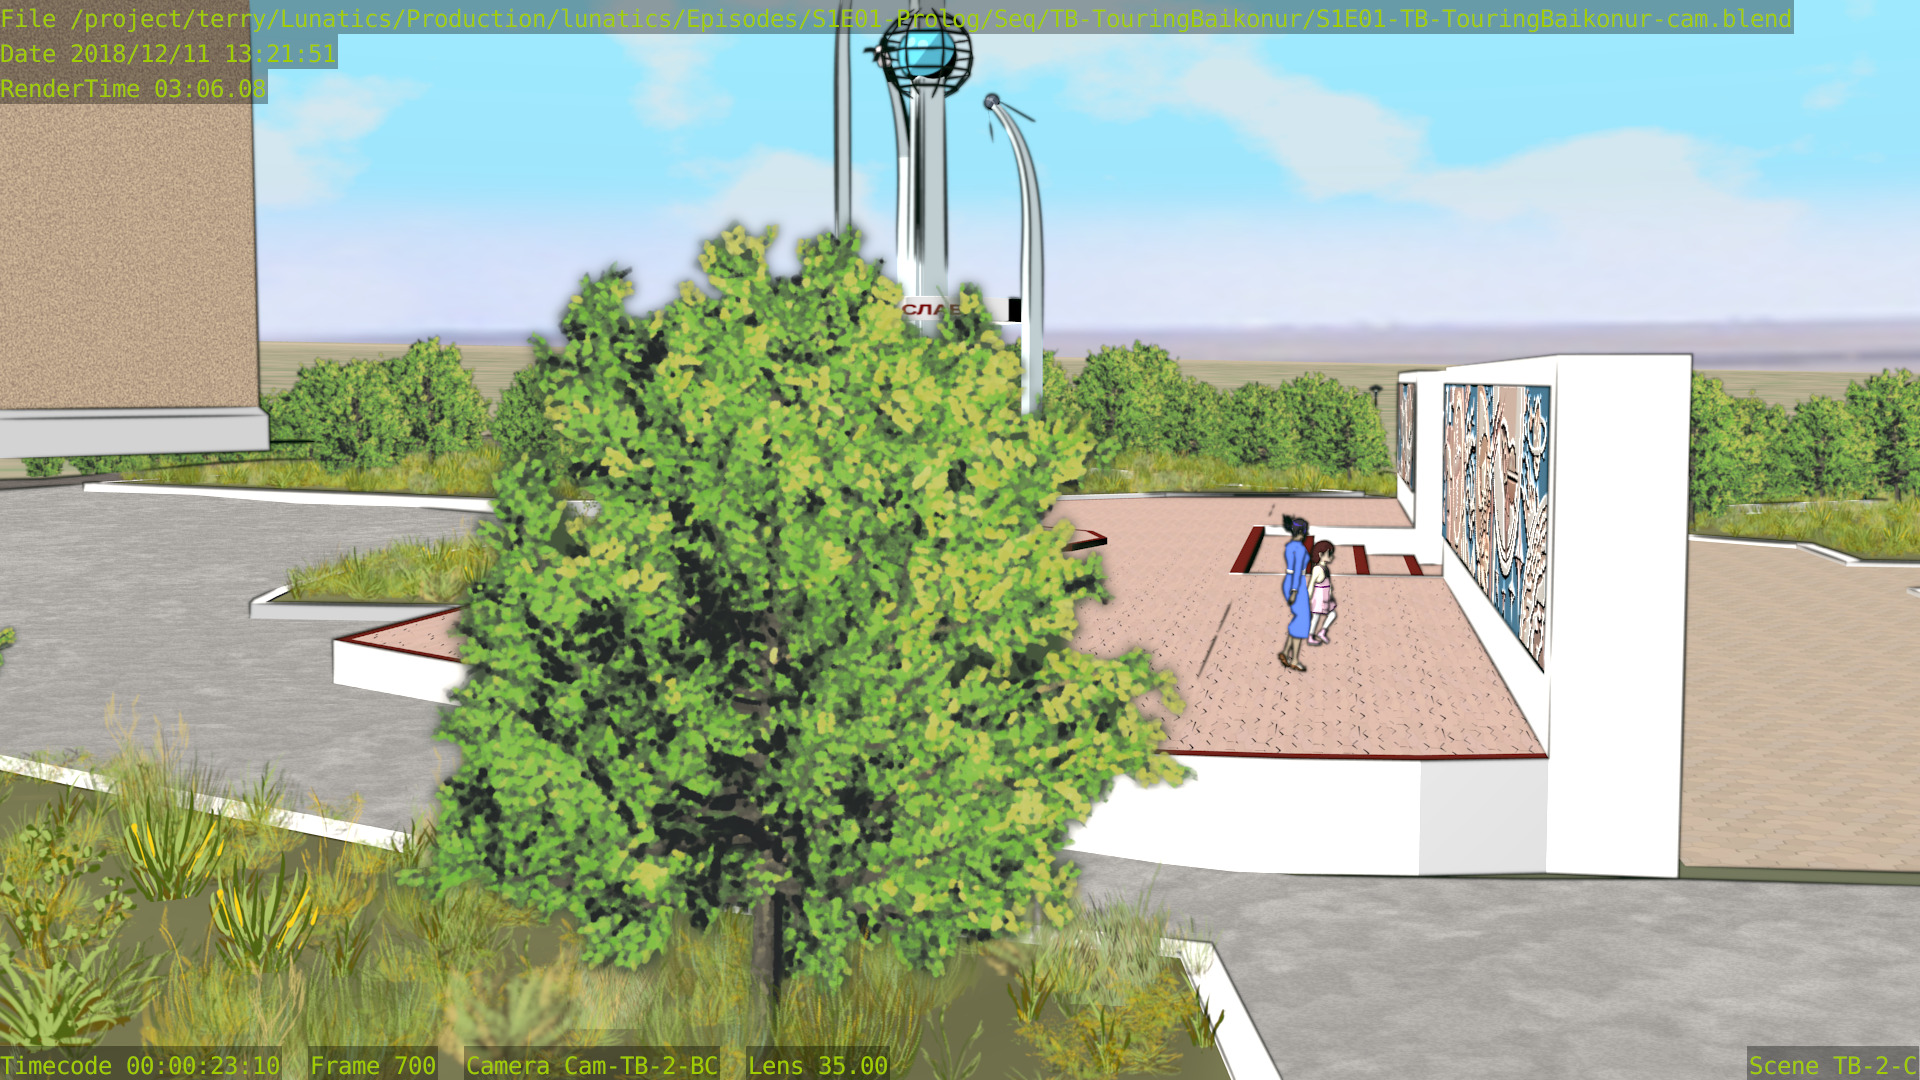
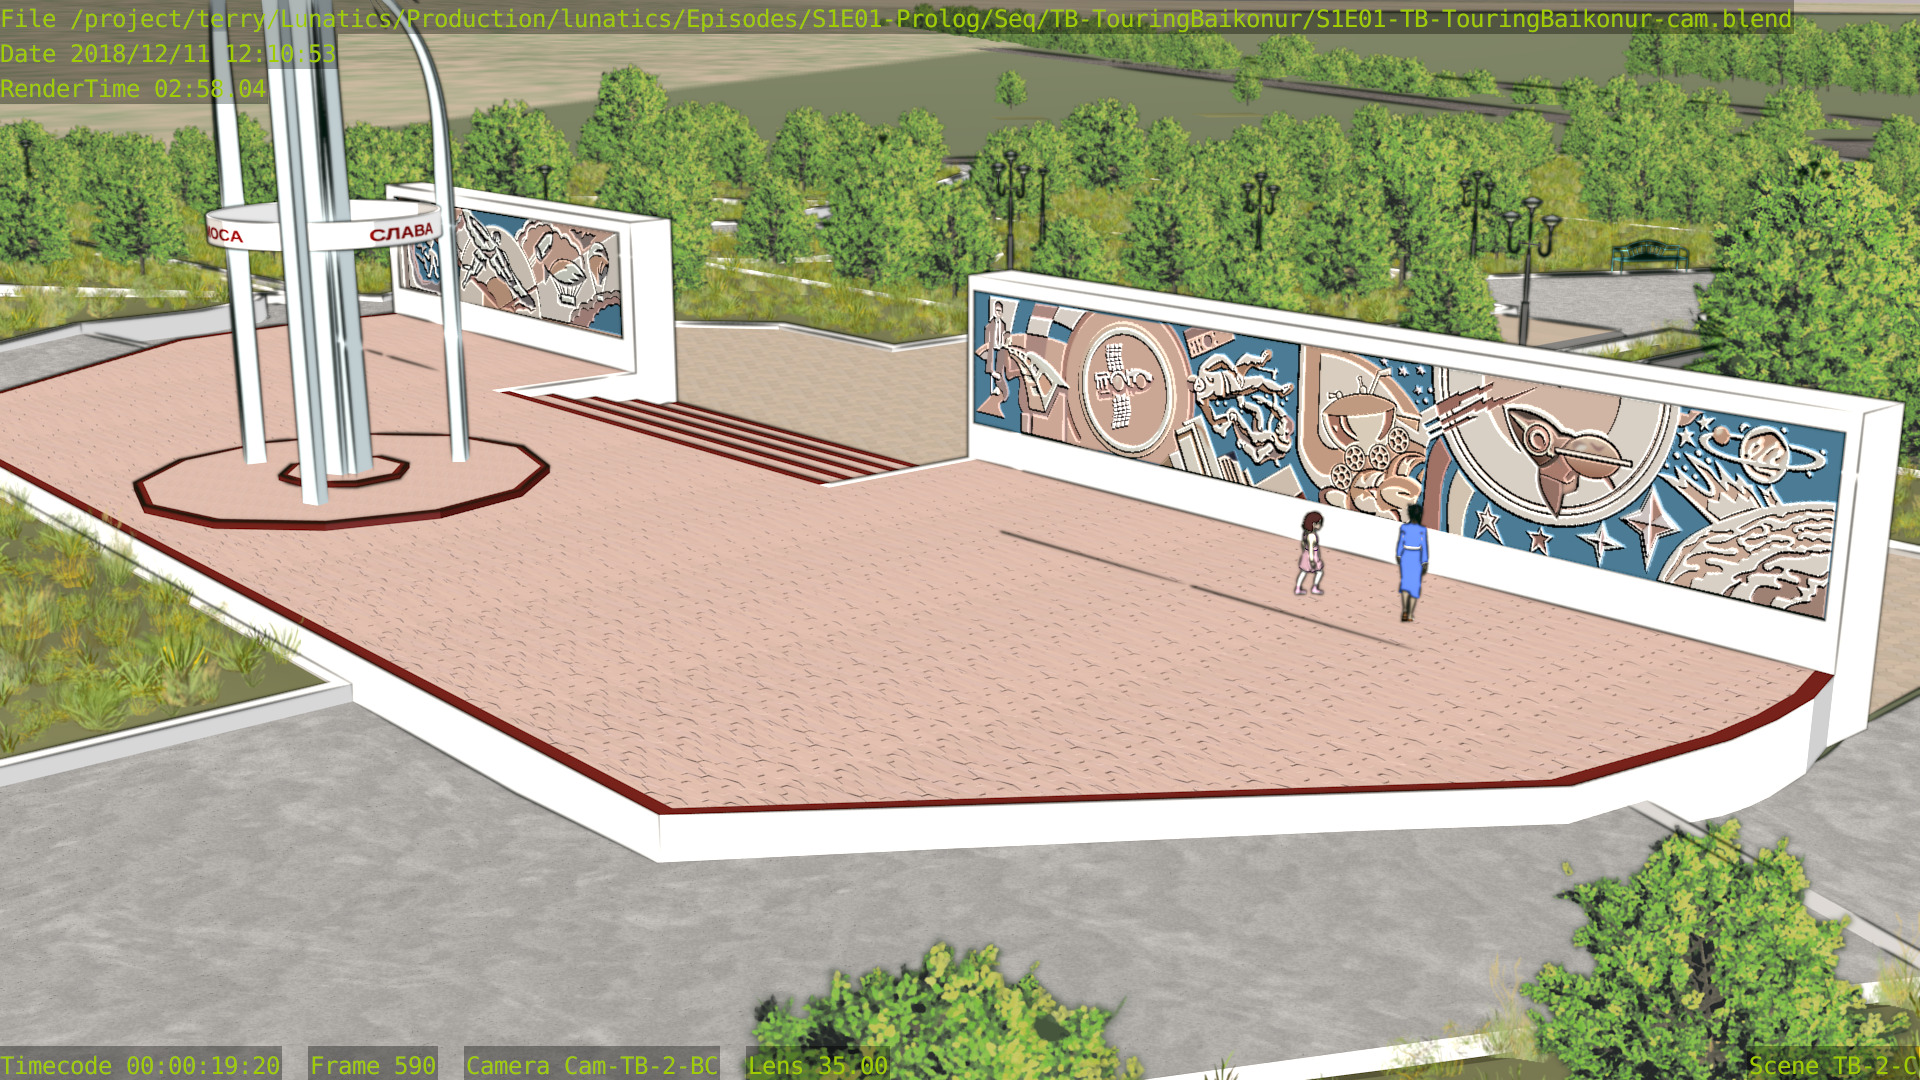
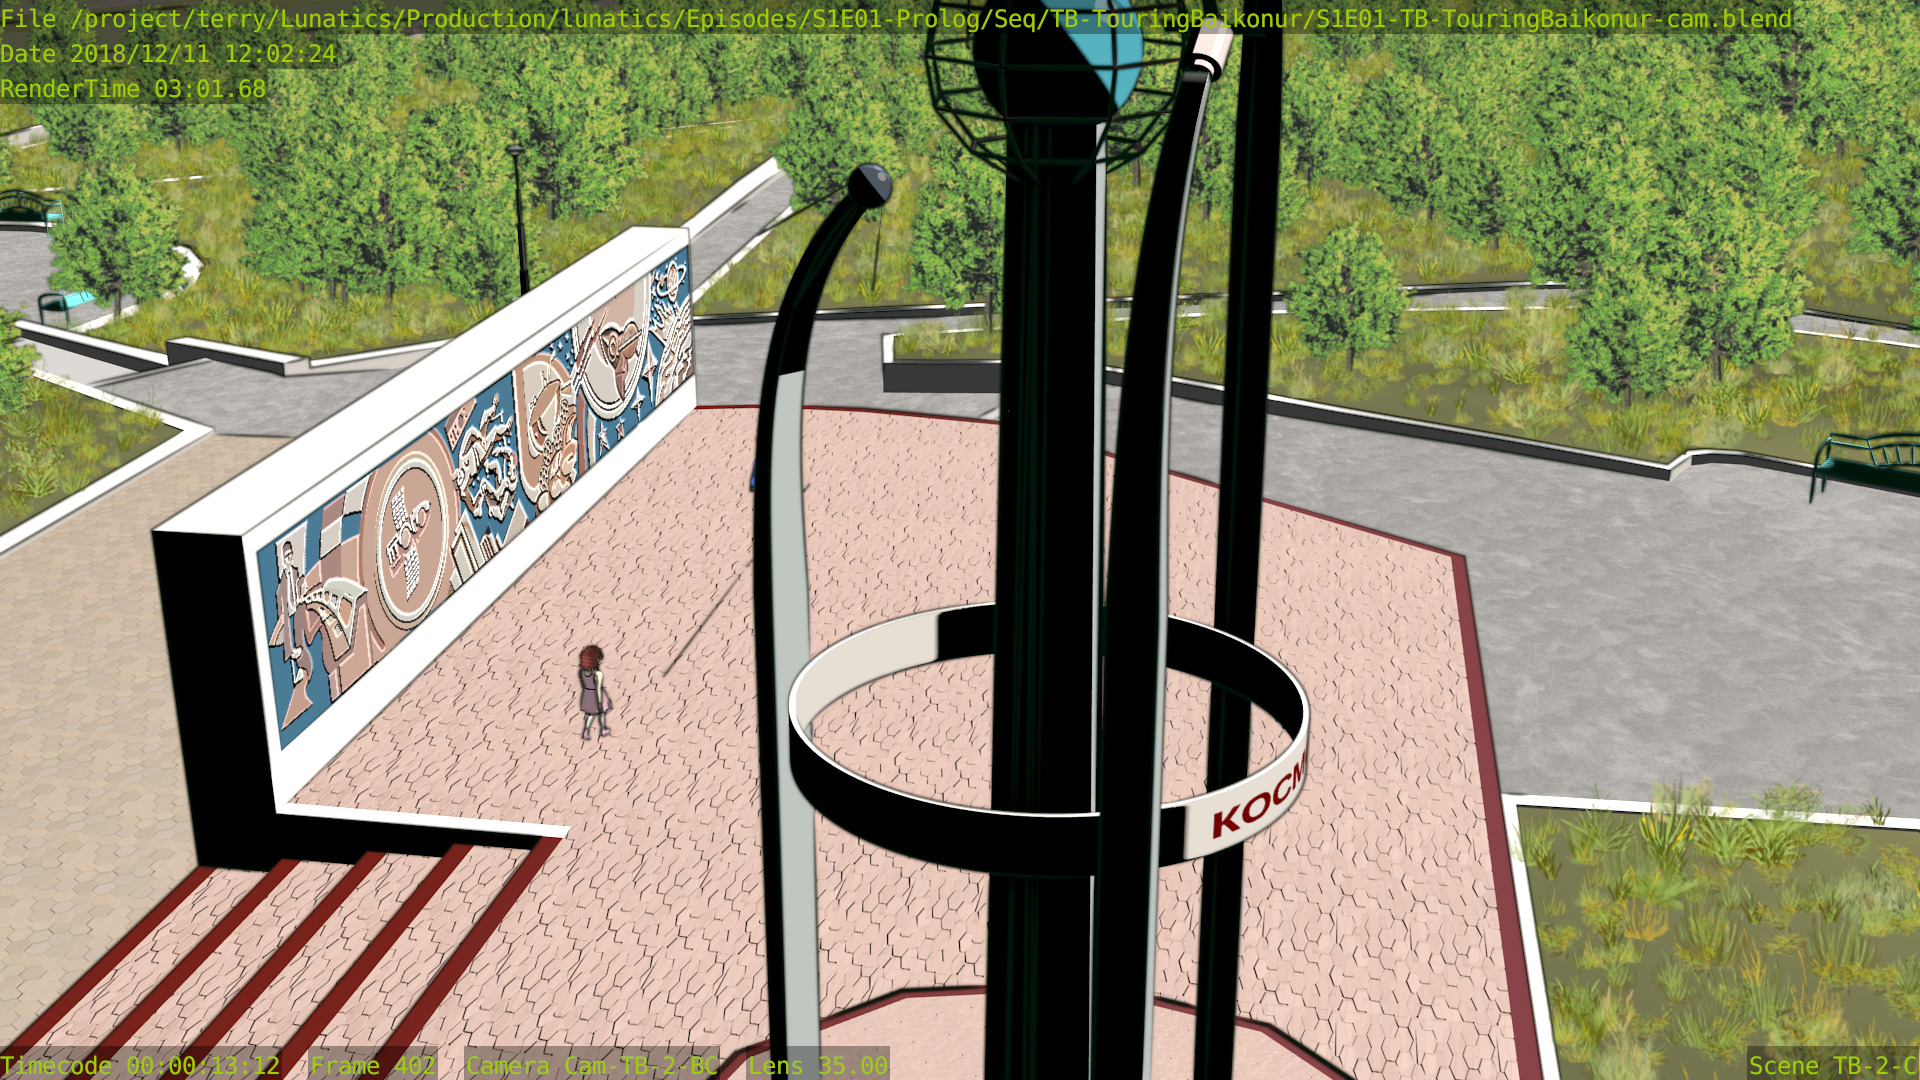
Additional Renders
Dec 5, 2018 at 4:00 PM
Study of Inking Techniques
I’m preparing files for rendering, and in doing so, discovering some sticky areas for performance reasons. A particularly unfortunate geometry created a 30-minute-per-frame render for Freestyle on one of my mech models, and that’s clearly too long.
So I decided that I should look into using an alternative technique for inking some shots, which is “Edge Node“, currently on version 1.2.4.
This uses a very different technical approach from Freestyle, which has a lot of pros and cons. Freestyle works directly from model geometry, and as a result is very complex.
Edge Node is based on using edge-detection algorithms on images — not the actual rendered image, but the “Z-Depth” and “Normal” images which Blender produces as intermediates in rendering a scene. These communicate the shapes of the modeled objects in space, and that information can be used to draw pretty reliable lines.
In fact, Edge Node is superior to Freestyle at detecting certain lines, such as plane intersections, which don’t correspond to any modeled edge. It also picks up on things like textured normals, which Freestyle is completely unaware of.
On the other hand, Edge Node is a lot fussier to optimize, and it can’t be easily told explicitly to draw lines where you want them, as you can do with Freestyle.
But the biggest advantages to Edge Node are in performance:
- It is almost always faster
- It uses less memory
- It is not prone to crashing on complex geometry
That’s because it doesn’t have to manipulate geometry, but just does image-processing, and the computing overhead for that is fairly controlled and constant for a given render size.
It would be even faster if Edge Node didn’t need higher-quality rendering to work, but it does, so that takes some of it’s performance edge away.
In general, the line quality is poorer than with Freestyle for equally-good render layers. But it is possible to render at a higher-resolution, then run Edge Node on that render, and get better results — while still coming in considerably faster than Freestyle.
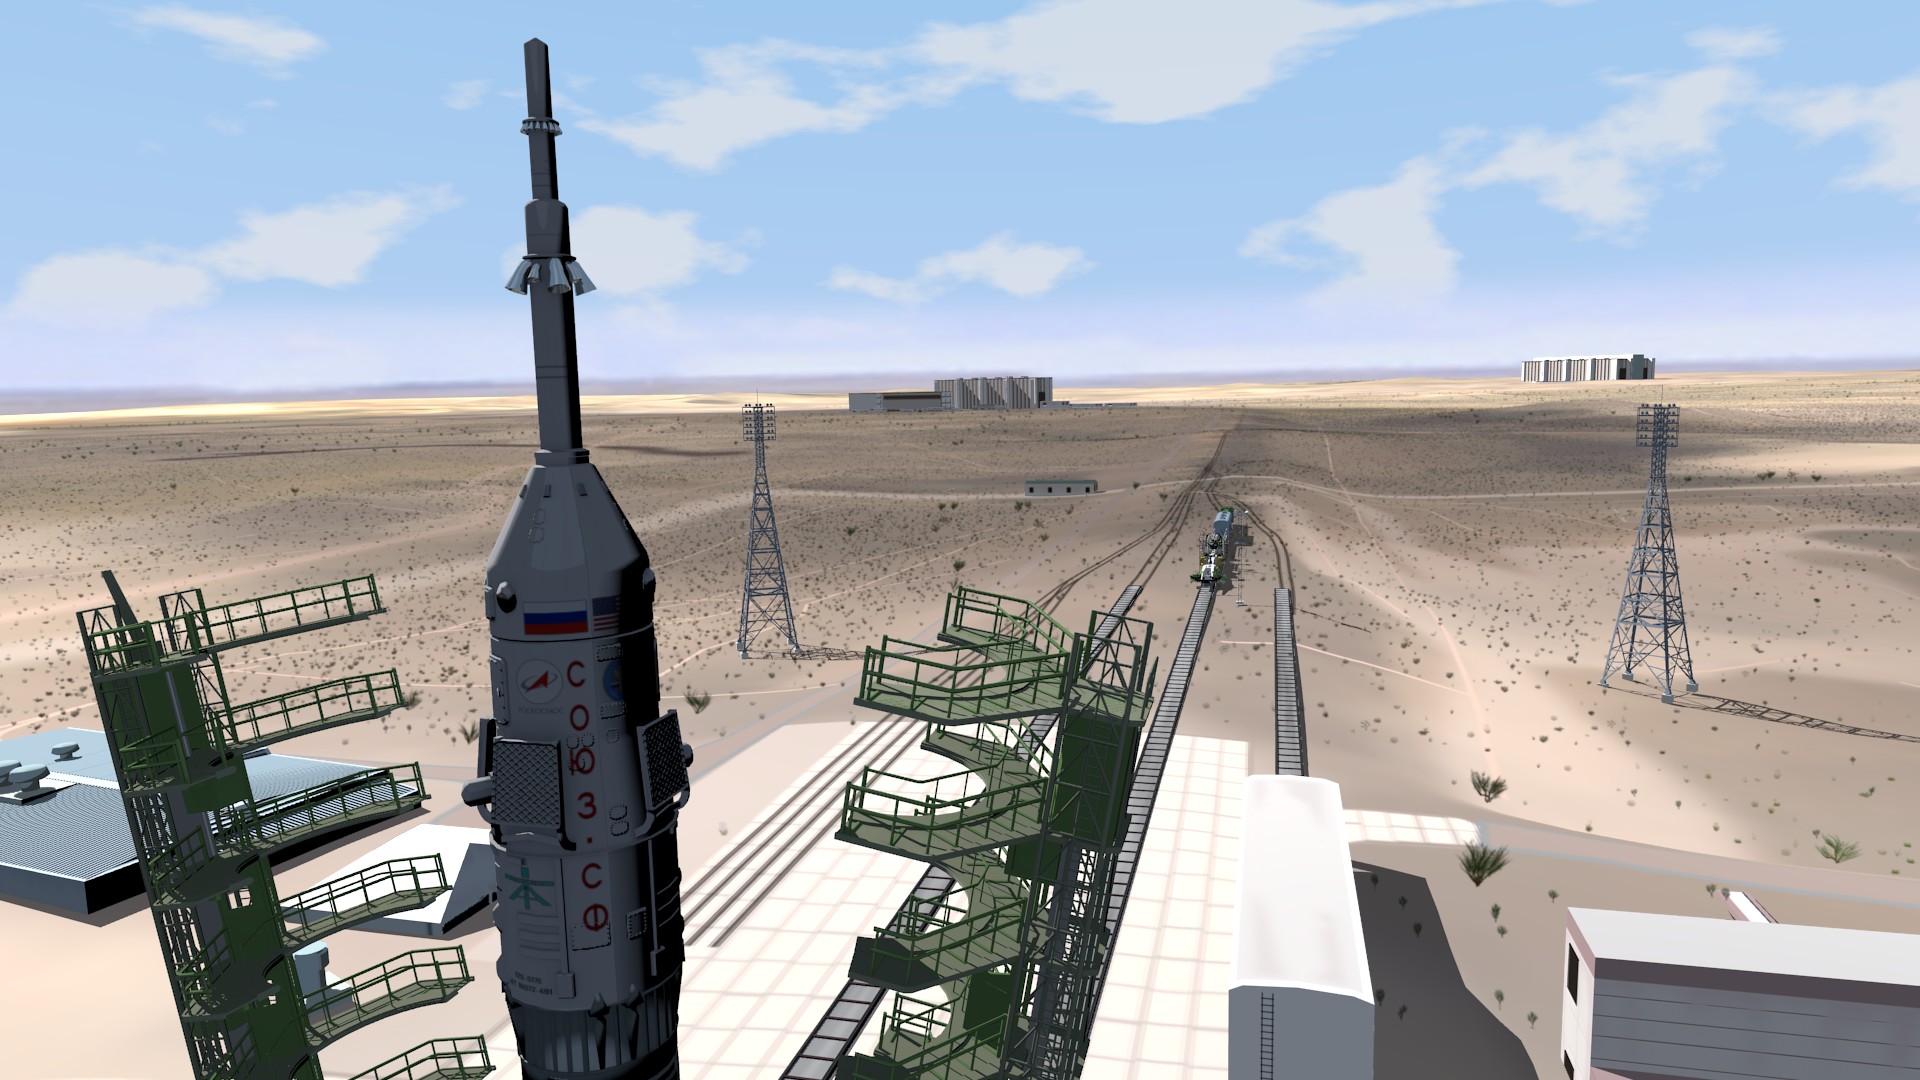
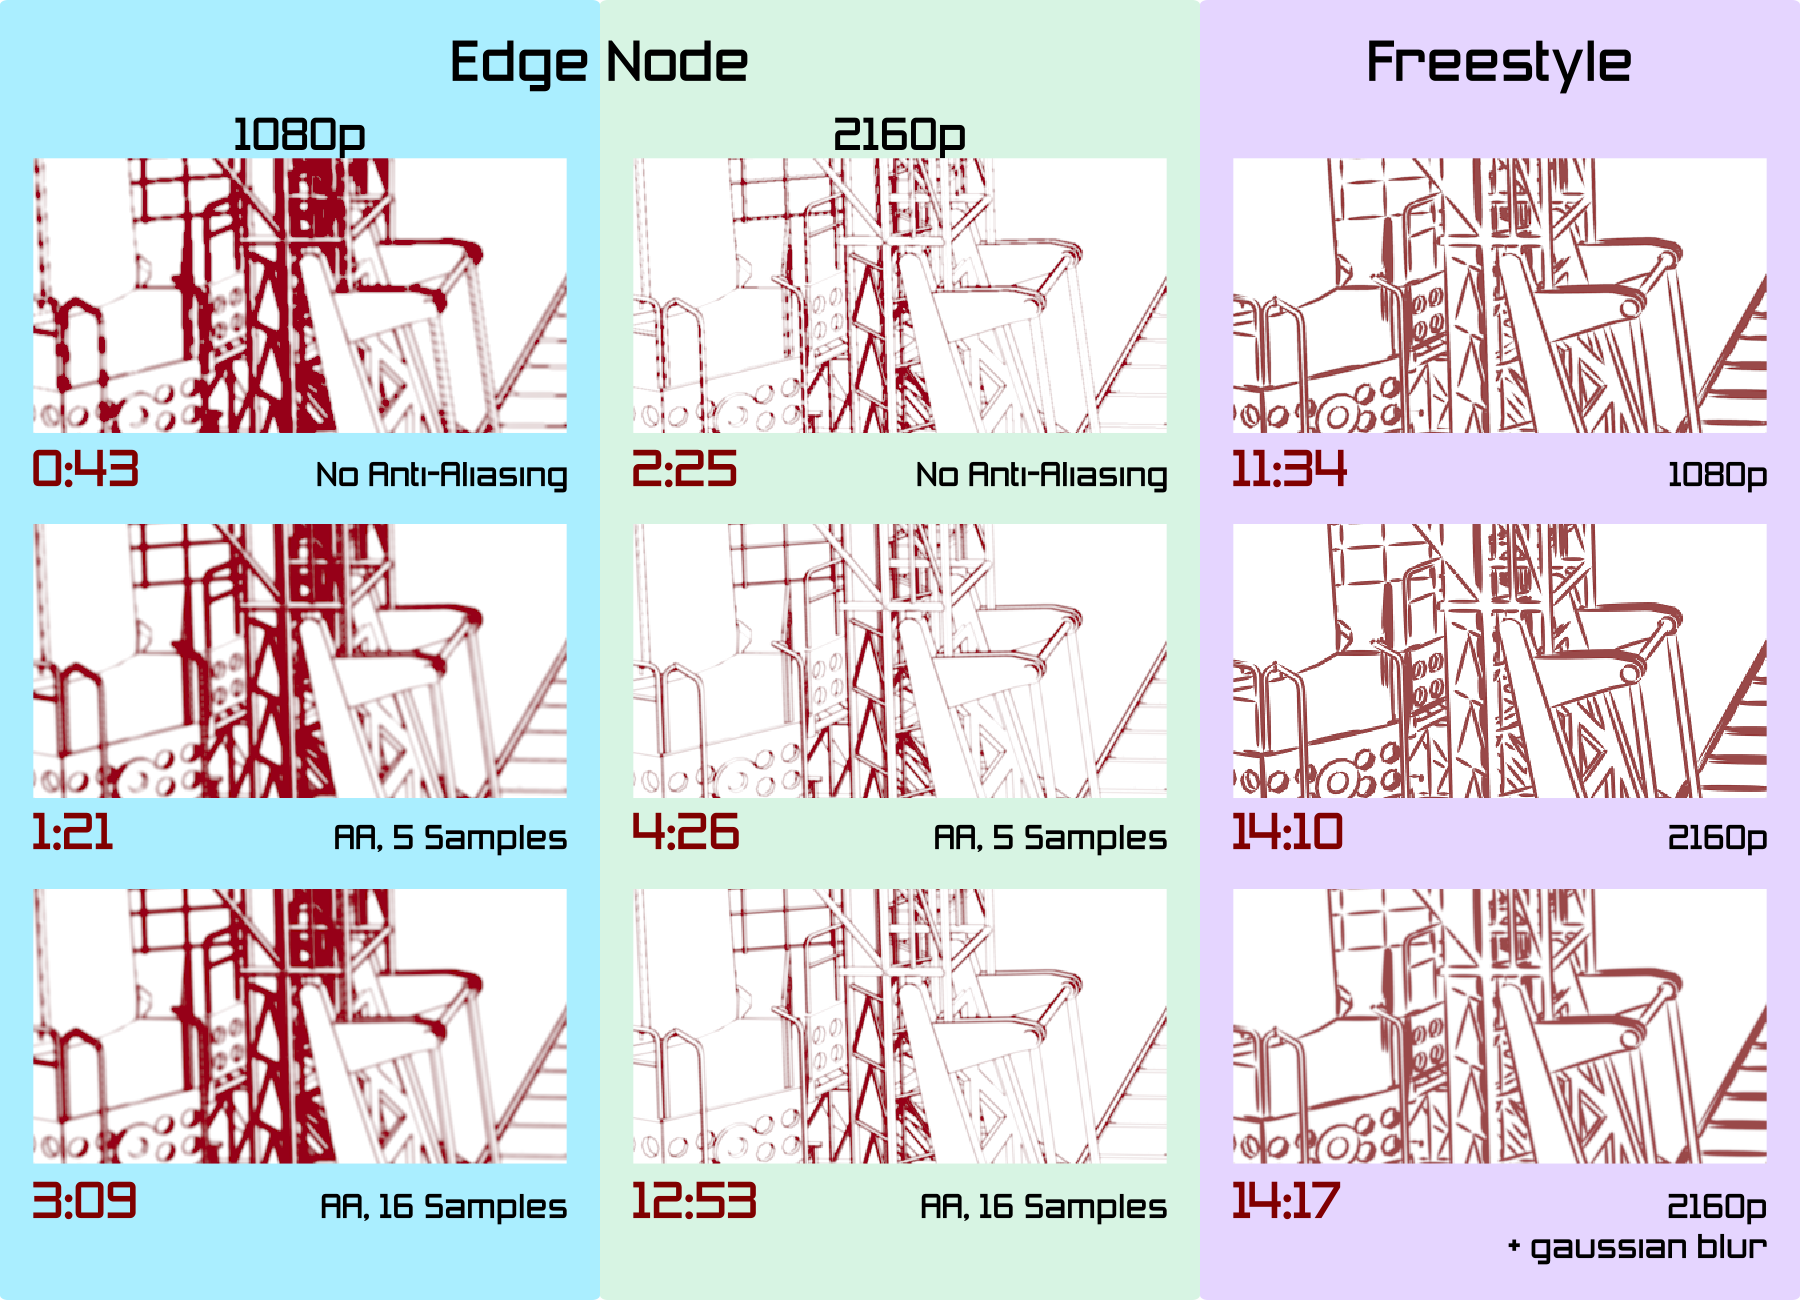
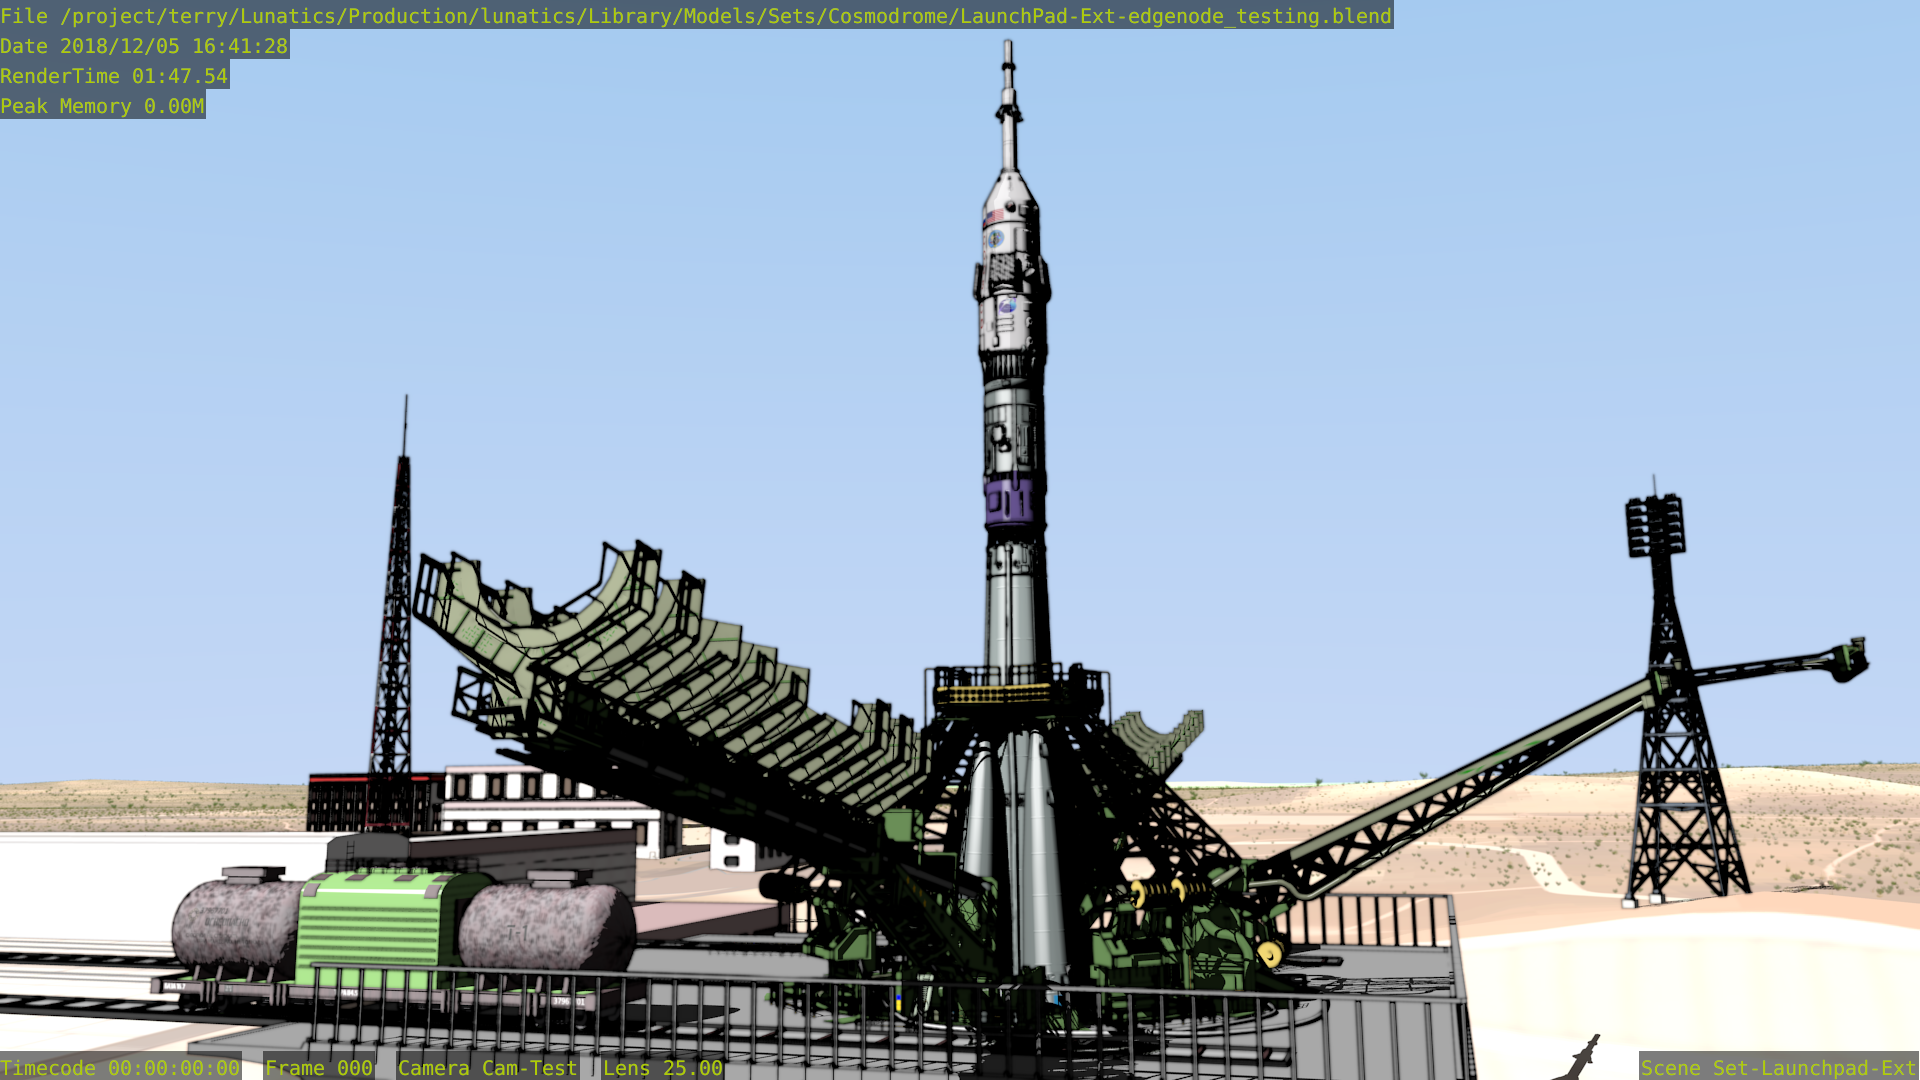
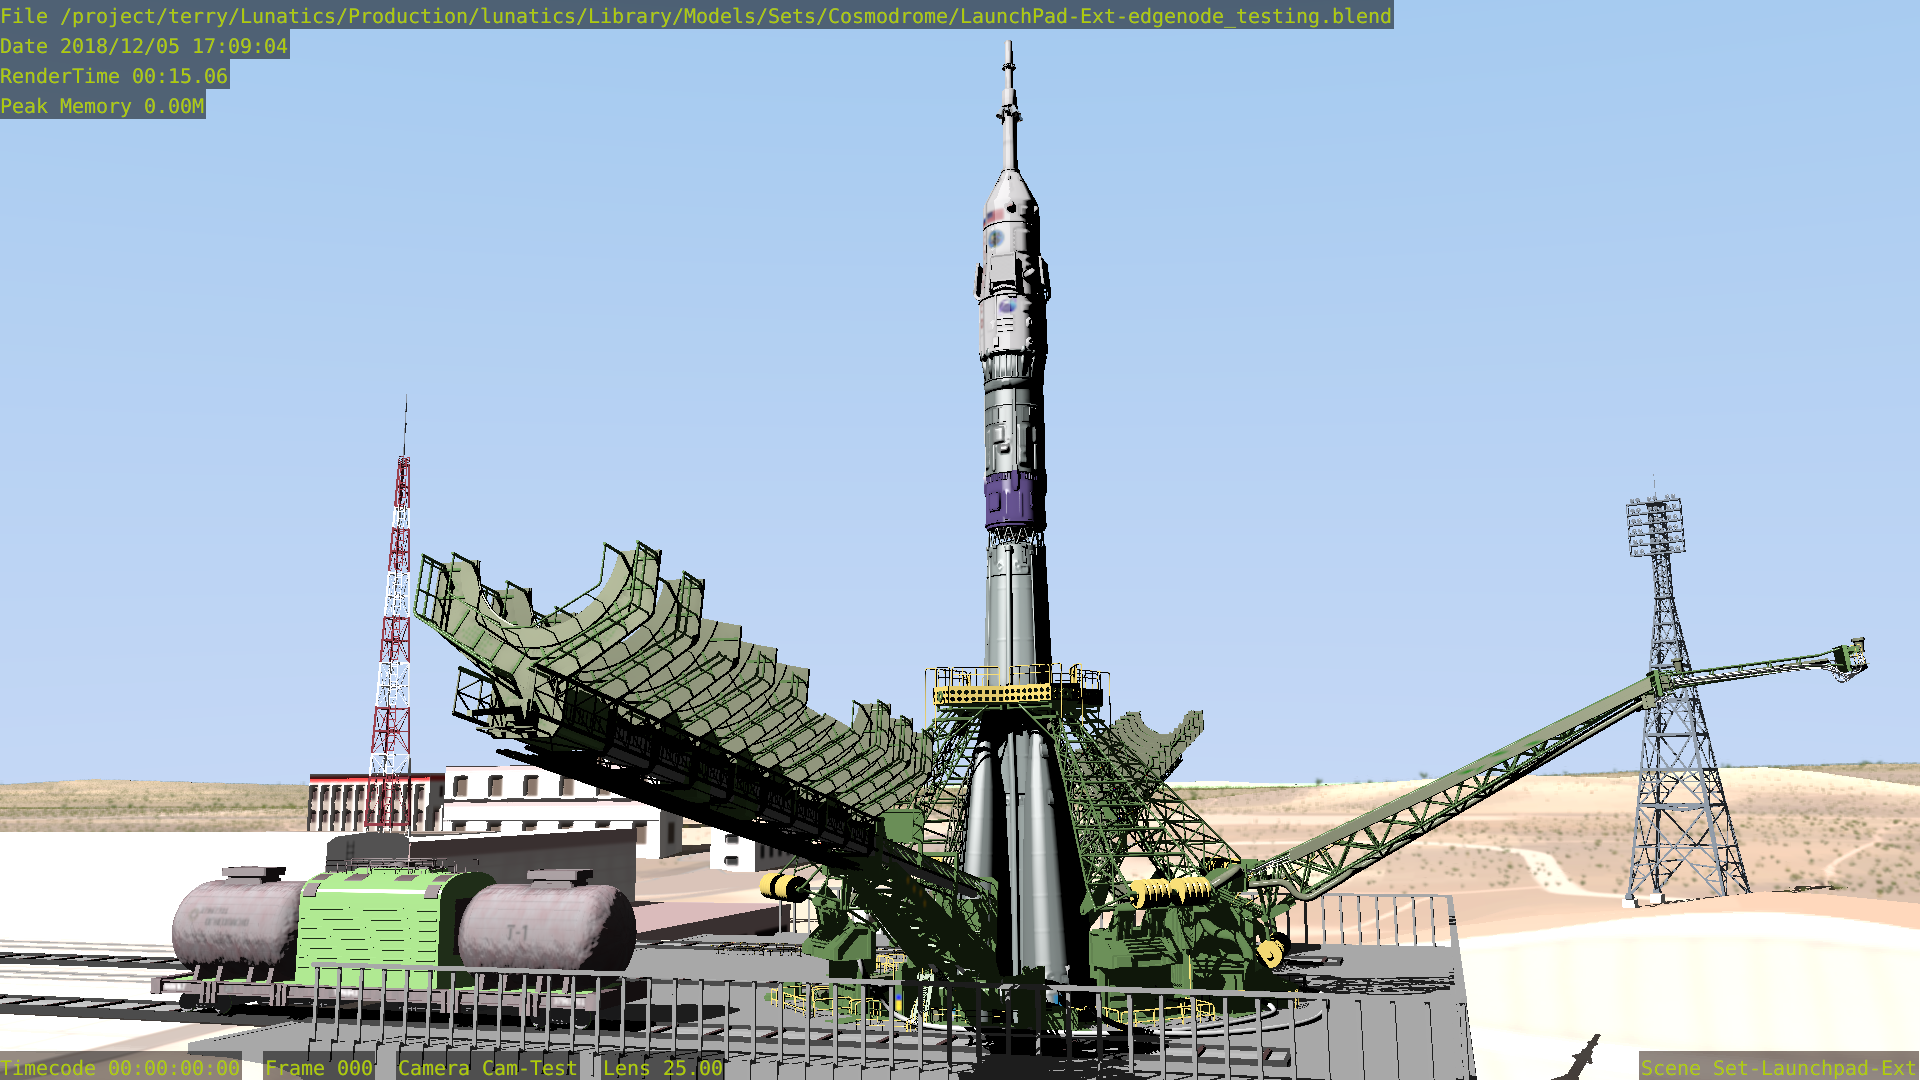
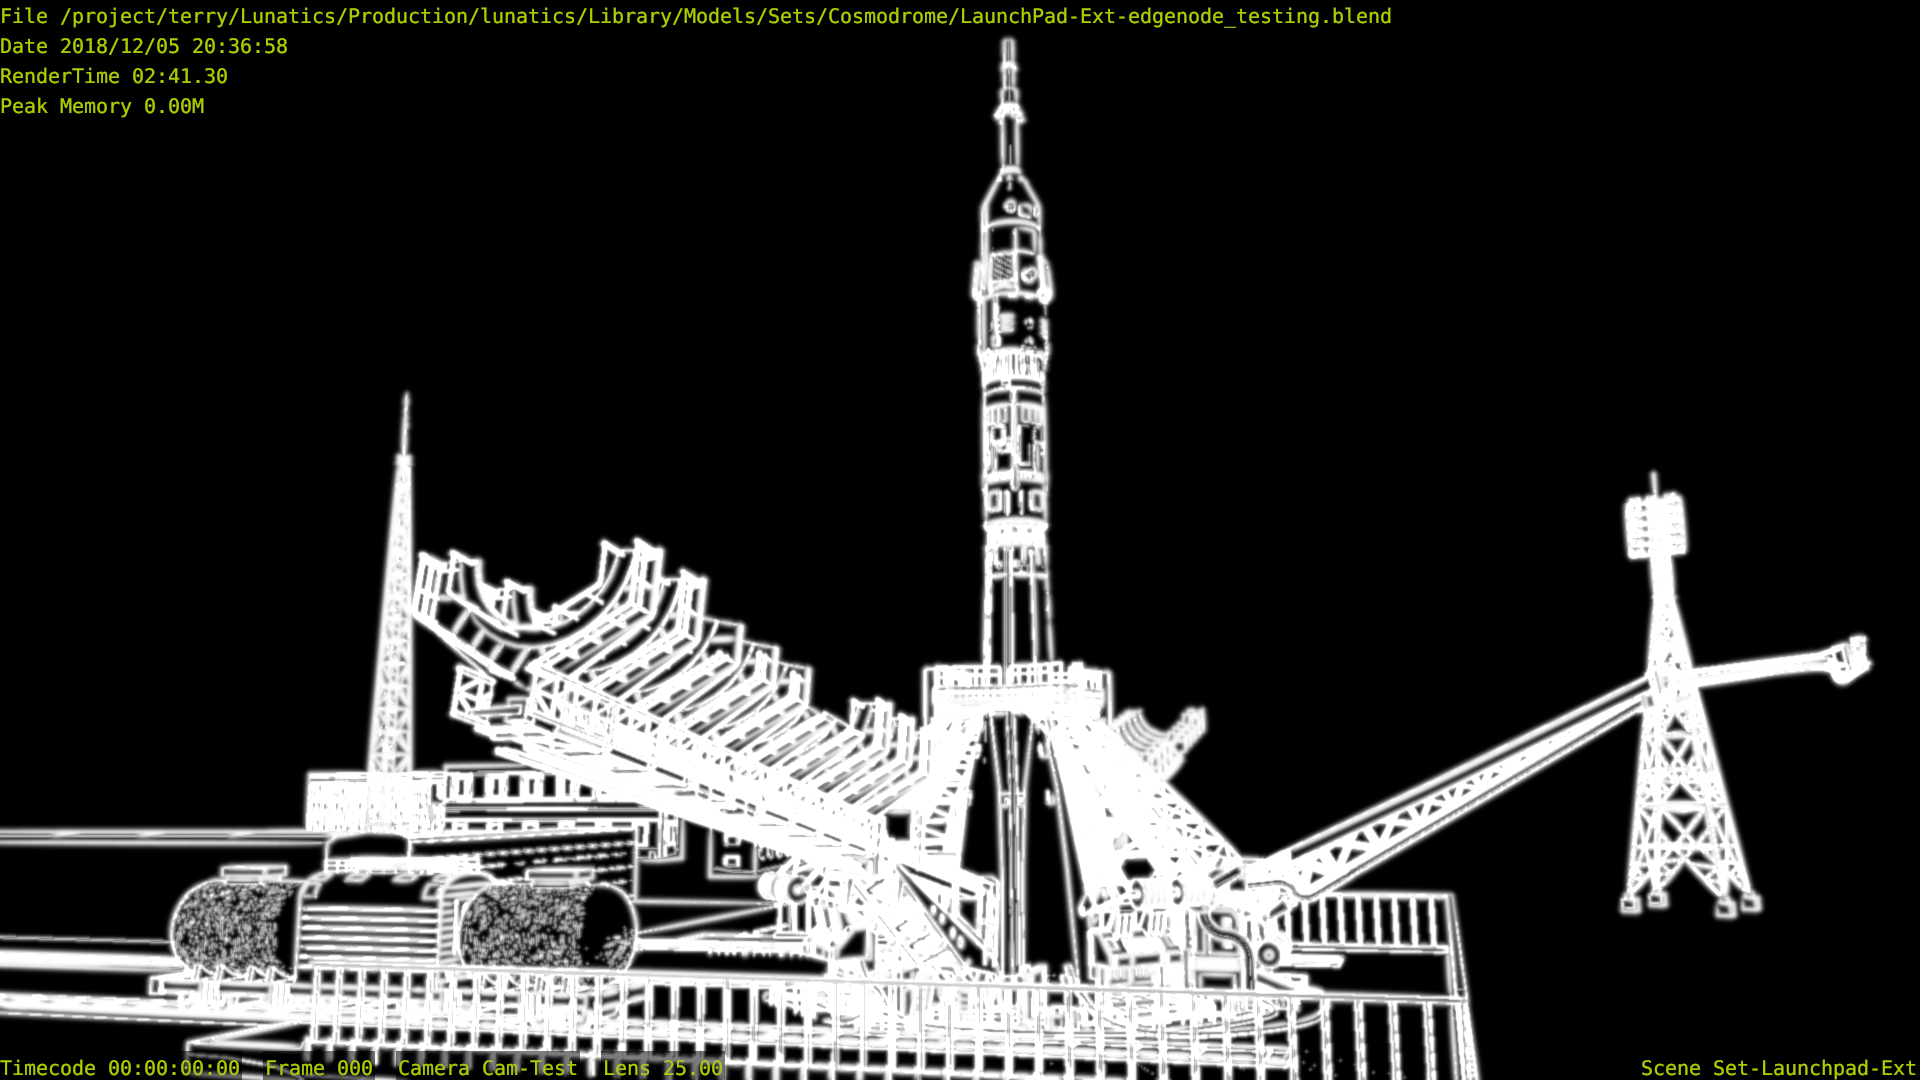
I spent about two days experimenting with Edge Node and then making comparison Freestyle renders of the same shot of the Soyuz gantry, to get an idea of the differences in performance and quality that I would get using either Edge Node or Freestyle on this scene.
The results are fairly complex, as you can see (be aware: Patreon reduces the scale of the image a bit, and since we are talking about pixel-level quality issues, you really should look at the attached full-resolution image, which is 1800×1300 pixels).
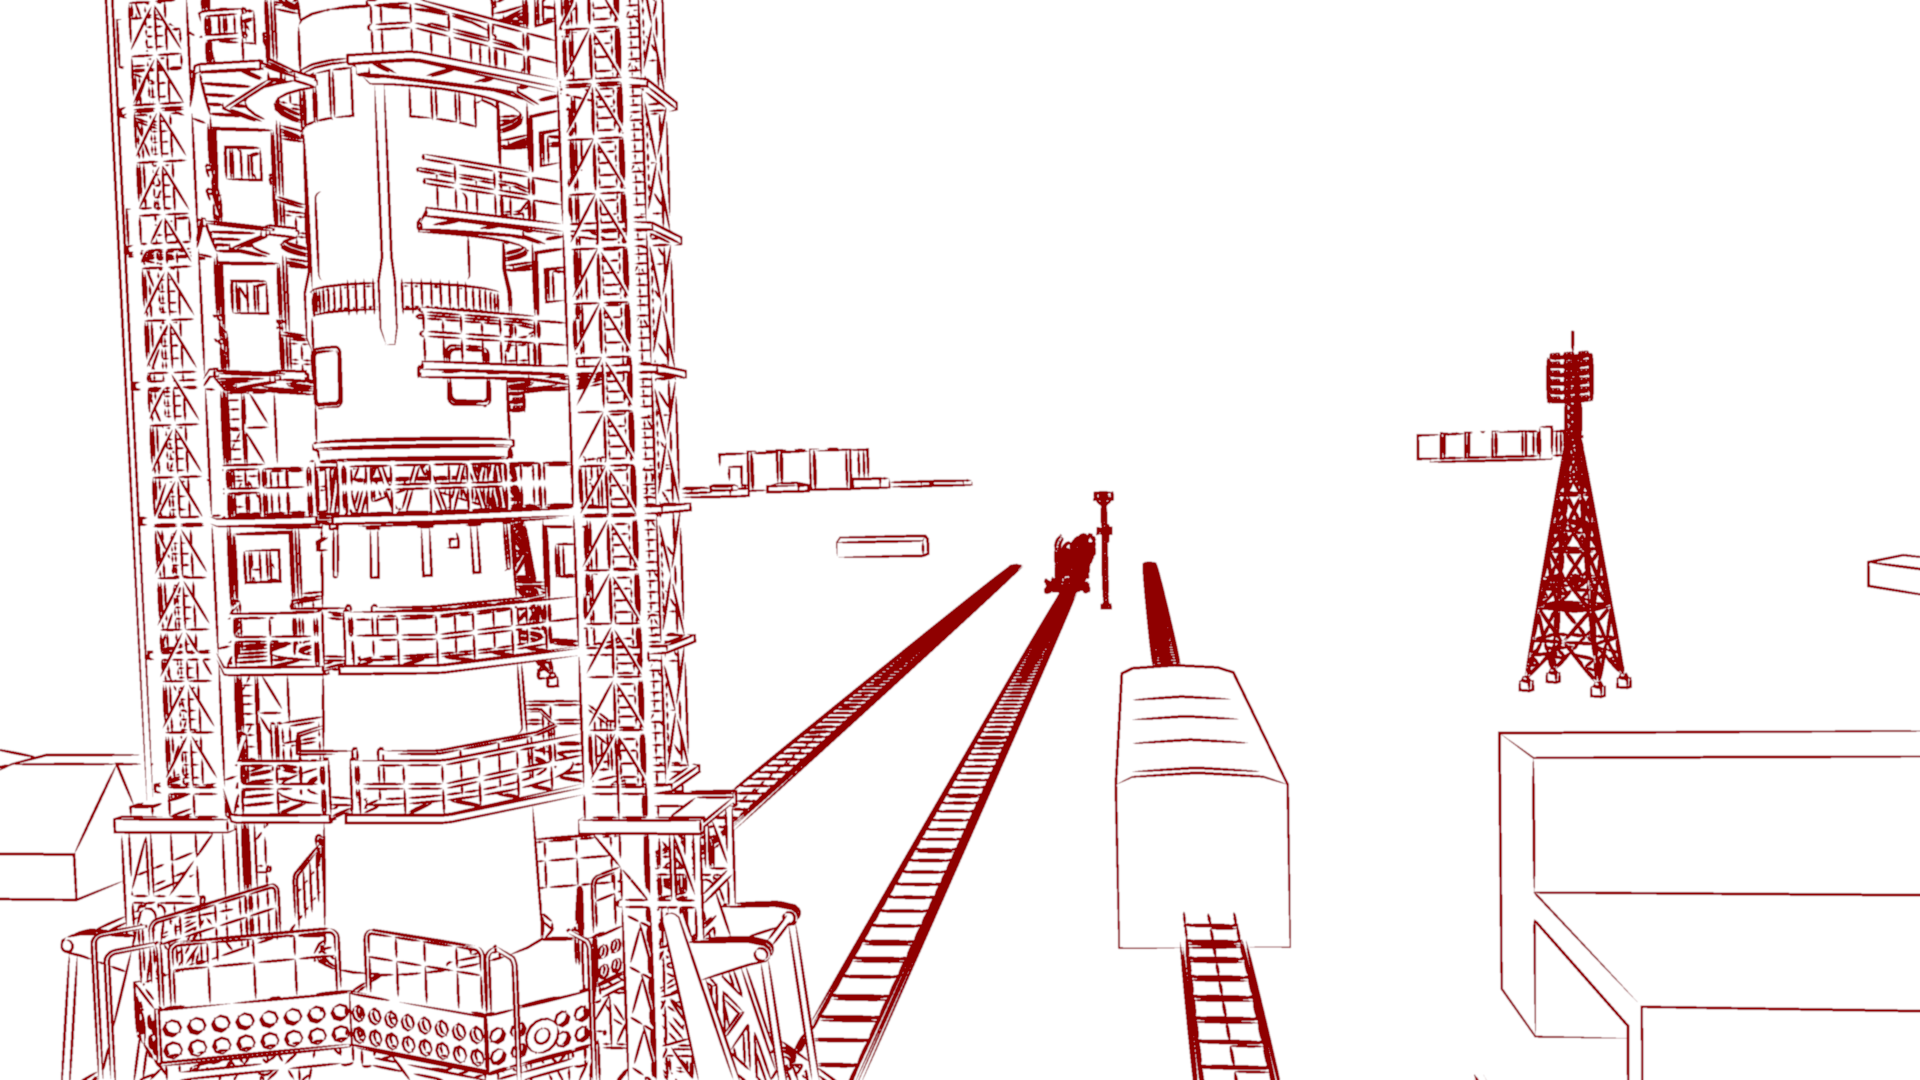
The whole frame looks like this (this is obviously just the ink lines, rendered in red — in the actual shot, the ink will be a darker color and layered over the color render).
The comparison above is just a section of the gantry, with a variety of interesting geometry to show off how the two algorithms’ edge detection is working.
For the renders in the right-hand column, I used Edge Node, at the target resolution of 1920×1080 (“1080p” or “HD”). For the second column, I set the render to 200% and ran the algorithm on the resulting 3840×2160 (“2160p” or “UHD”) image. The top two renders are fastest, with no “anti-aliasing” renders. The bottom four renders have “anti-aliasing” turned on as well as “Full Sample” which causes the Z-Depth and Normals to also be anti-aliased. The middle row uses 5 samples per pixel, while the bottom uses 16 samples per pixel (the maximum).
The left-hand column contains Freestyle renders of three different qualities: the top is the standard Freestyle output with no filtering. The bottom two are rendered from the 200% image (which doesn’t make a lot of difference to Freestyle, though!). And the bottom image has a Gaussian blur added to smooth out the lines a bit. The blur is 4-pixels at the UHD/2160p resolution or 2-pixels in the resulting 1080p image.
The render time for each version is indicated in red to the lower left of each image: the fastest Edge Node render (no anti-aliasing) takes less than a minue, while the longest render is the highest quality Freestyle render at almost 15 minutes. What is less obvious is that the Edge Node numbers are probably very typical of every frame in the shot, while the Freestyle numbers can vary widely, from about 10 minutes up to over 30 minutes, depending on the camera angle and what falls into the shot.
I did a previous Edge Node / Freestyle study that was focused more on understanding the differences and relative strengths and weaknesses of Freestyle and Edge Nodes on a general shot.
This time, I was mainly concerned with “Can I get adequate quality results from Edge Node, with a significant performance improvement?” and also “Is Edge Node adequate to use as the sole inking technology for some of my mech shots in the pilot?” (Because it’s obviously a lot simpler to just use one technology for the ink in a given shot).
I also tried some new techniques this time, including rendering the Edge Node lines from a twice-resolution image (setting the render dimensions to 200%).
I think this was a success. I’m now planning to set this and related shots up to use Edge Node for inking. I do think that I will probably stick to Freestyle for character inking, as I still think it makes much better lines. With these complex mechanical models, there are just so many edges to render that Freestyle can barely handle them, whereas this makes hardly any difference to Edge Node.
My main concern now is just how I’m going to tweak my Edge Node render — will I be content with the 16-sample native-resolution render (lower left corner)? Or will I broaden the lines on the higher-resolution render, as in the center? It looks like I can keep render times under 5 minutes per frame with either of those cases, which is manageable.
Dec 6, 2018 at 4:01 PM
Inking Technique Benchmarks

After the previous tests, I wanted to push on towards a more realistic comparison test. So I did a number of complete tests with Edge Node and Freestyle, along with simple color-only renders for comparison.Honestly, I was hoping for more clarity than this
Performance
In fact, when all the factors are considered, the performance gain from Edge Node becomes unimportant — at least for this render. It’s not clear to me where my pathological 30-minute Freestyle render came from in my previous tests. Maybe it actually was computing Freestyle over the billboards in the background or something? I’m not sure.
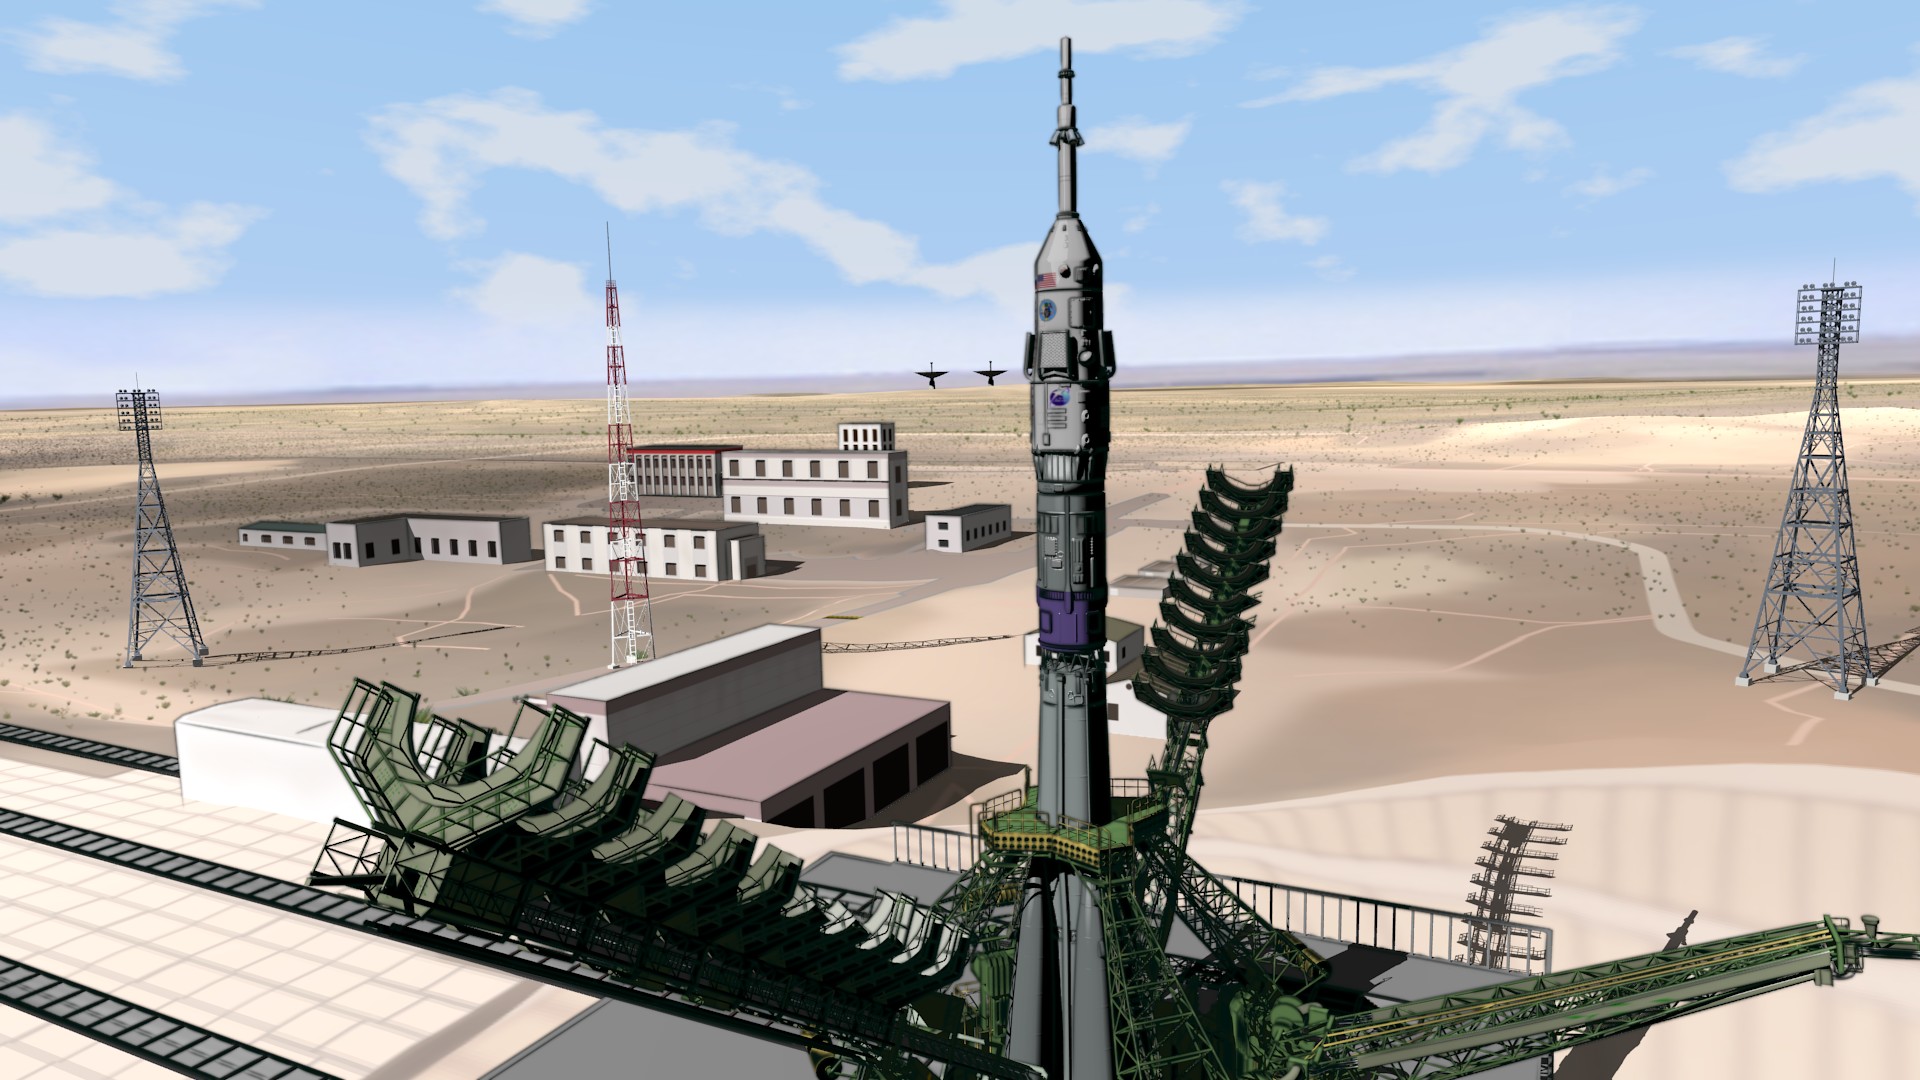
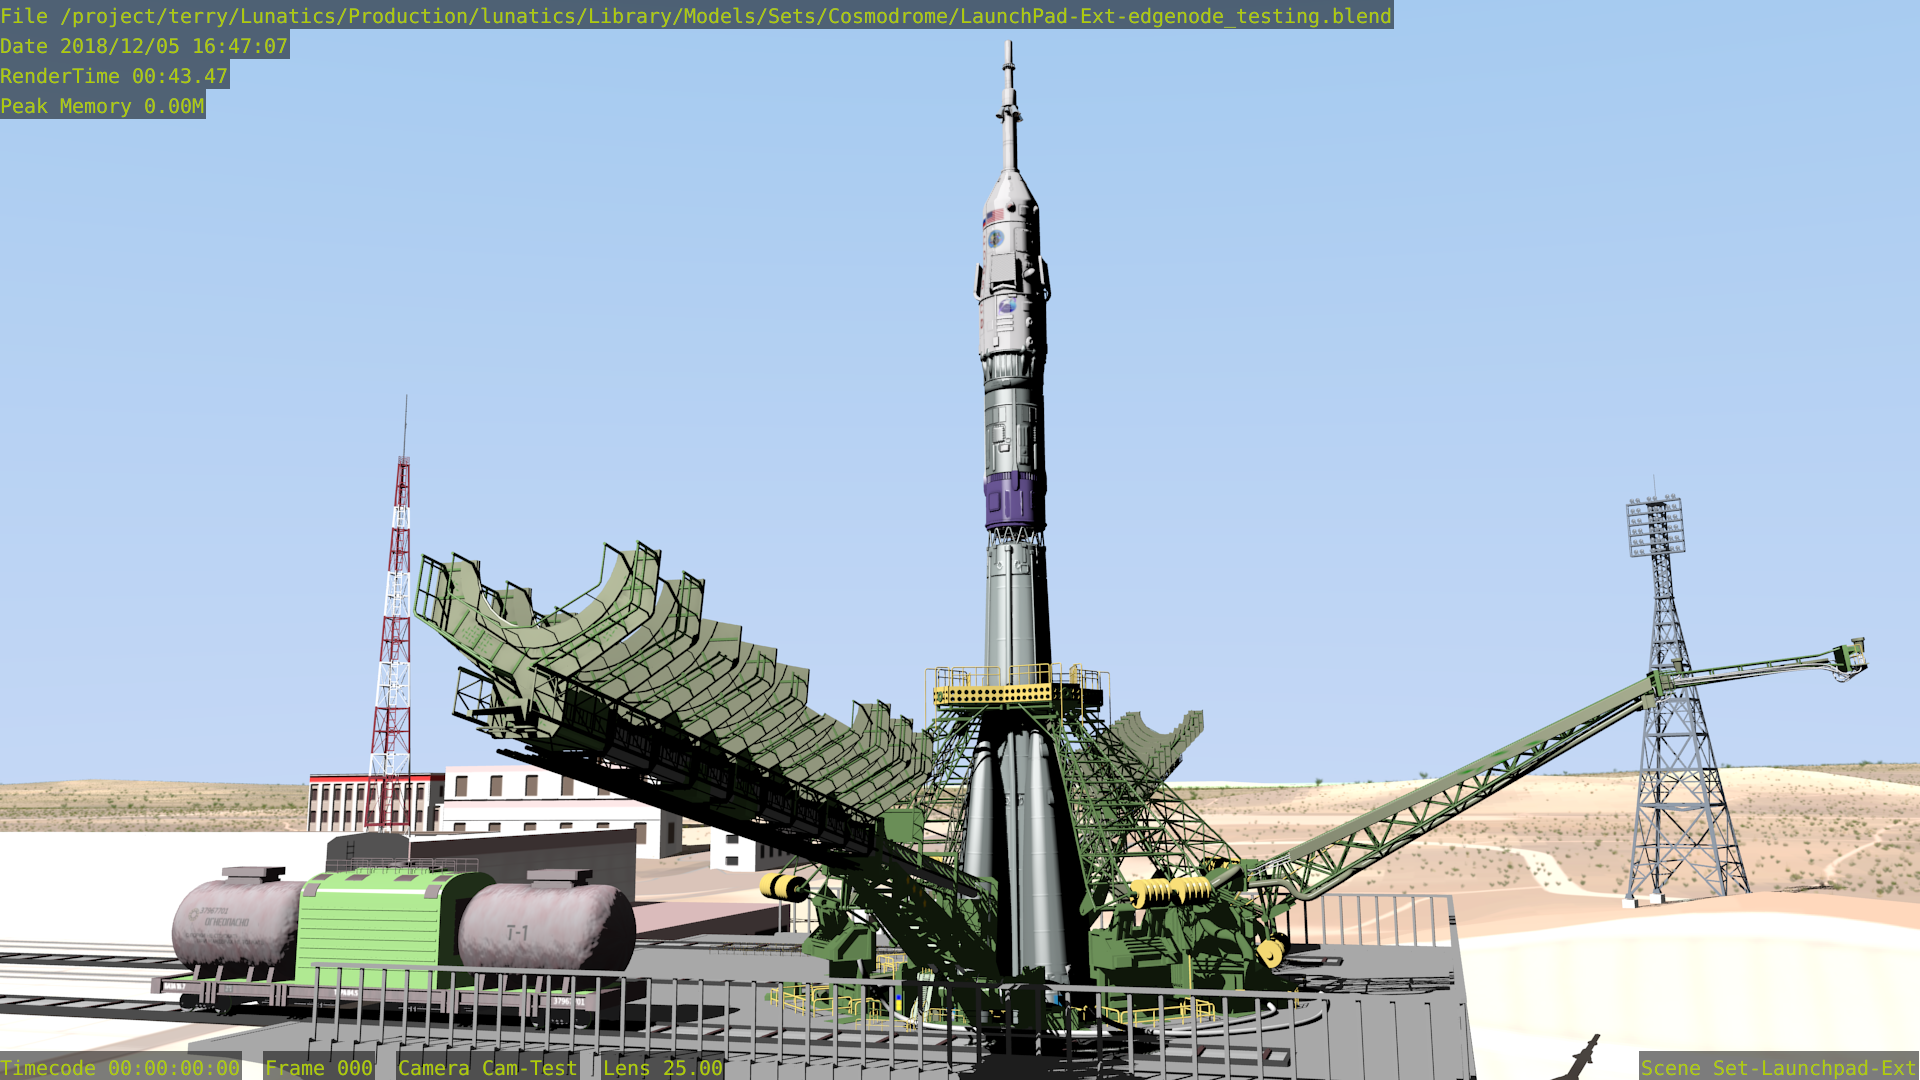
However, when I set up this render to work only on the Launchpad and surrounding buildings (as I intend to do in the final shots), the render time is much less of an issue: with all the bells and whistles turned on, this render only took about 2.5 minutes with Freestyle. Using Edge Node does provide a small performance advantage — the render time drops to just under 2 minutes:

The main hit for using either Edge Node or Freestyle comes from the simple requirement to re-render the scene in a new Render Layer — which is a requirement to separate which objects get ink lines and which don’t. That’s going to be part of our final render, no matter which technology we use.
Using Edge Node does make it a requirement that we use anti-aliasing with the “full sample” storage option to get good results. However, we will be using anti-aliasing for good final-quality renders in any case, as well as computing the motion-vector map, which is used to create motion-blur. So, while this has an effect in testing, it won’t mean much to final render times.
The option of rendering Edge Node lines at double-resolution, which I tried out in my previous tests, turns out to be a disaster for performance: those Edge Node renders are much slower than the Freestyle renders on this shot.
Quality
As for the quality, I still find that Freestyle looks better, although the difference likely wouldn’t be noticeable if I limited ink rendering strictly to the launchpad itself — which looks like it might be better to me. In these renders, the background towers are inked, and I think they probably would look better if left with only the color render.
The aesthetic purpose of the ink lines is not so much to fool the viewer into thinking they are looking at hand-drawn artwork, but rather to capture the advantage that hand-drawn lines provide: which is to add back the detail that was lost in using a flatter color-shading process, particularly for the areas of peak interest in the shot.
This is one way to make the subject “pop” out from the background, and focus the viewer on the action in the scene.
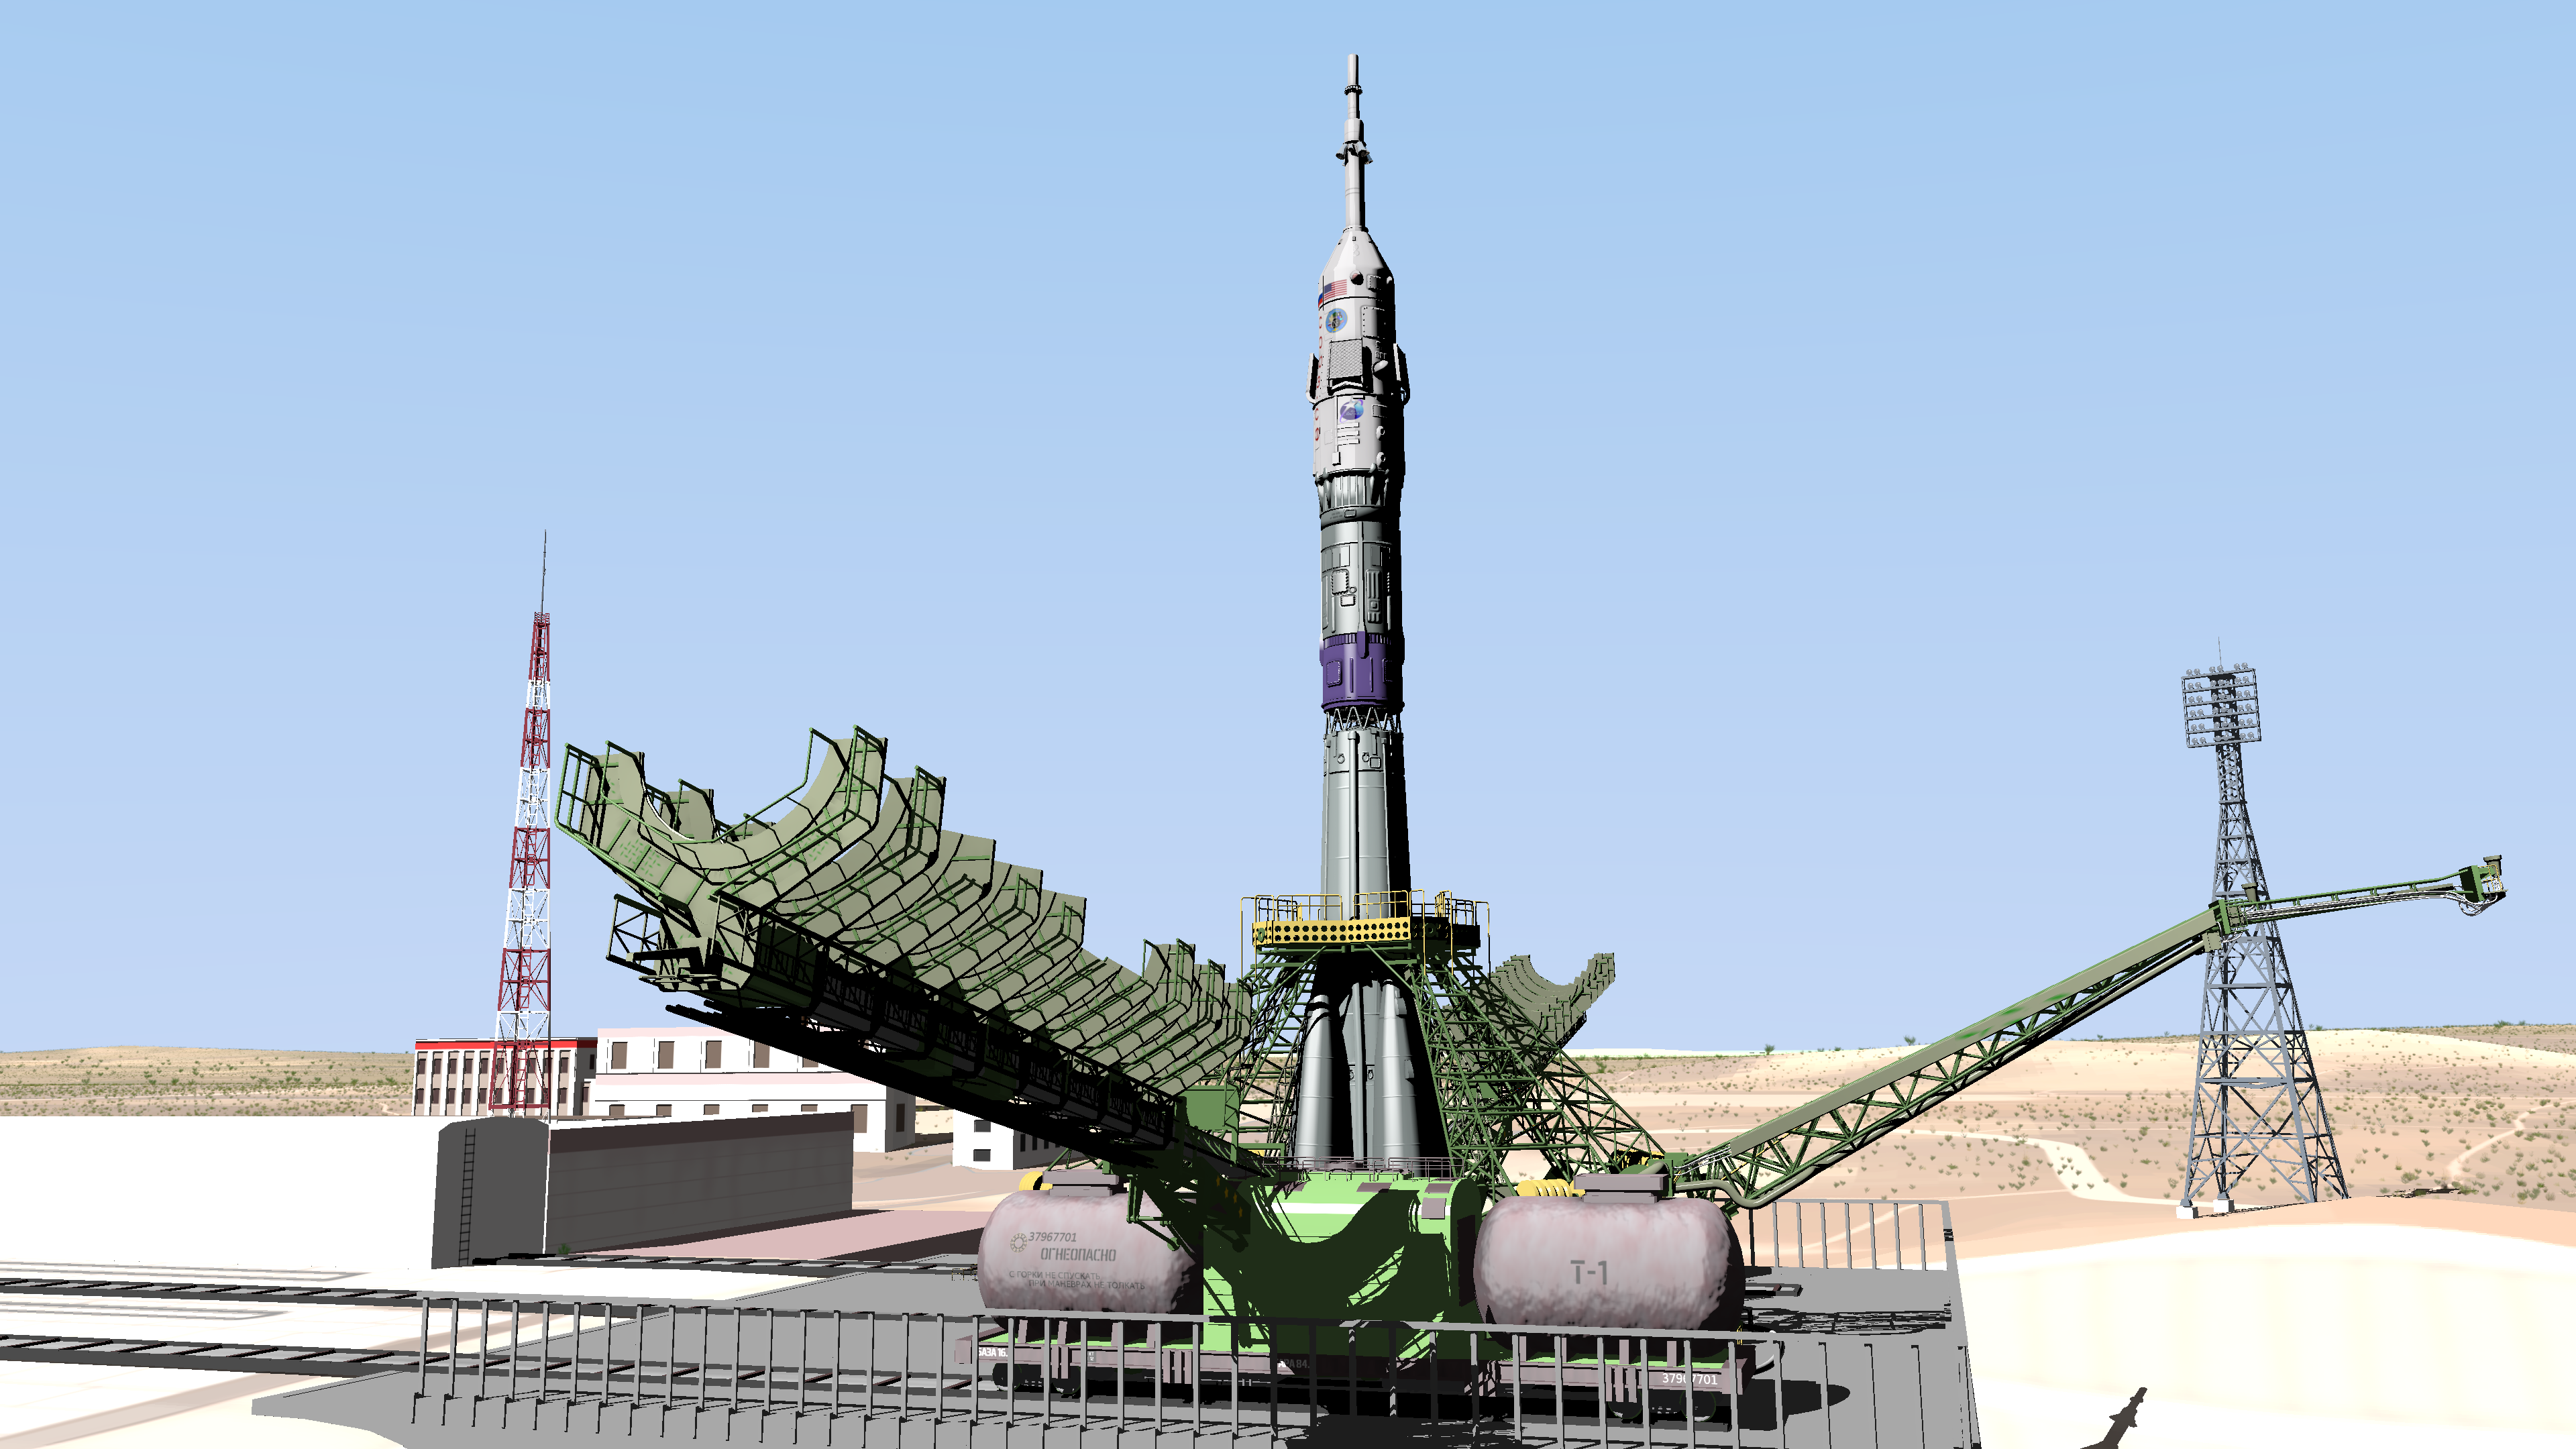
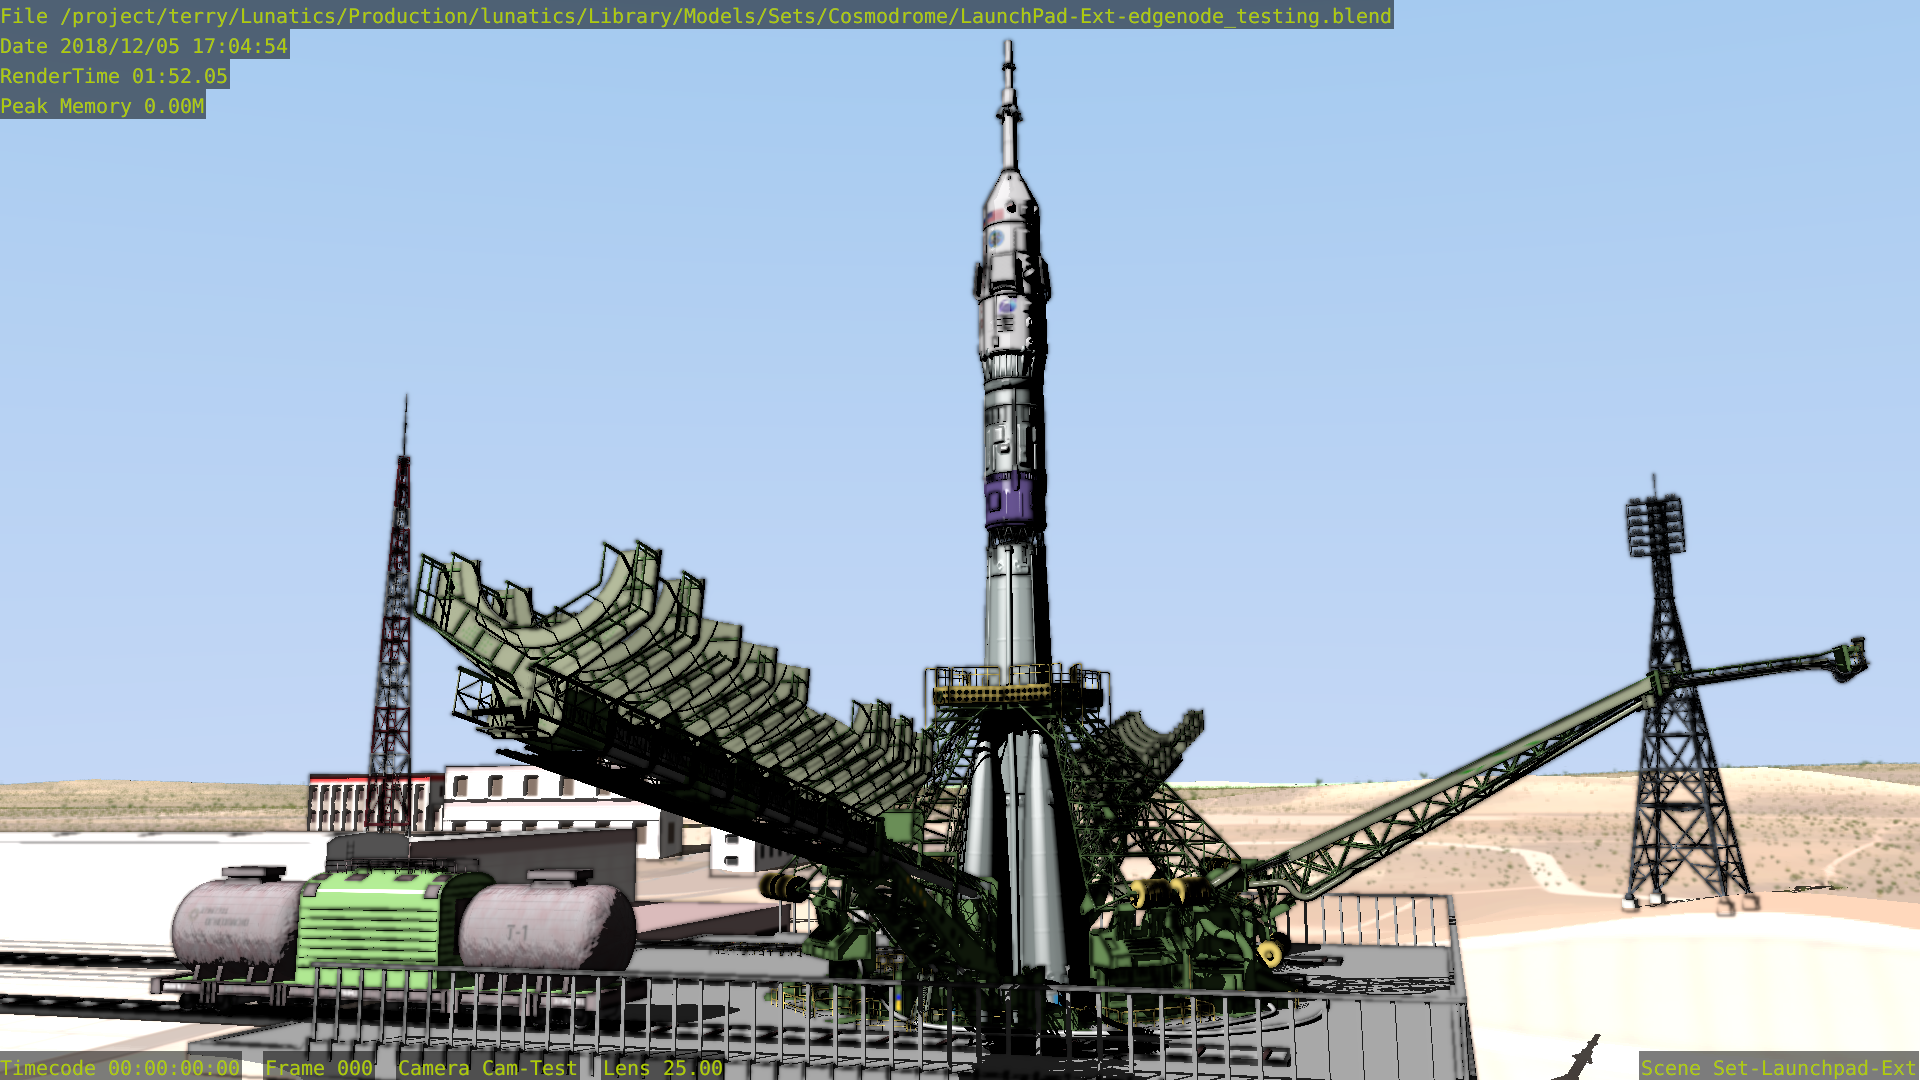
Here’s the color-only image, with anti-aliasing features turned on — basically, the maximum quality of color-only rendering that we will produce:
And here is the Edge Node inked render:
And then here is the Freestyle render, as originally planned:
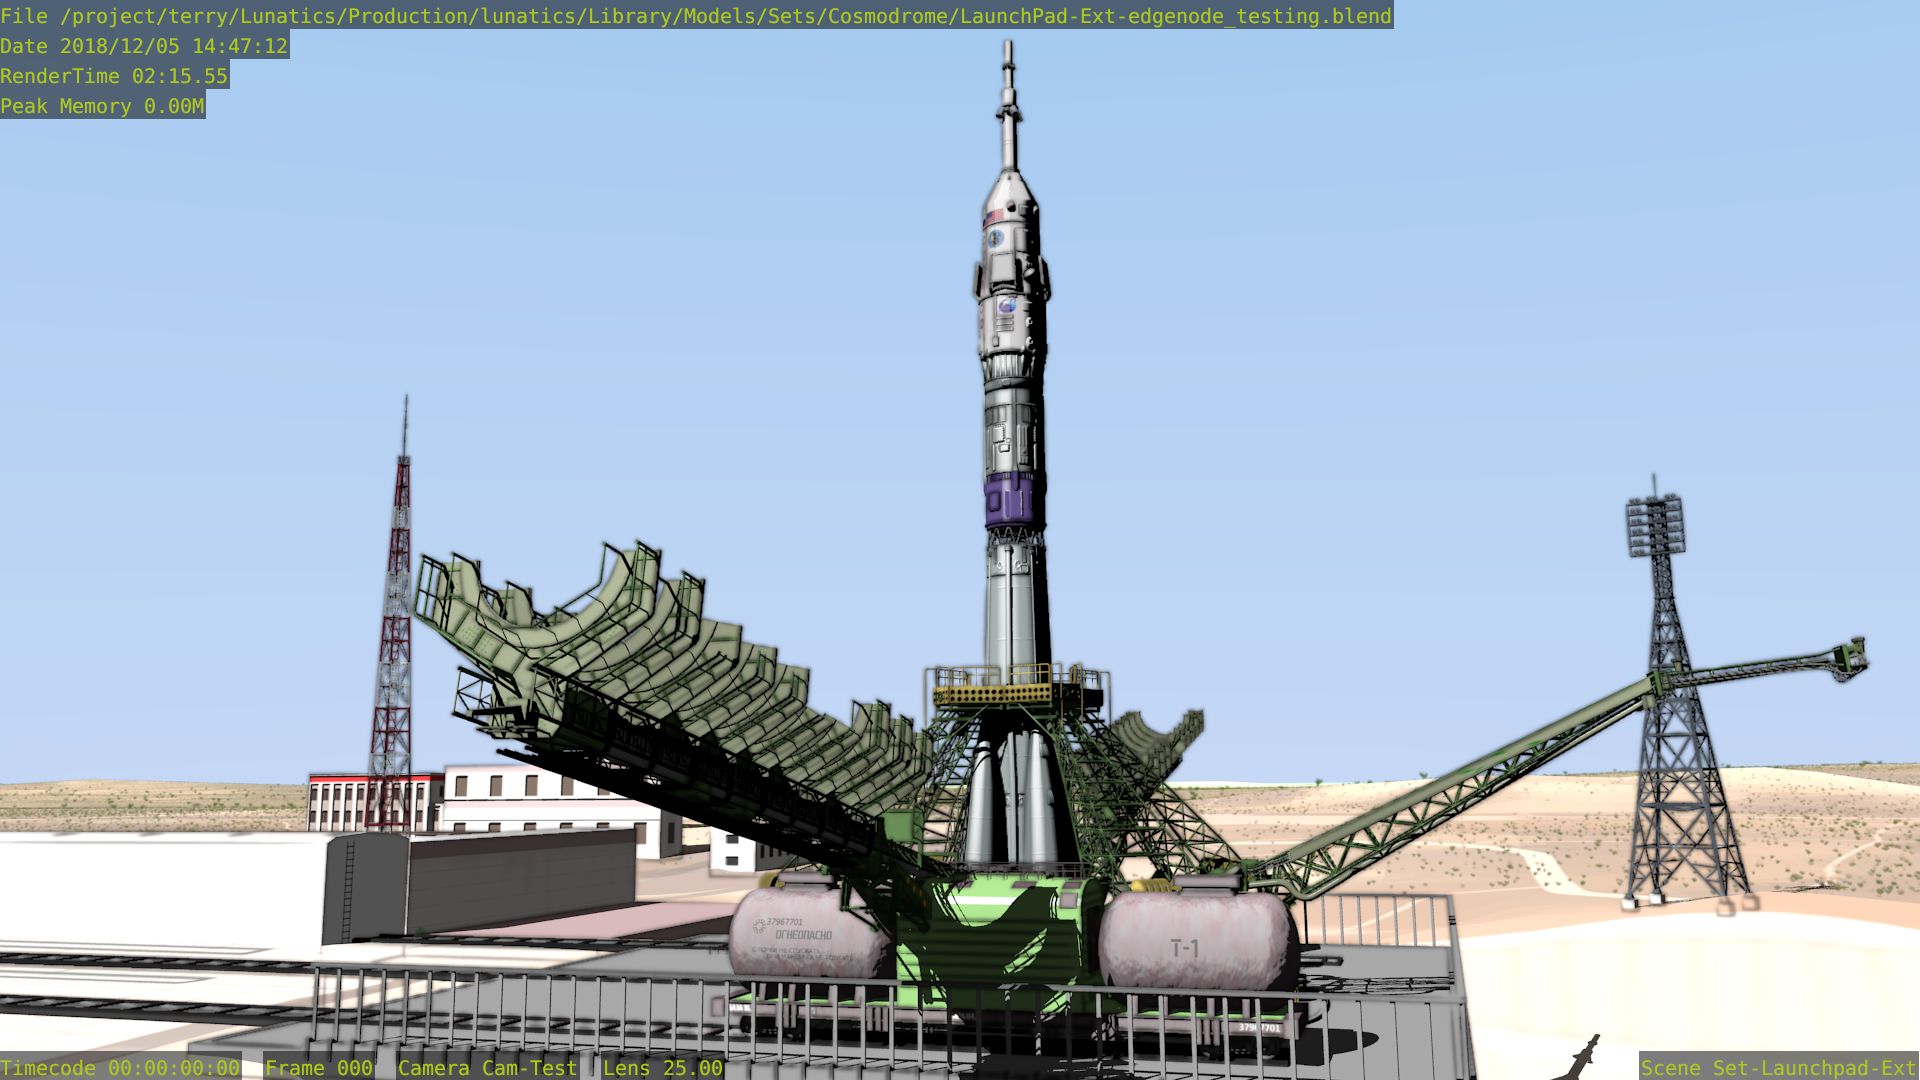
The Freestyle render creates finer and fewer lines than the Edge Node render, and of these three, I find it the best, although I also think the ink is detracting from the appearance of the towers in the background, and so they should be removed from the inked object group.
Note that Edge Node’s discovery of the surface texture on the tanker car is not desirable: it’s better to see the texture and label, undisturbed. It’s inking also gets a little heavy-handed on the lowered-gantry sticking out towards us, compared with the Freestyle render.
Also, purely for completeness, I did a test of combining the Edge Node and Freestyle lines, which is the intro image for this post.
Since Patreon is going to scale these images down on your screen, I’ve also included them as attachments to this post (“AA8MN-full” means “Anti-Aliasing”, “Mitchell-Netravali algorithm”, “8 samples”, with “full sample” turned on, which means the anti-aliasing samples are stored for all render passes, not just the “Combined” pass. This was also used on the “EN” Edge Node test and the “EN+FS” combined pass, which combines the the two lines with a “Lighter” mix node, meaning it accepts the maximum value — essentially a “union” of the two line sets).
What to Do?
Based on these results, I don’t see much reason to use Edge Node here. Maybe it will come up somewhere else in the production. It seems like being careful to exclude elements that should not have ink rendered at all is a much better use of my time.
Edge Node itself runs very quickly — about 30 seconds in this case, which is much faster than Freestyle, but by the time you add on all the other things needed for the shot, including the extra render layer needed to isolate the inked objects from the background, this performance improvement becomes a lot less important to the final render time. Essentially, Freestyle isn’t performing badly enough on this shot to make the switch worth it, especially if there’s a drop in quality (and I think there is in this case).
I do feel a little like I just wasted a lot of time on this, but it’s still good to know the options, so I’m glad to have this data. Also, I have seen Freestyle bug out on some complex models before, so it’s possible I may need this fix after all. And I think I’ve proved that it is possible to get acceptable albeit not better results with Edge Node — so if we need it, I can do it.
From the perspective of my immediate decision-making, these tests have shown me that I need to isolate the foreground mech from background elements when I link together my sequence files. This will make it possible to control what gets inked in the way I want (and that’s the reason I needed to do these tests this week).
Full Ink Method Test Series


Dec 8, 2018 at 4:00 PM
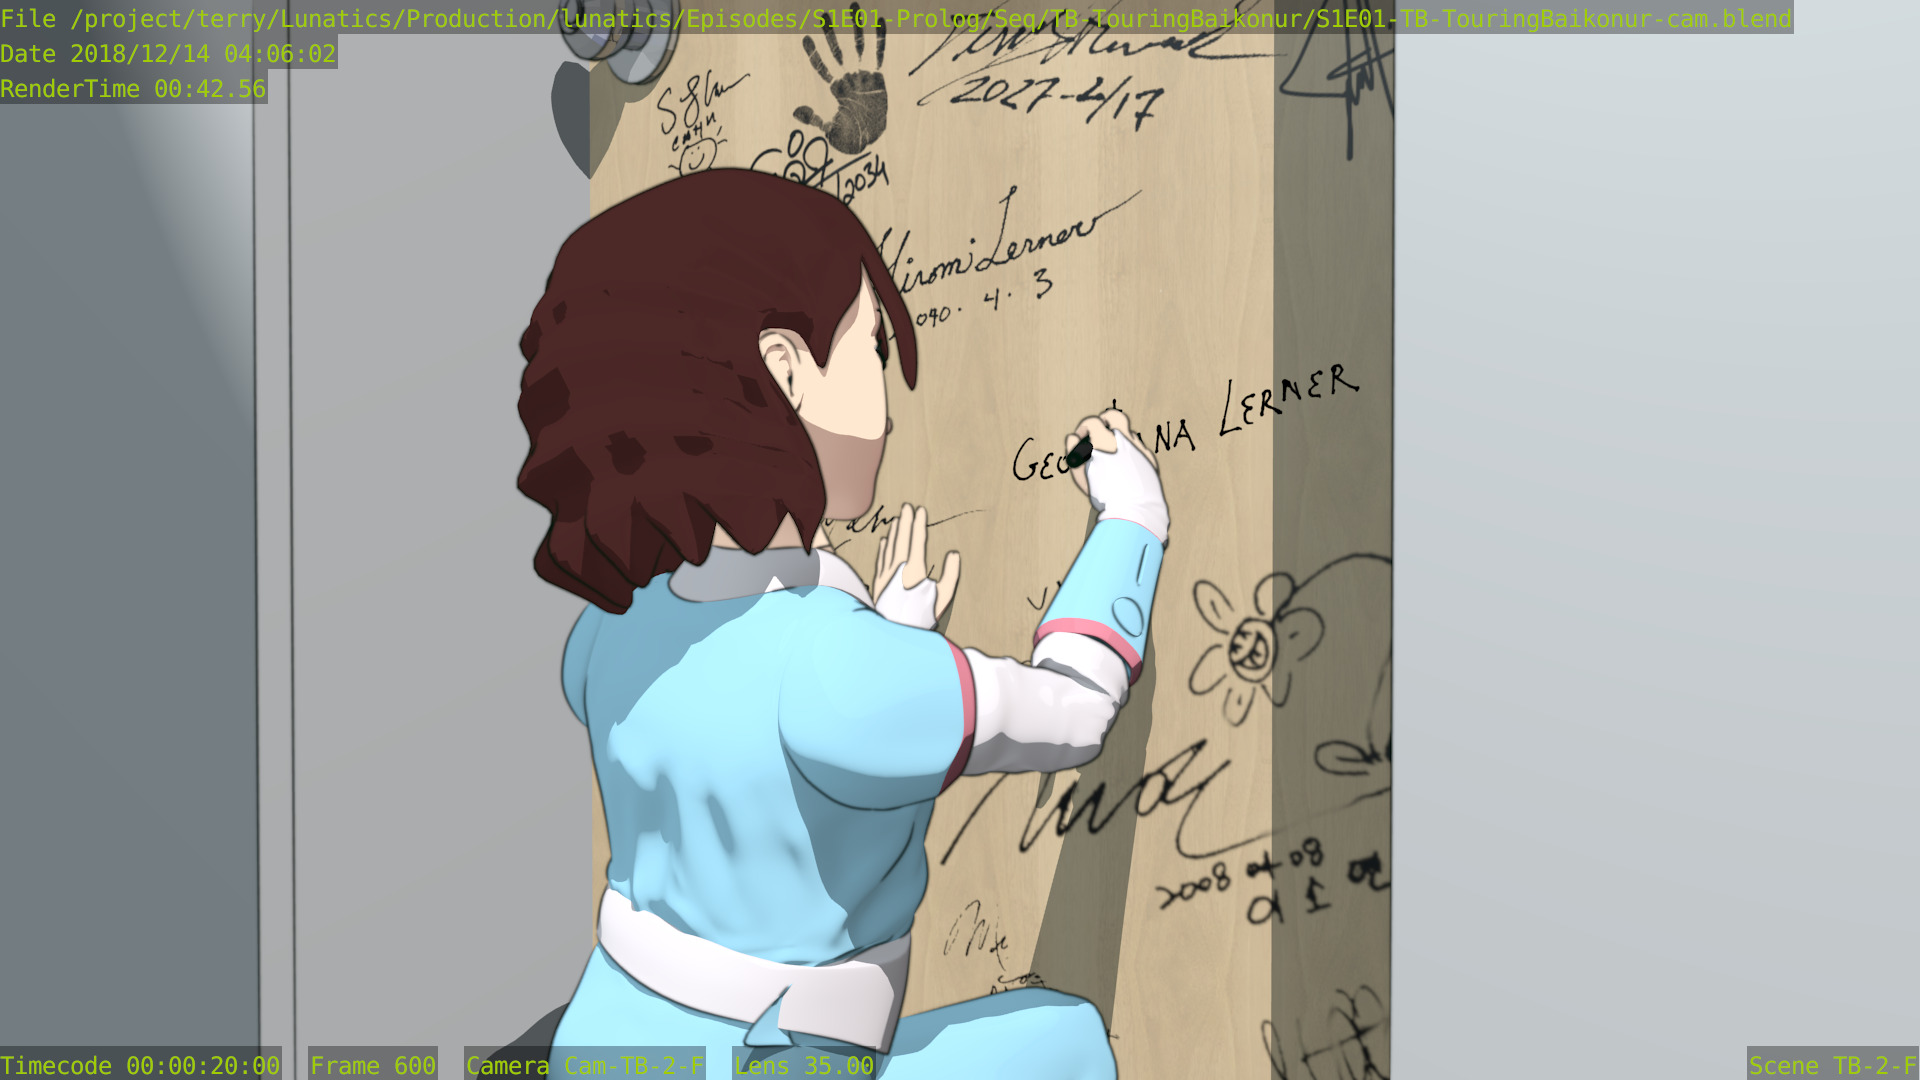
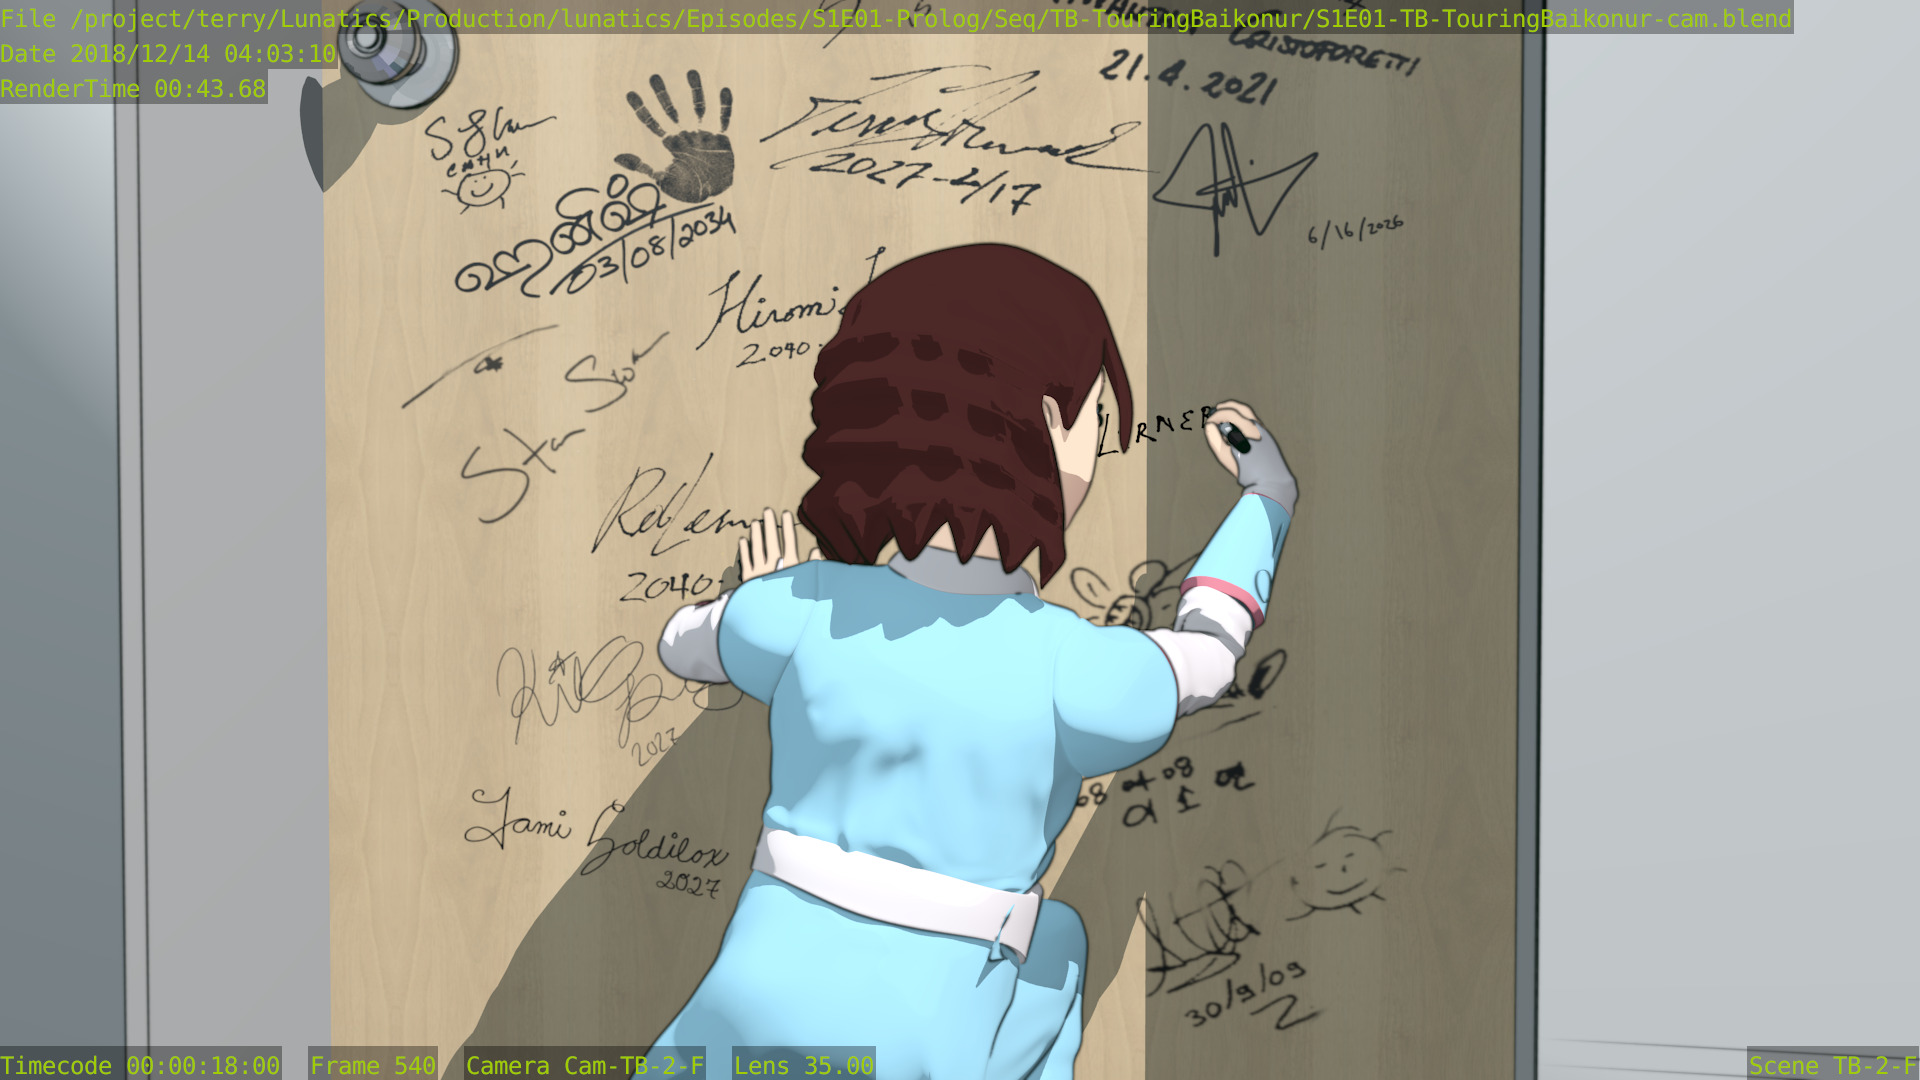
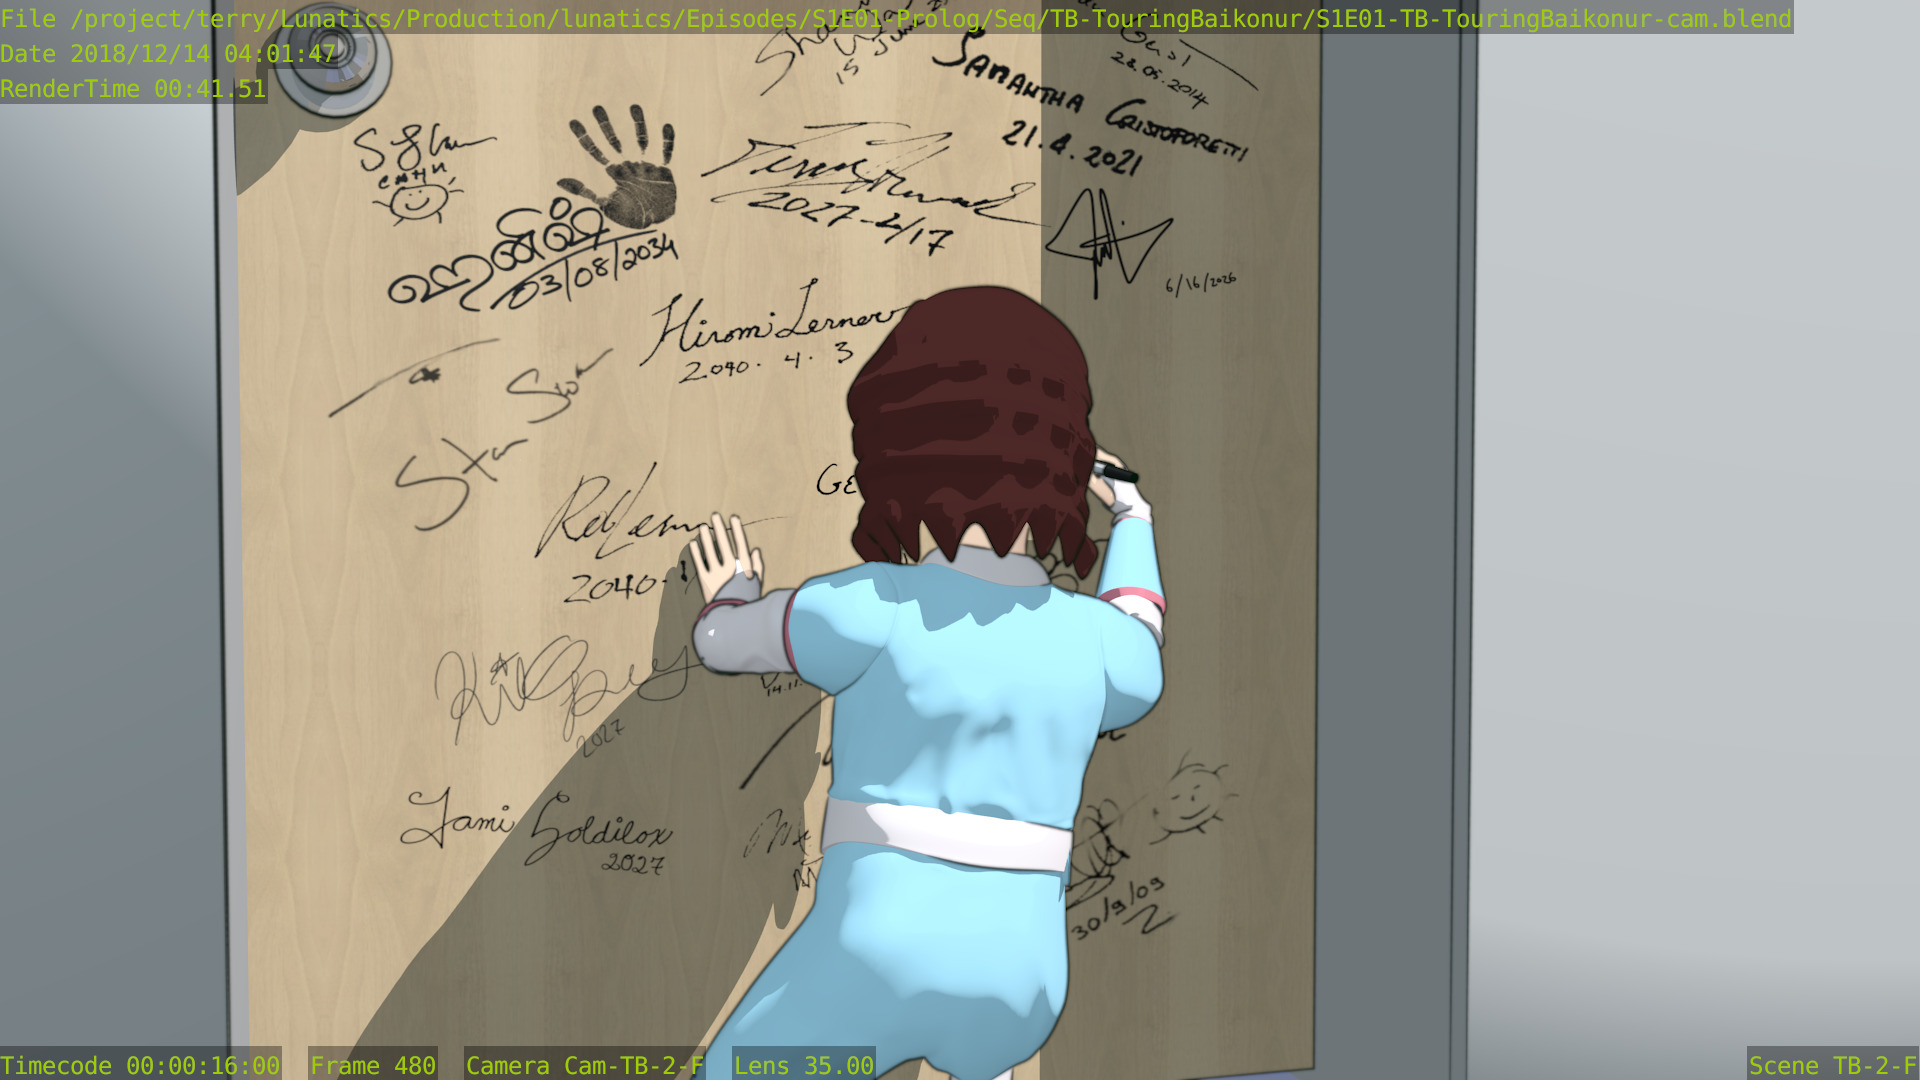
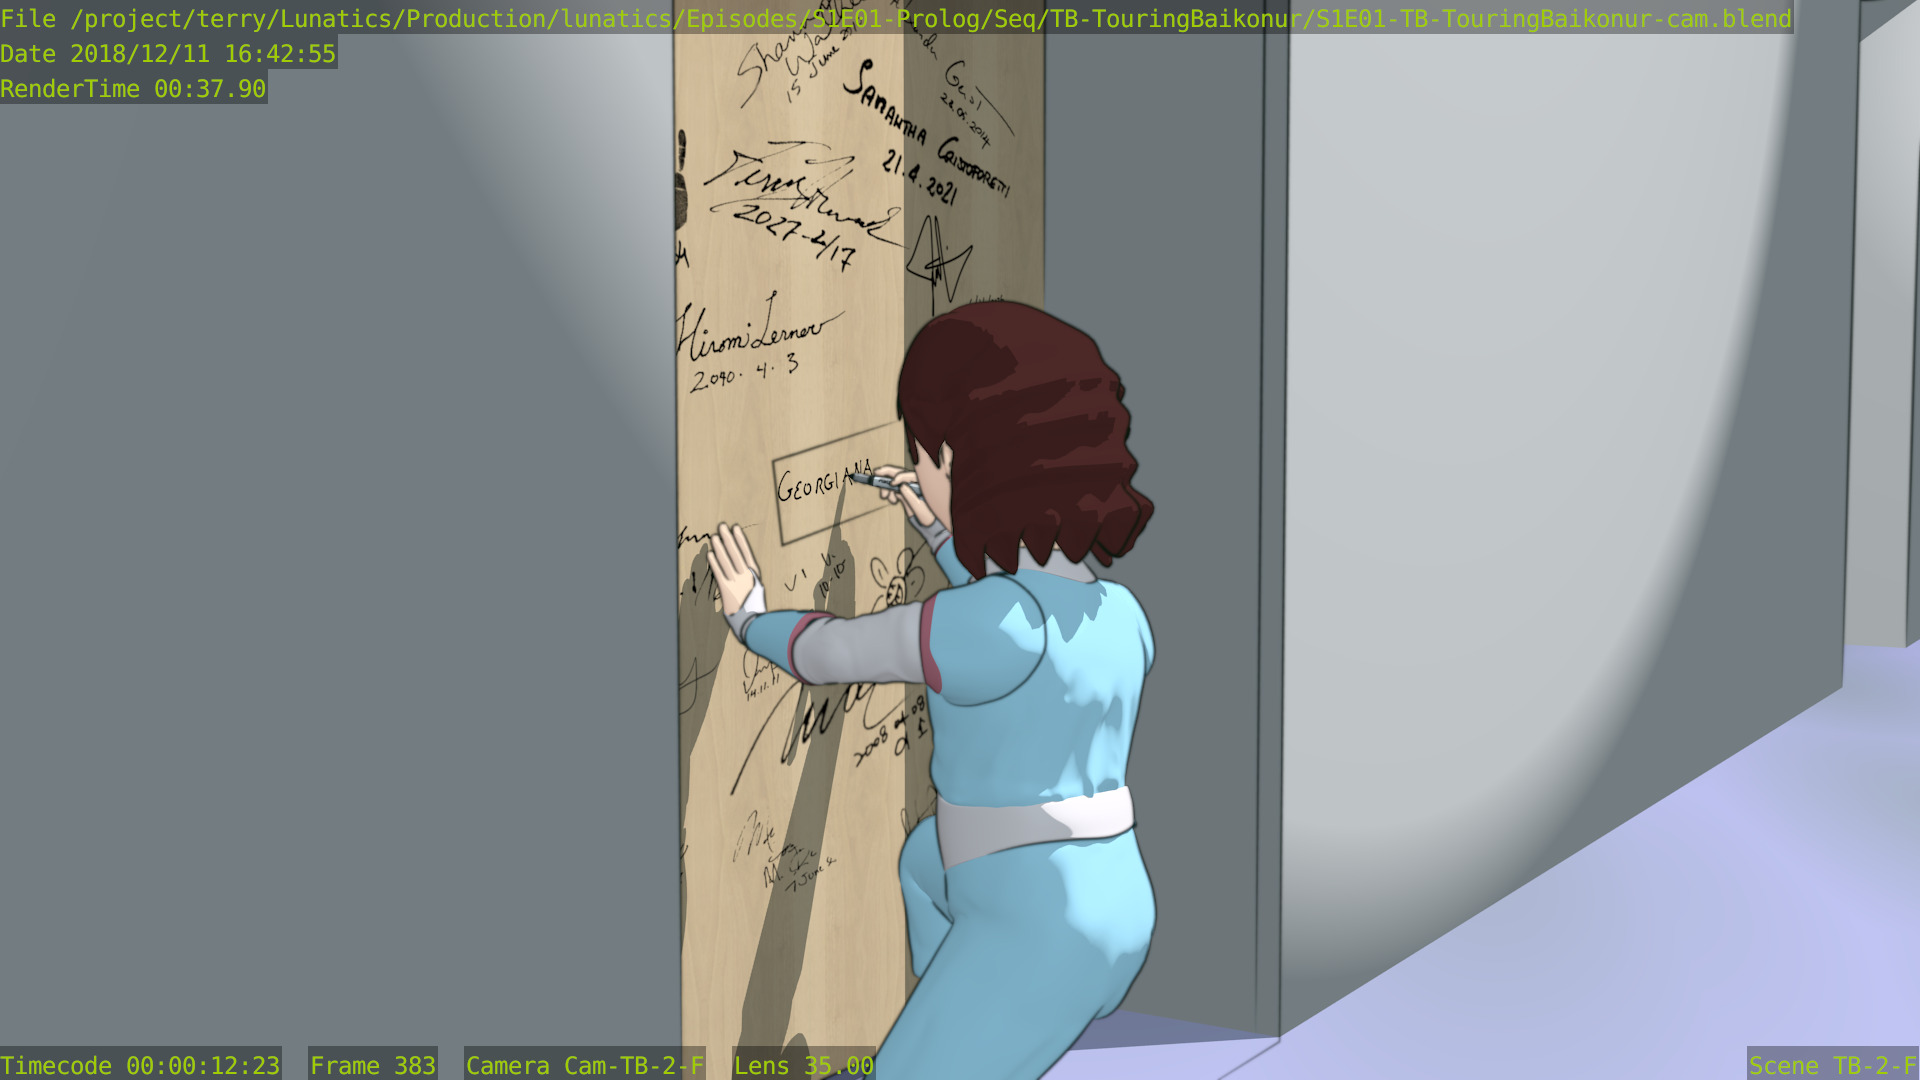
Tricky Alignment

At the edge of the modeled part of these railroad tracks, they are meant to transition to lines on the surface texture for the plain. But it’s quite trick to match a texture up to a modeled element convincingly. I think I’ve gotten it close enough (this is a closer shot that you are likely to see in the final animation).
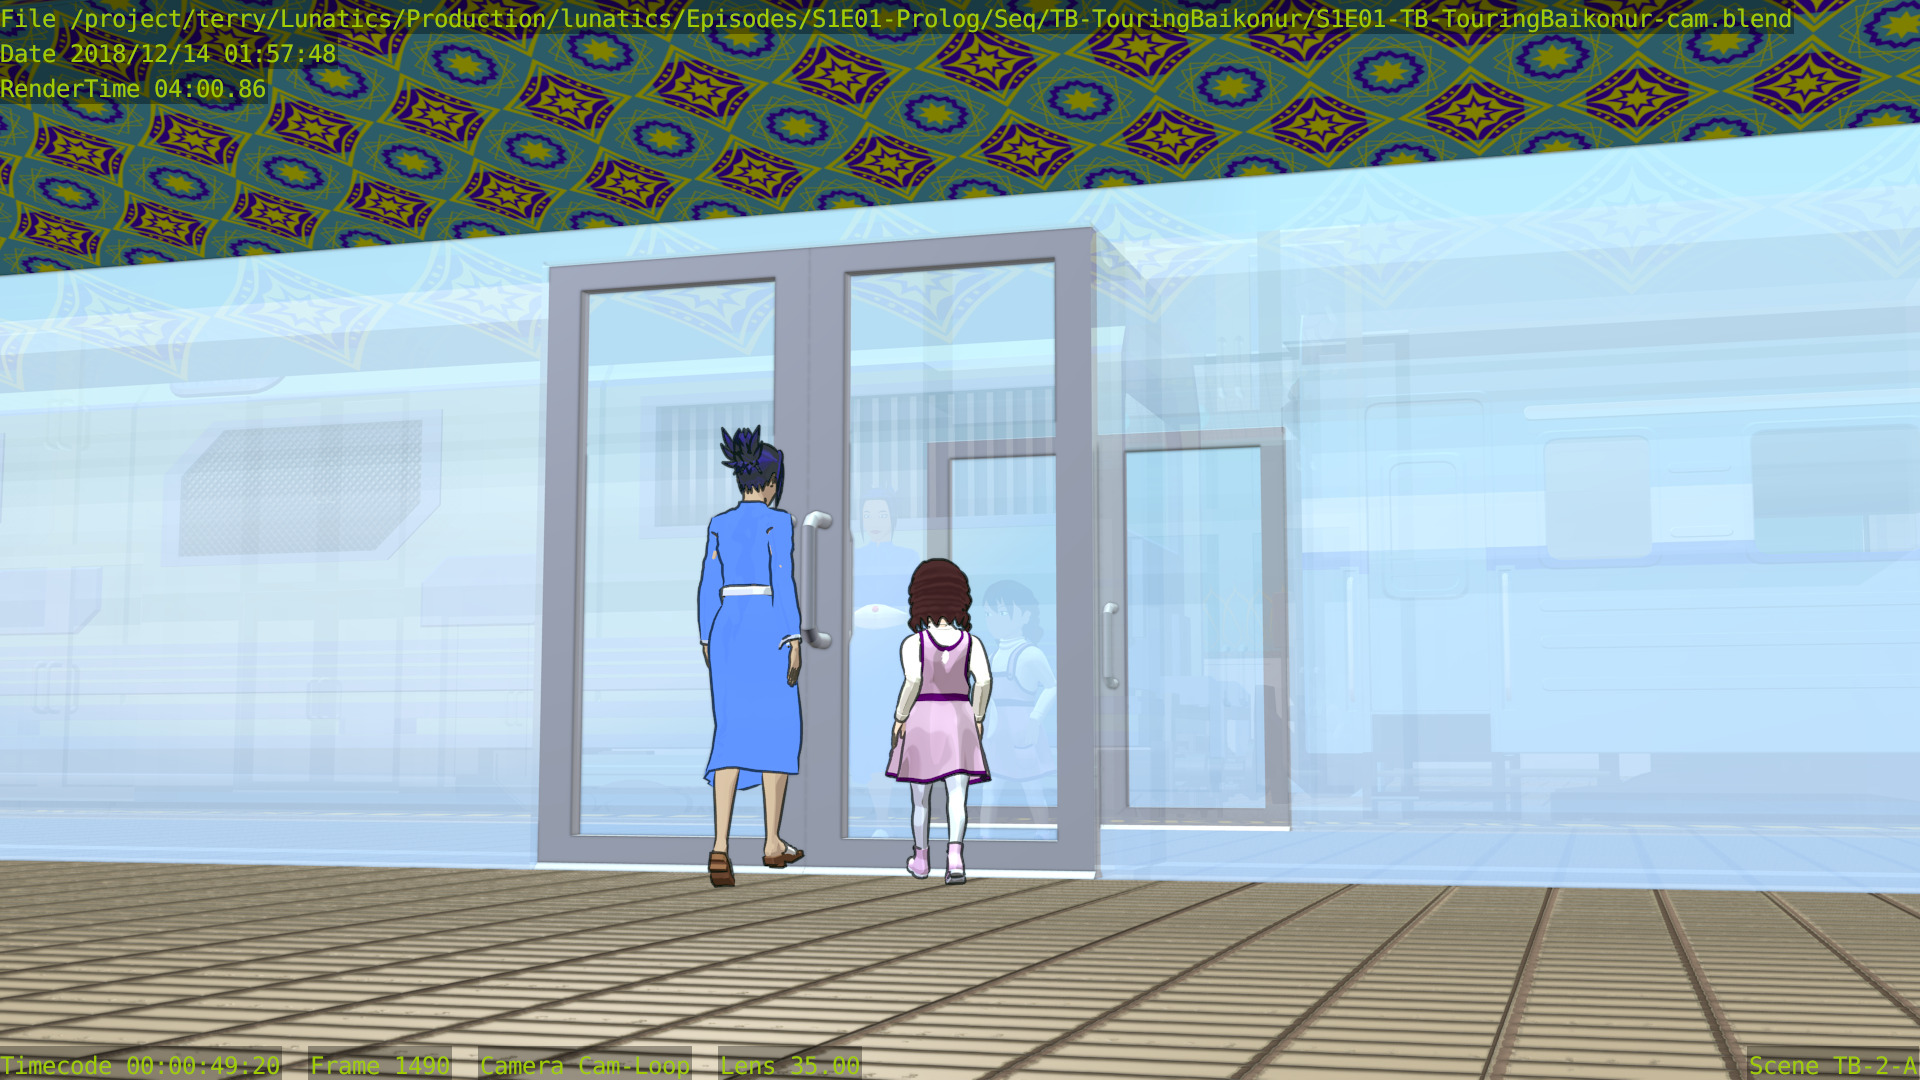
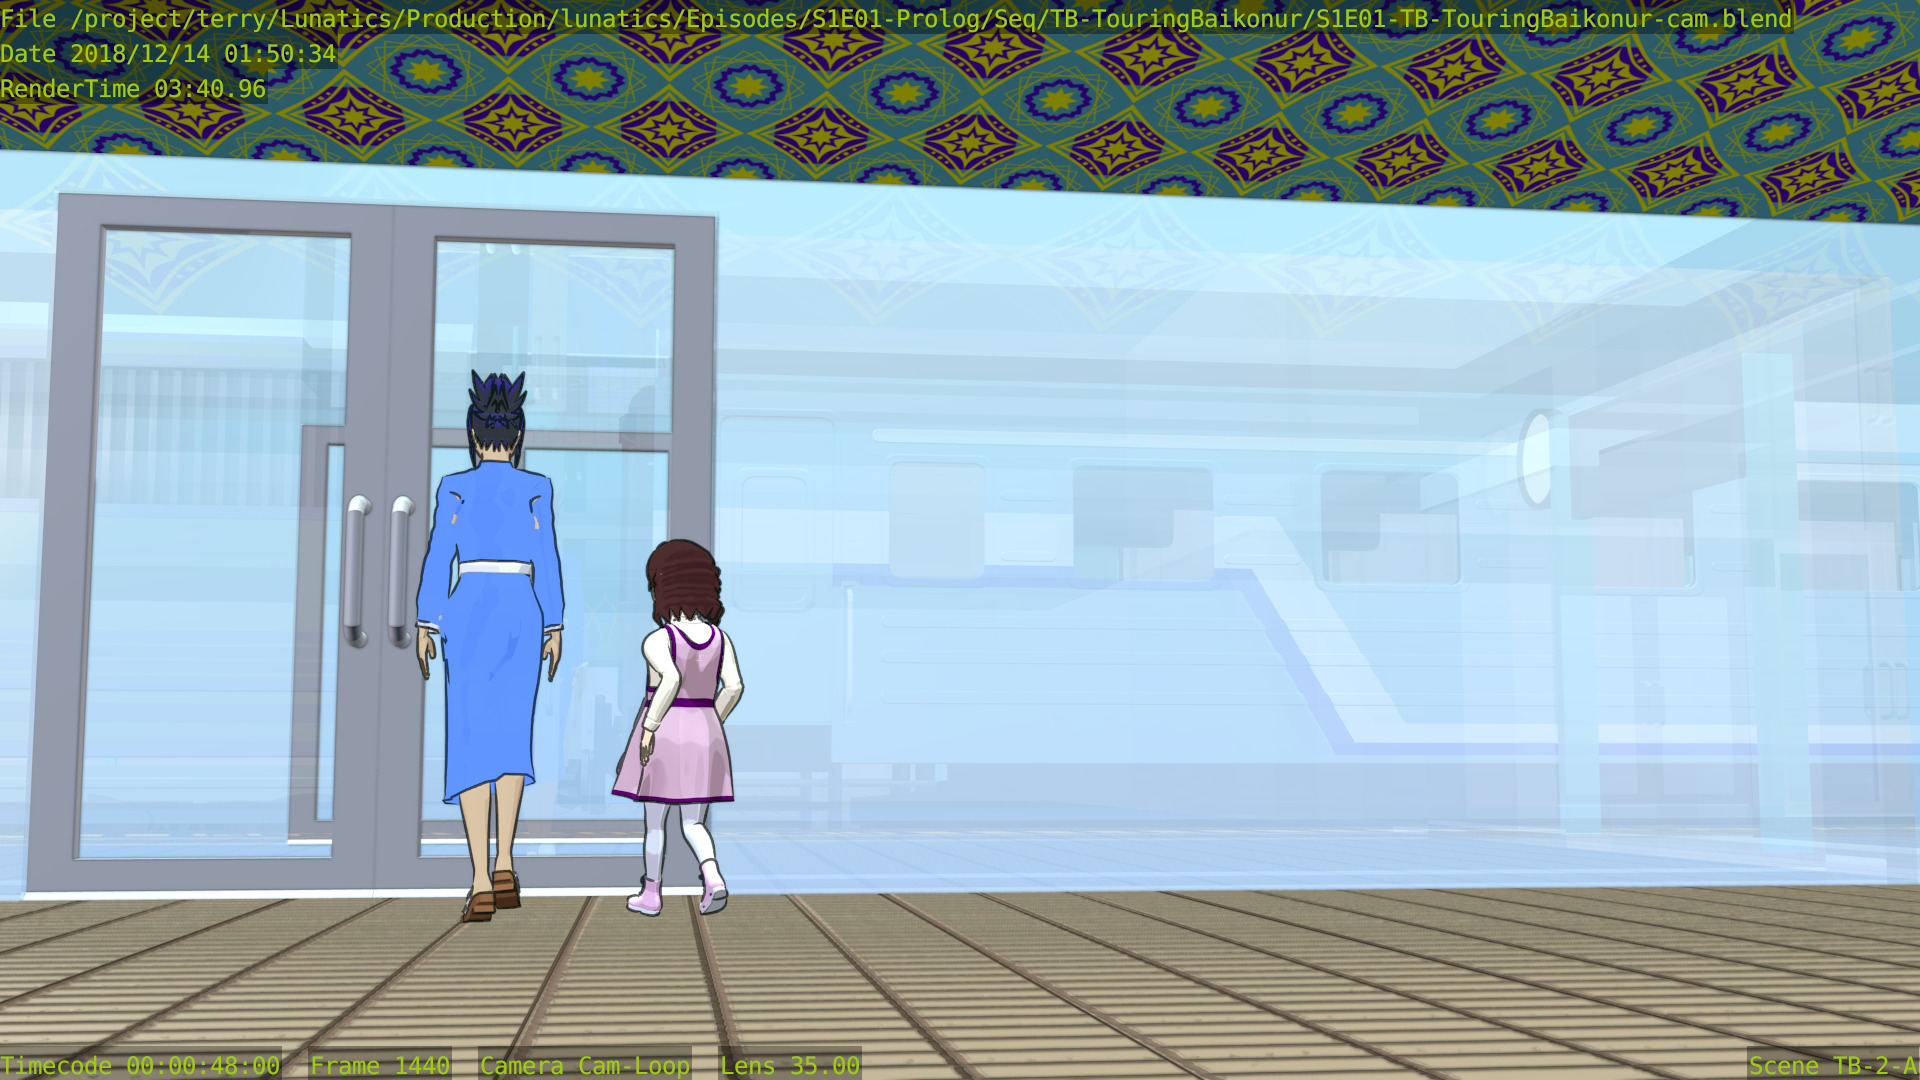
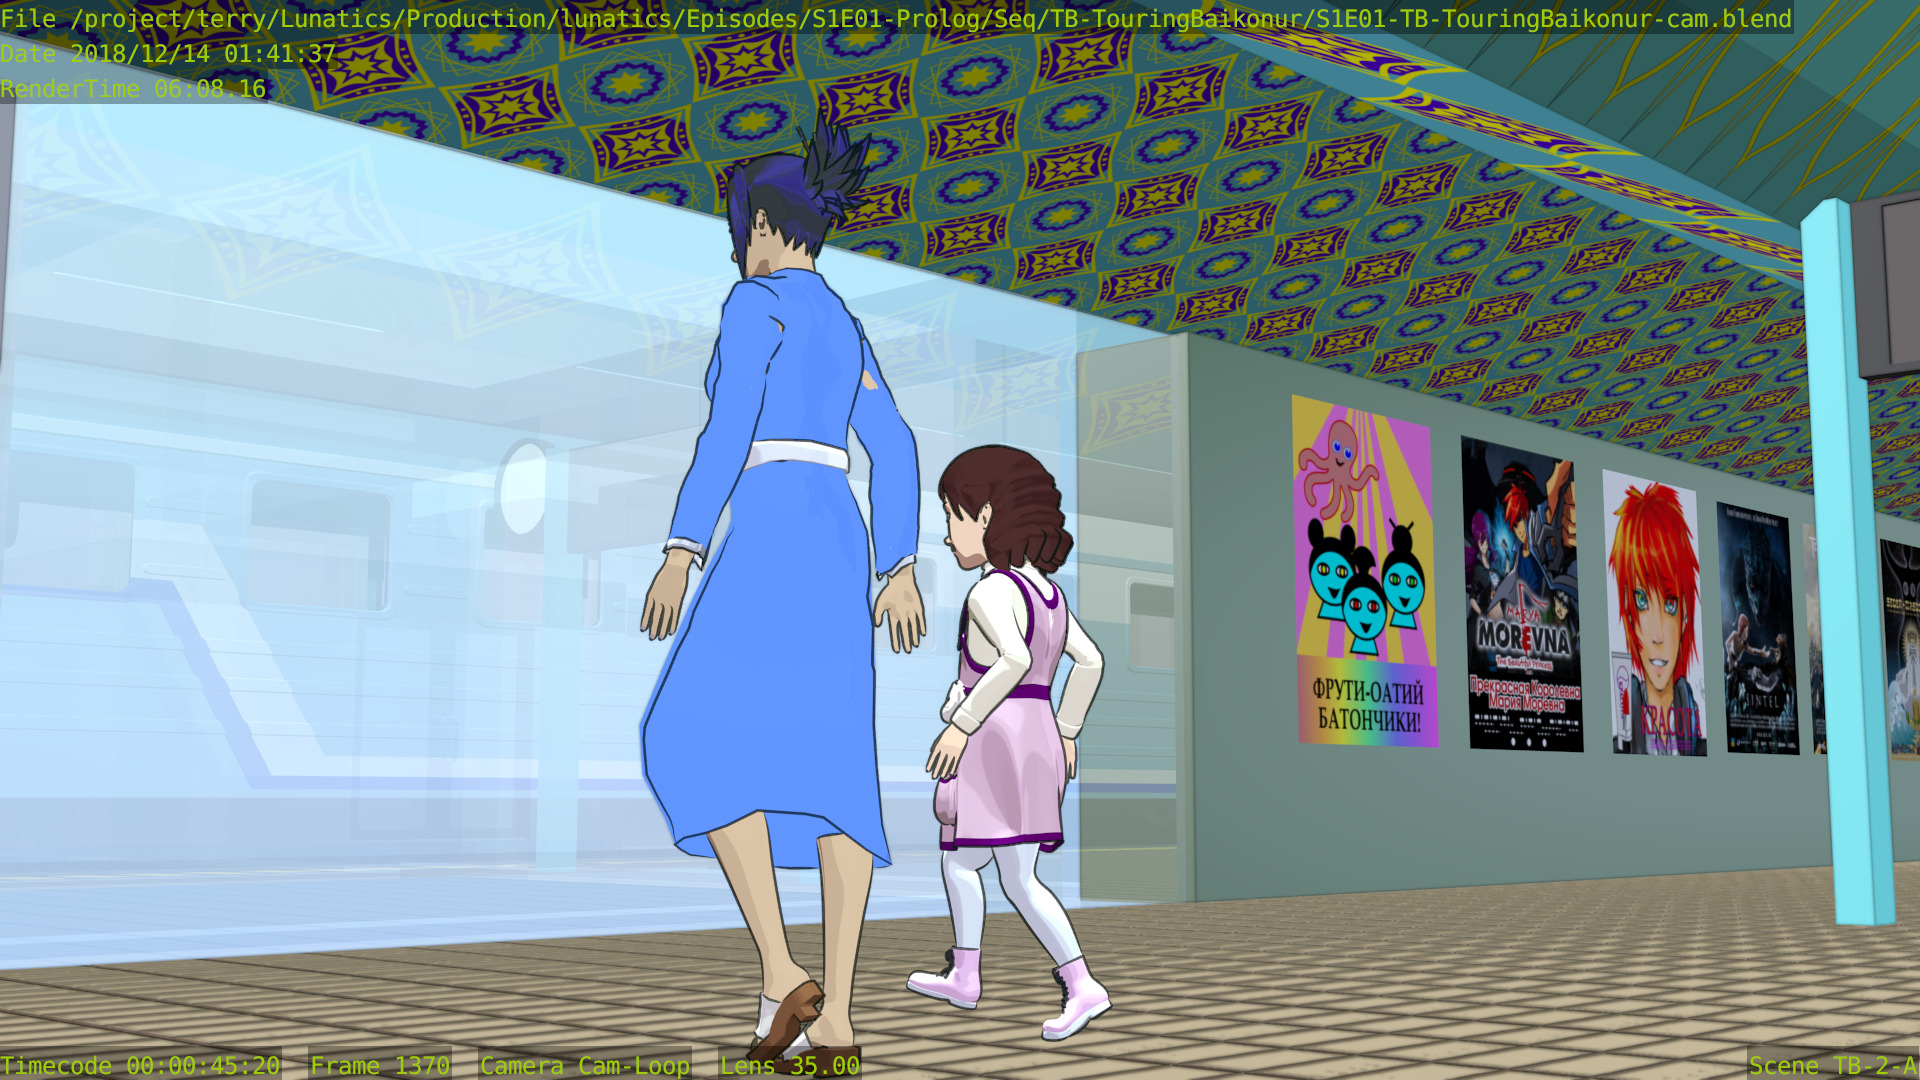
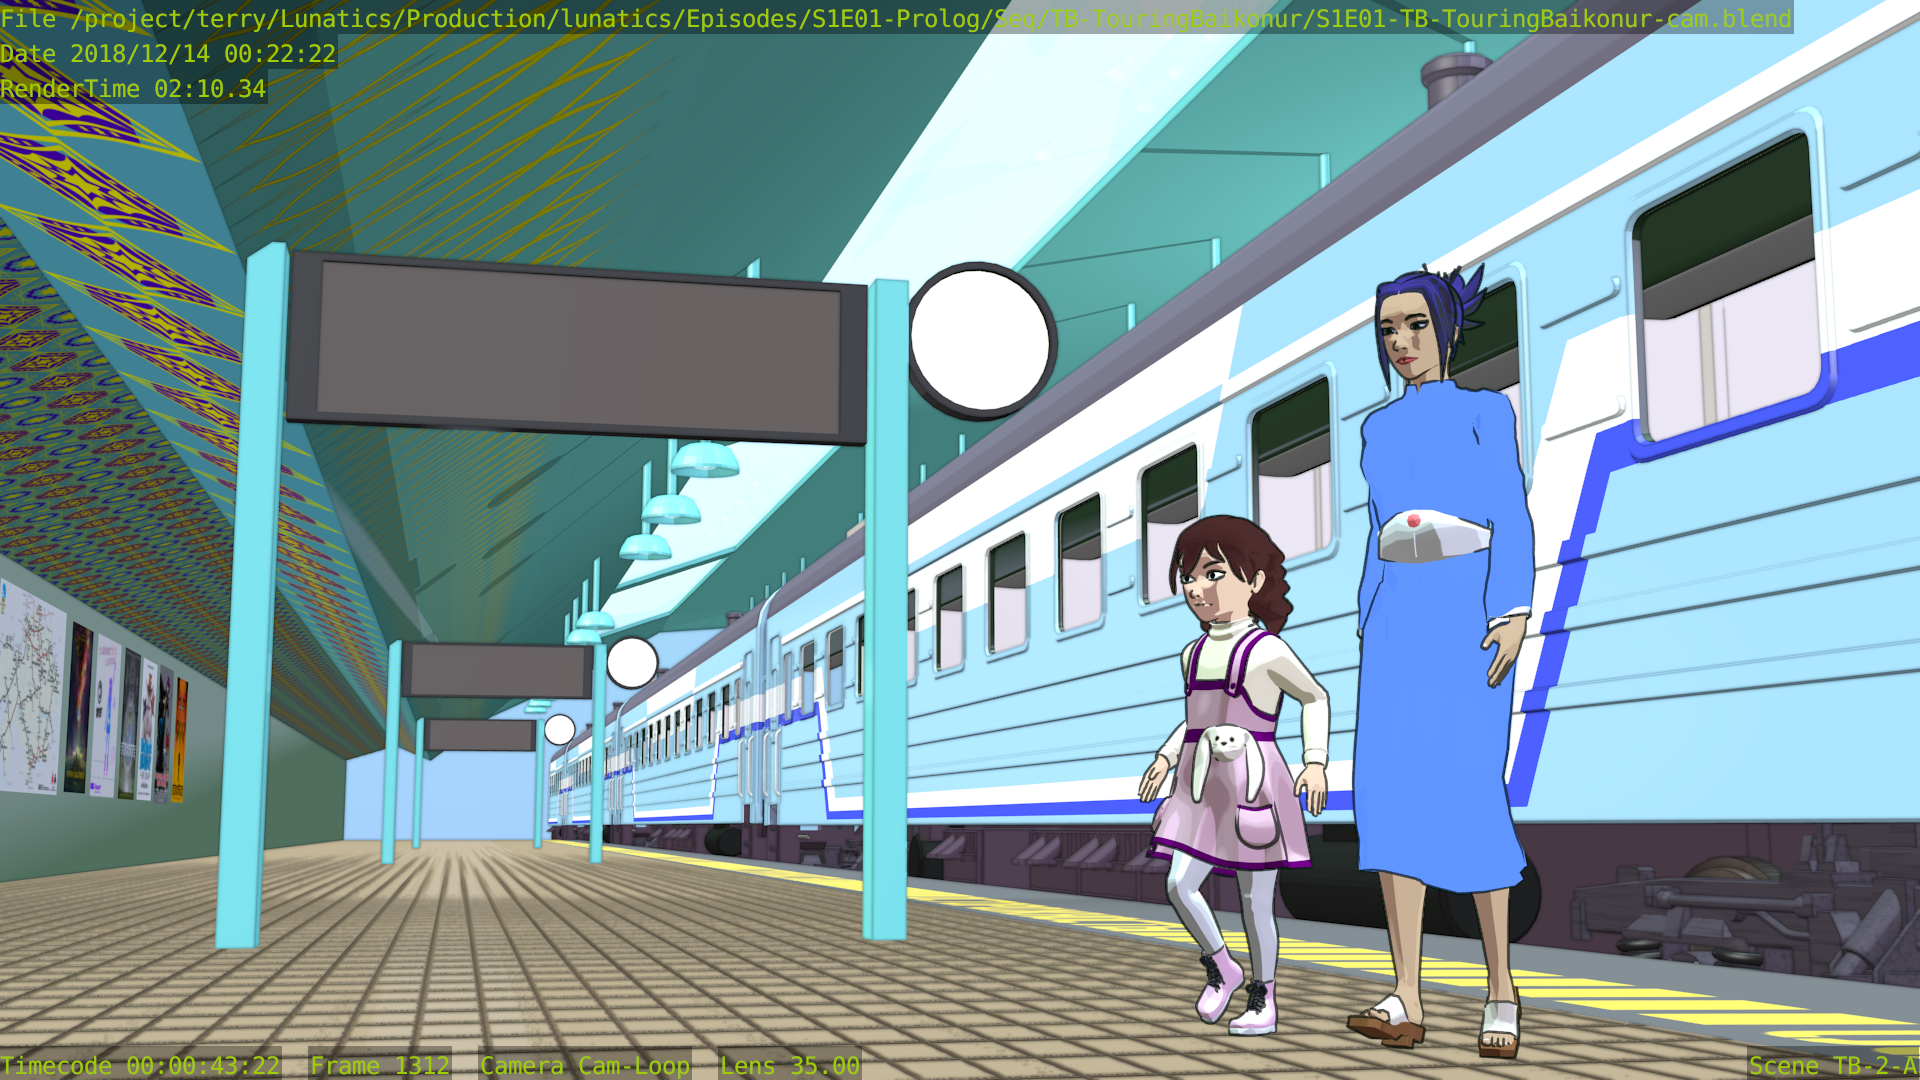
Dec 9, 2018 at 4:00 PM
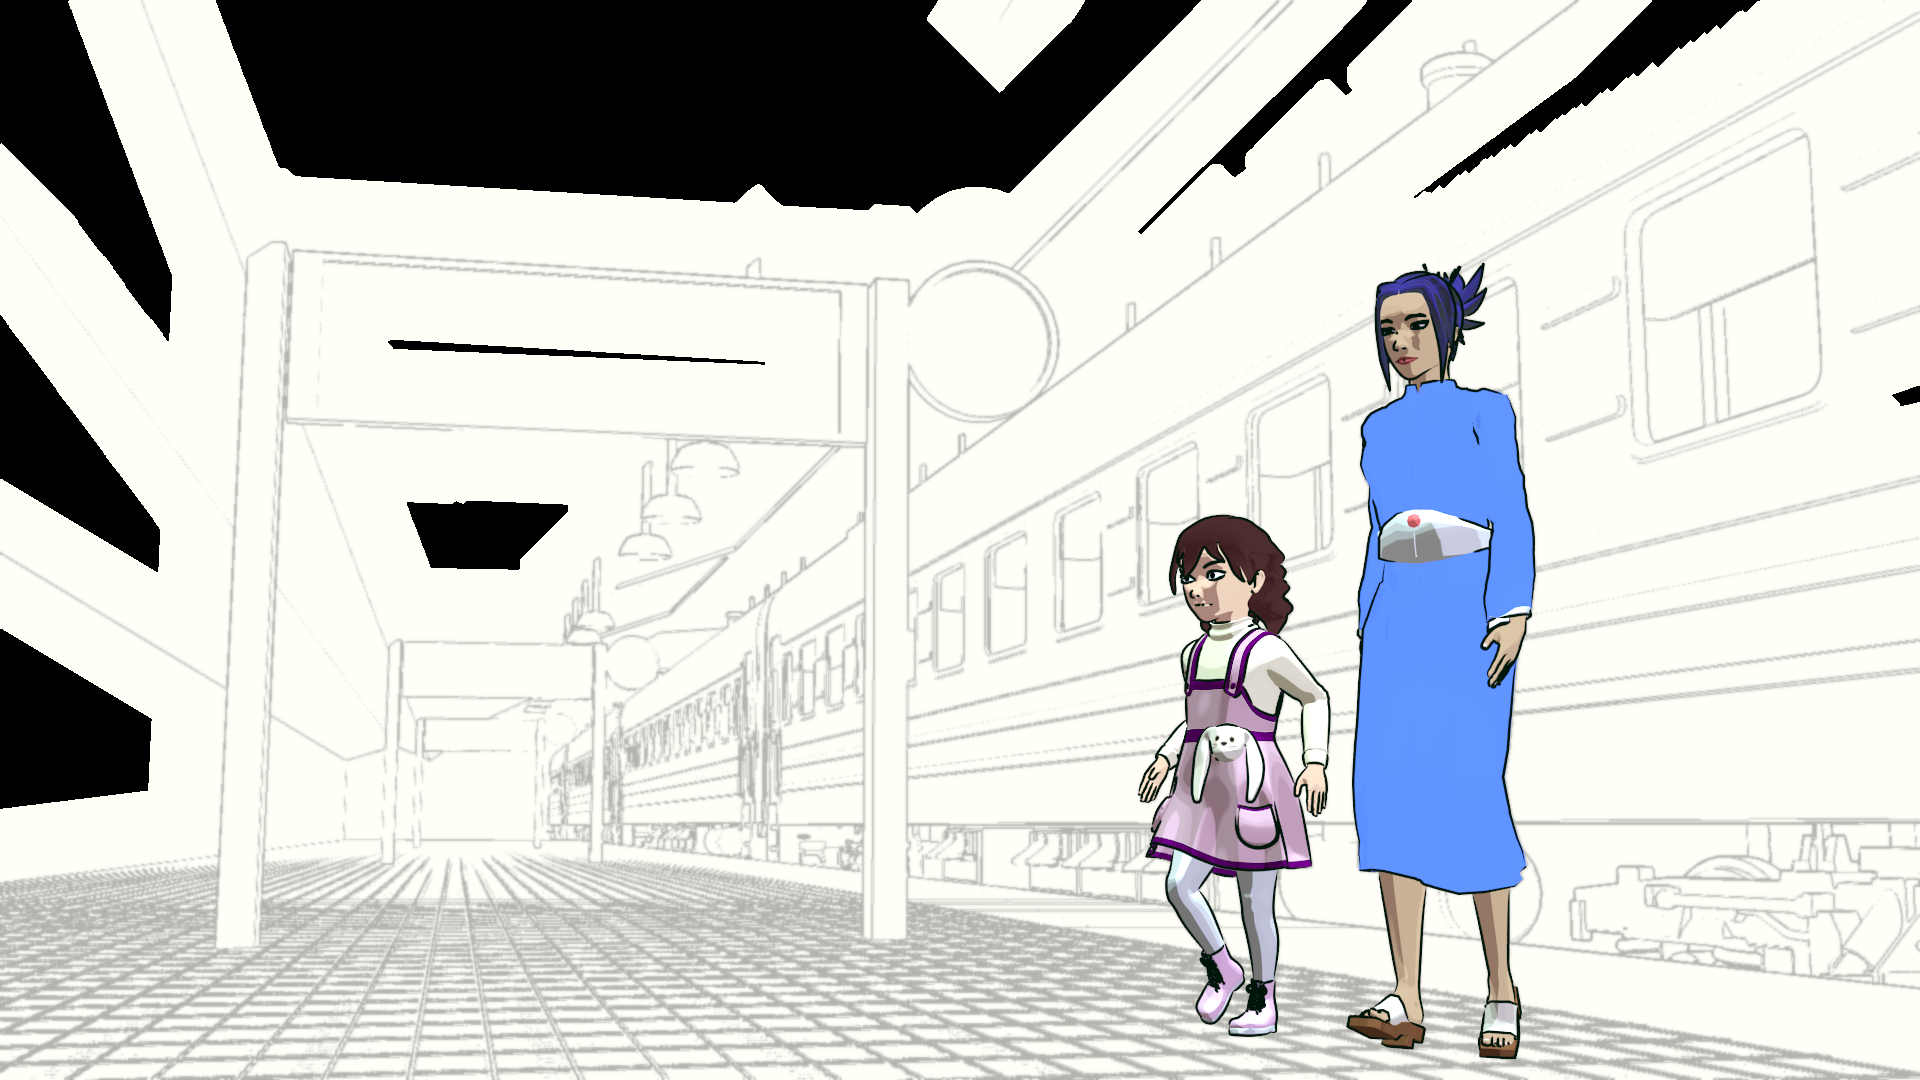
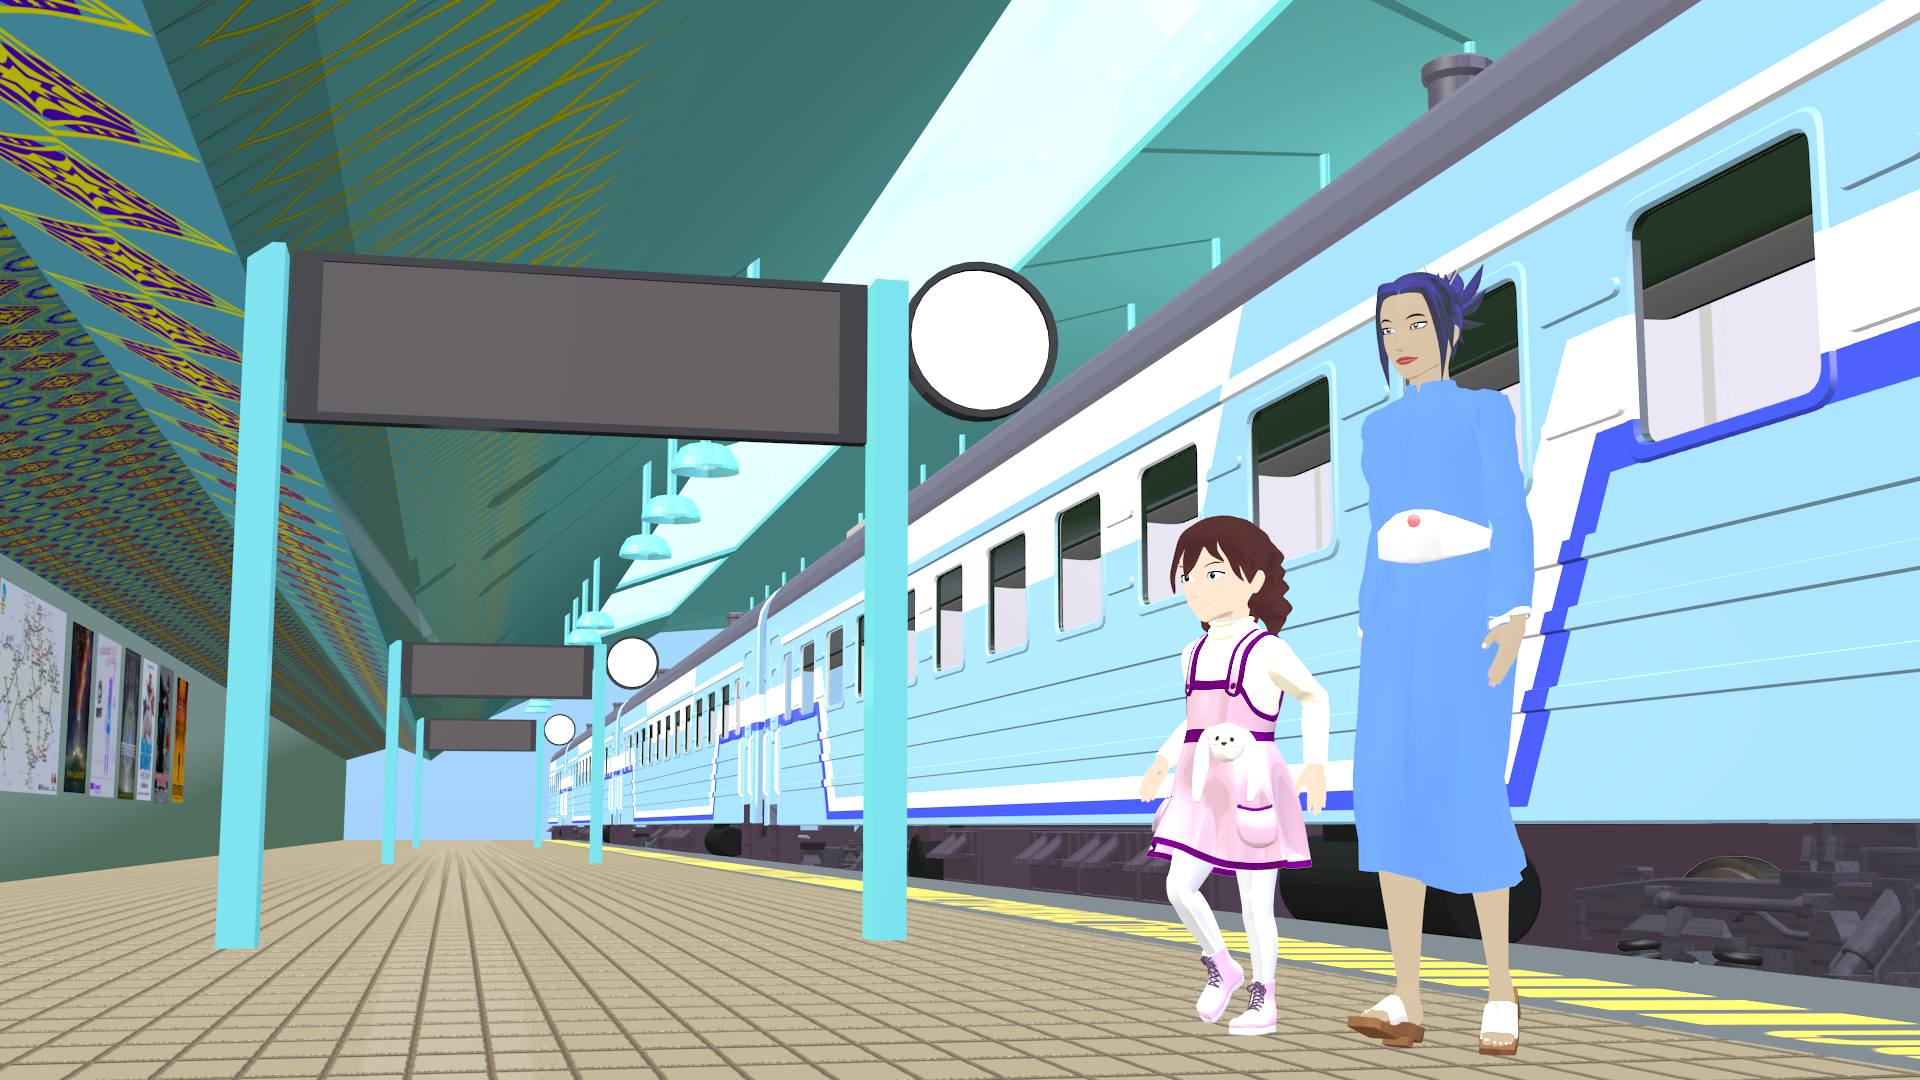
Train Station Interior Set
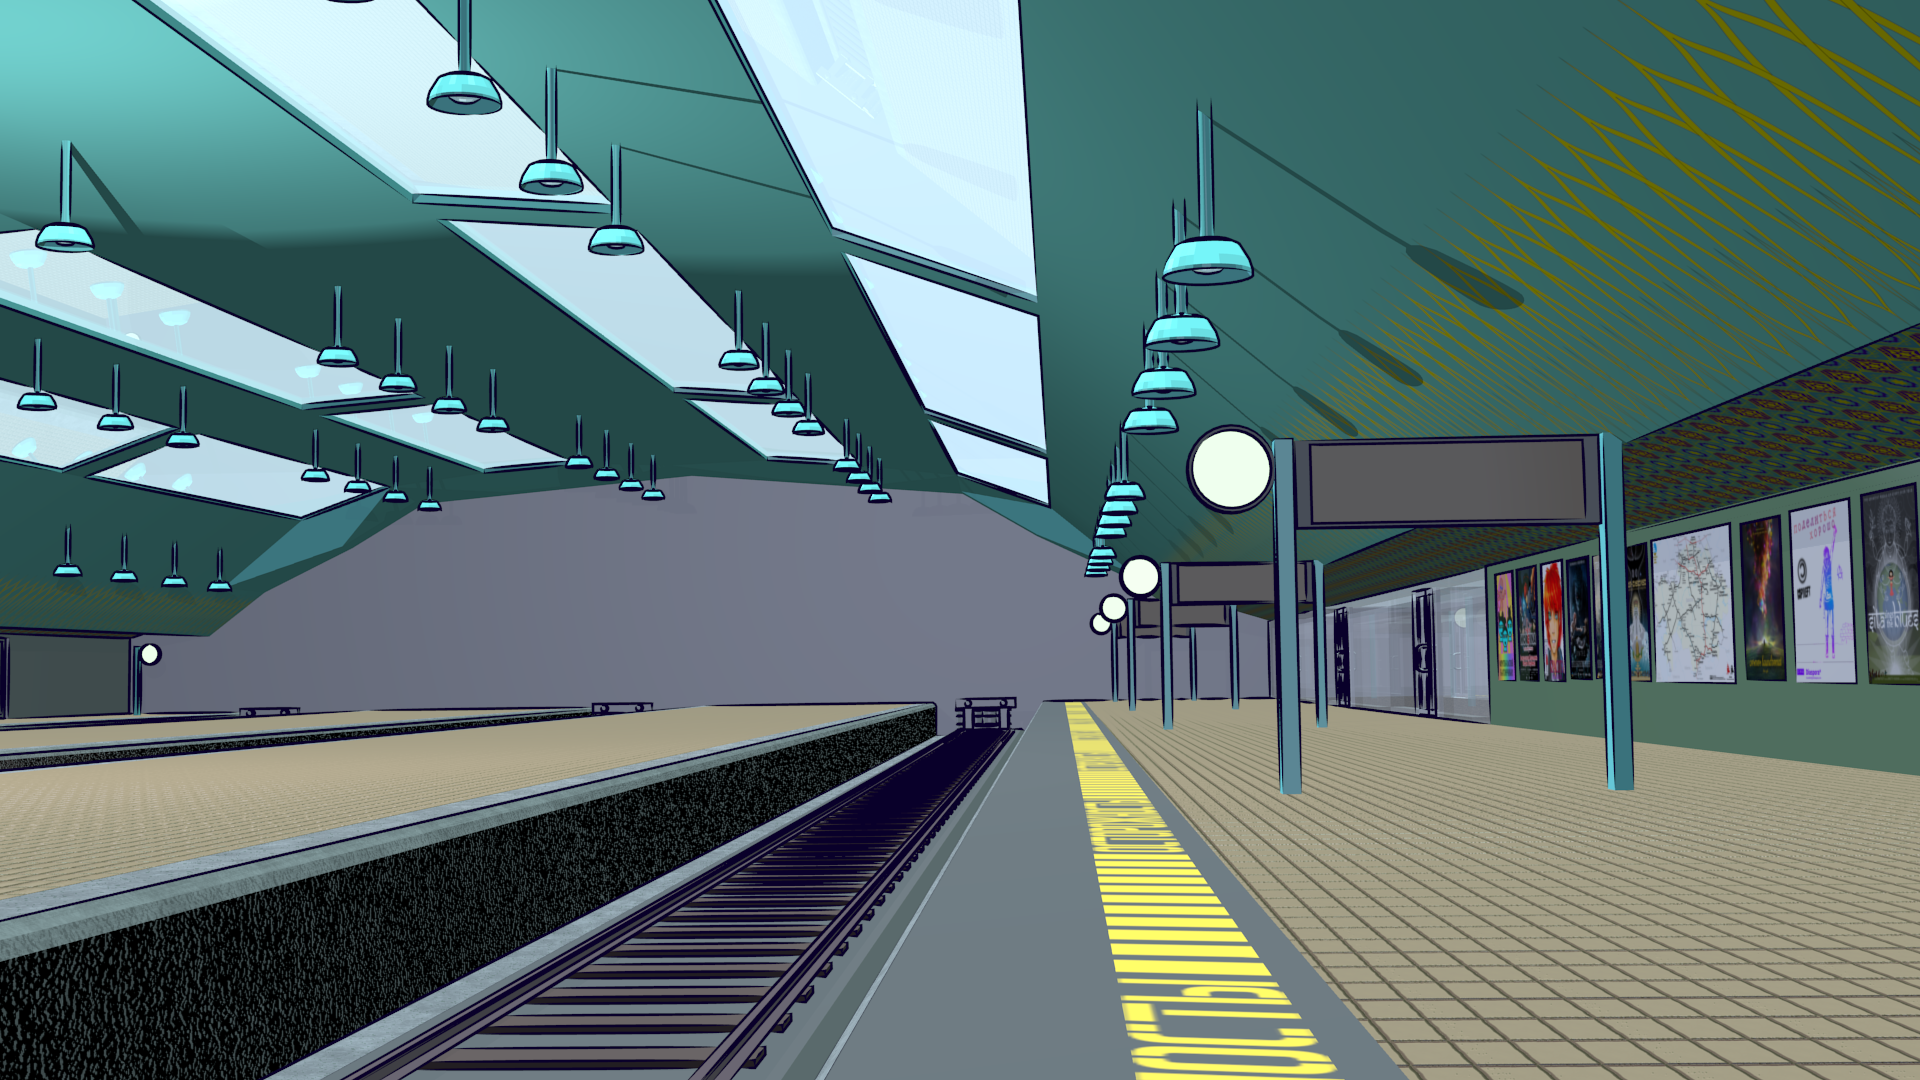
We have a number of sets that are in a halfway state like this one. It’s almost done, but I still have some additions to make. I’m planning to put a mural on the end wall that says something like “Welcome to Baikonur” with some appropriate art. The displays will also have active text and clockfaces (possibly animated).
Of course, anyone who’s been to or seen pictures of the train station in Baikonur will know it doesn’t really look like this — in fact, it’s an outdoor platform. The premise here is that it gets upgraded sometime between now and 2040. Mainly because I had this great ambience track, which was clearly from an indoor train platform — so I made a set that matched it.
Dec 11, 2018 at 4:00 PM
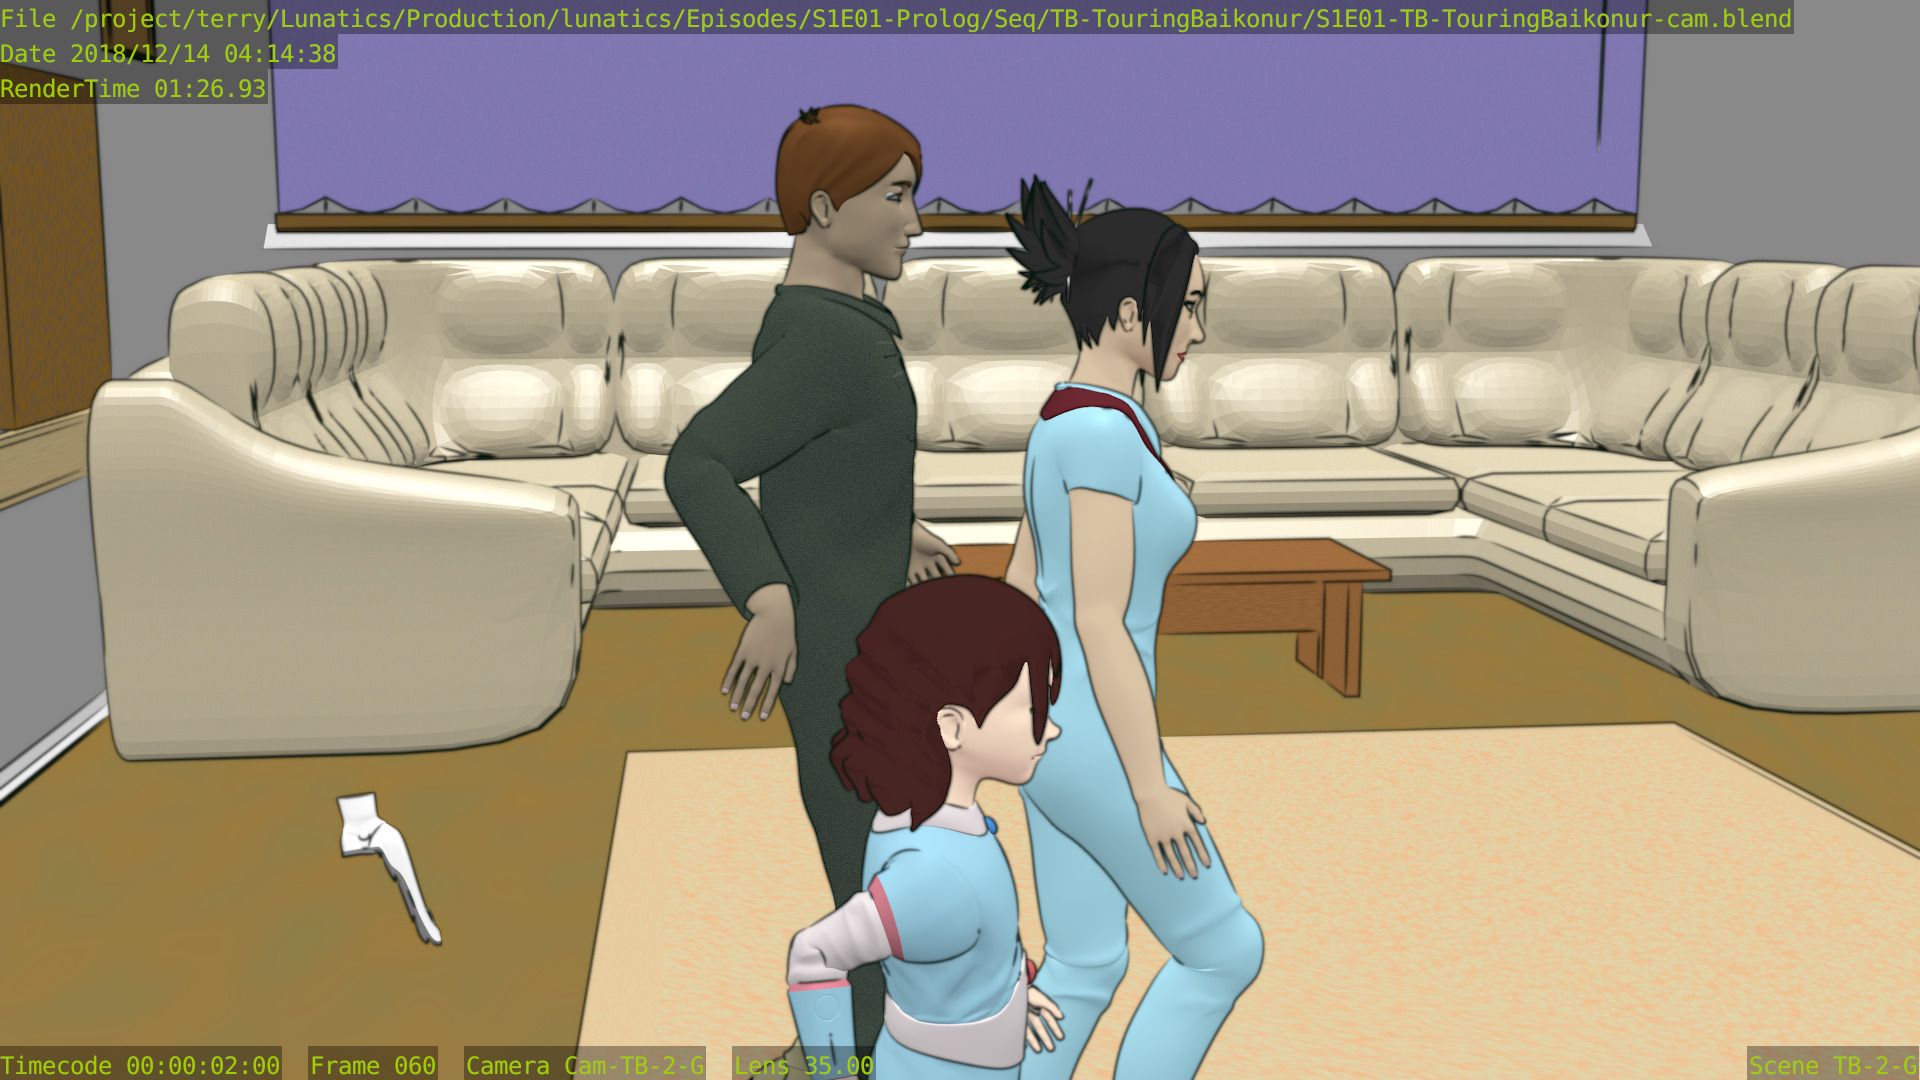
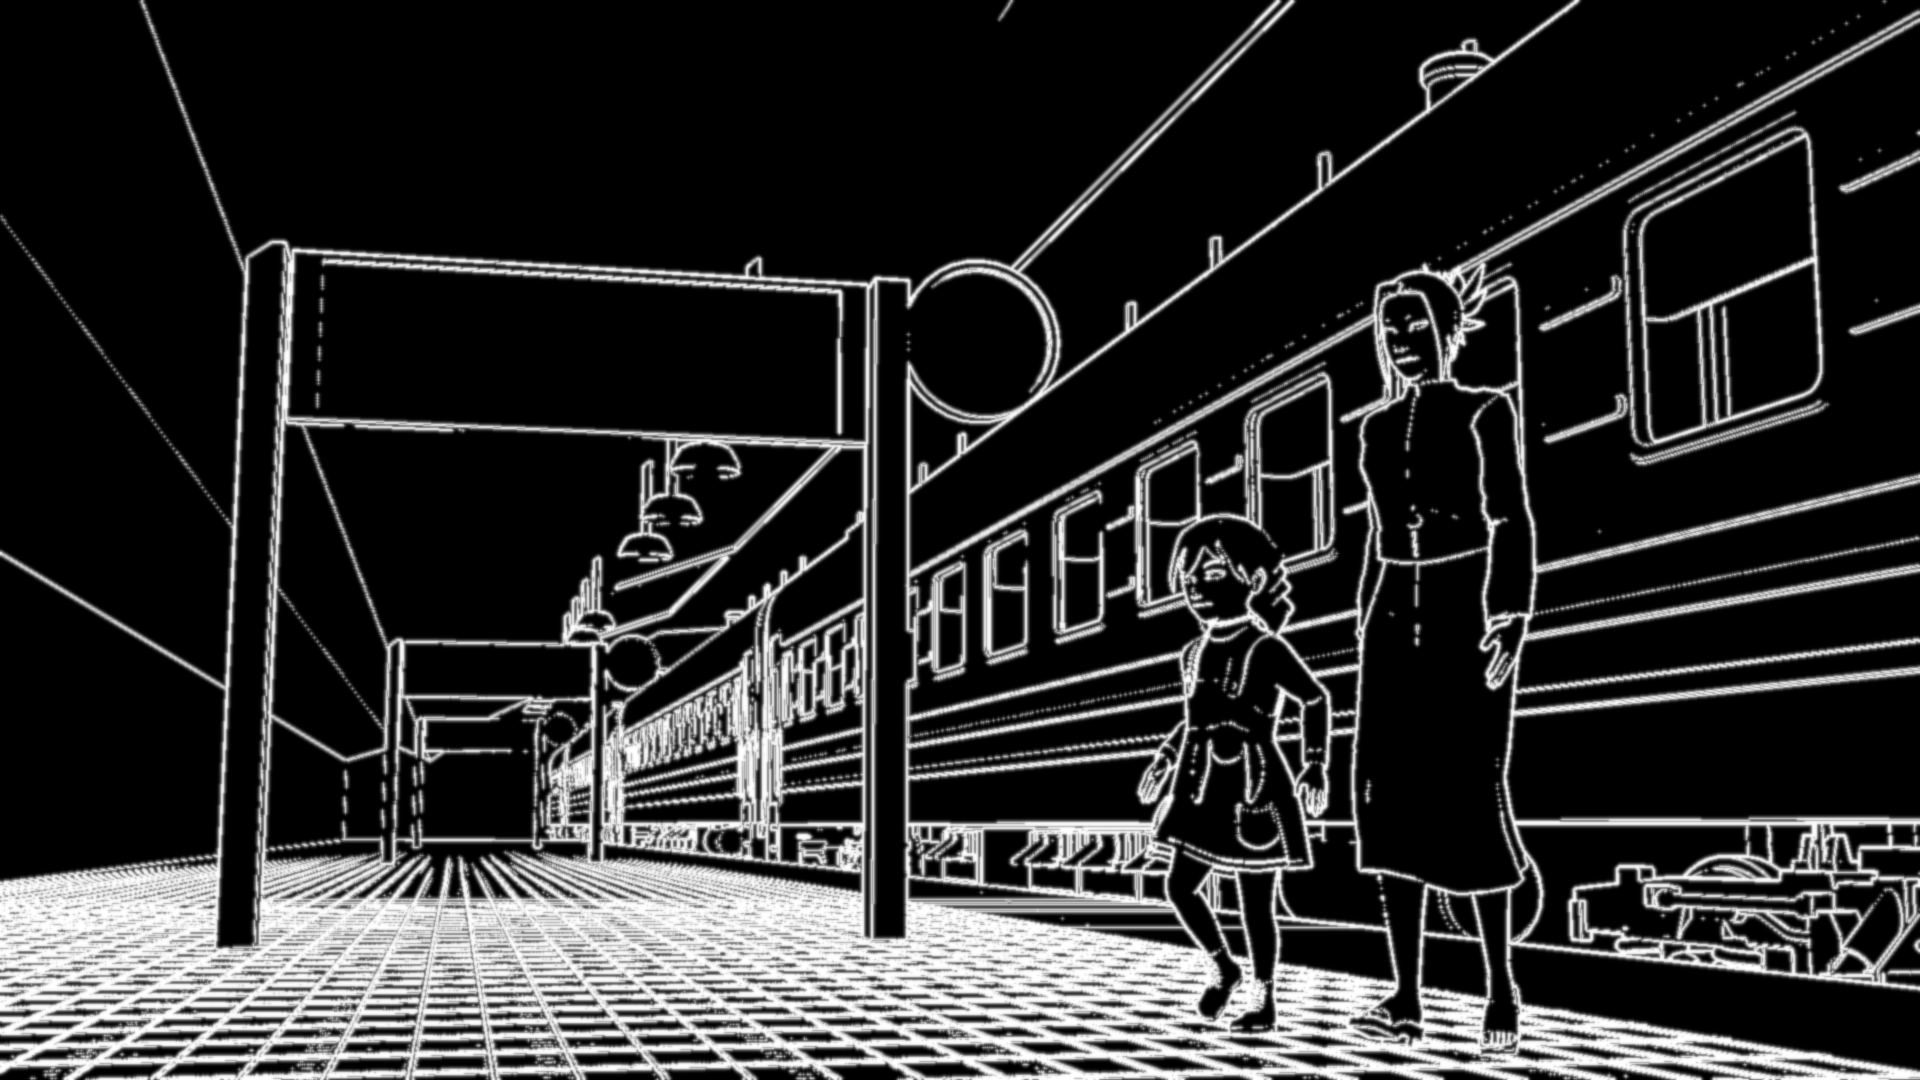
Too Edgy and Too Long
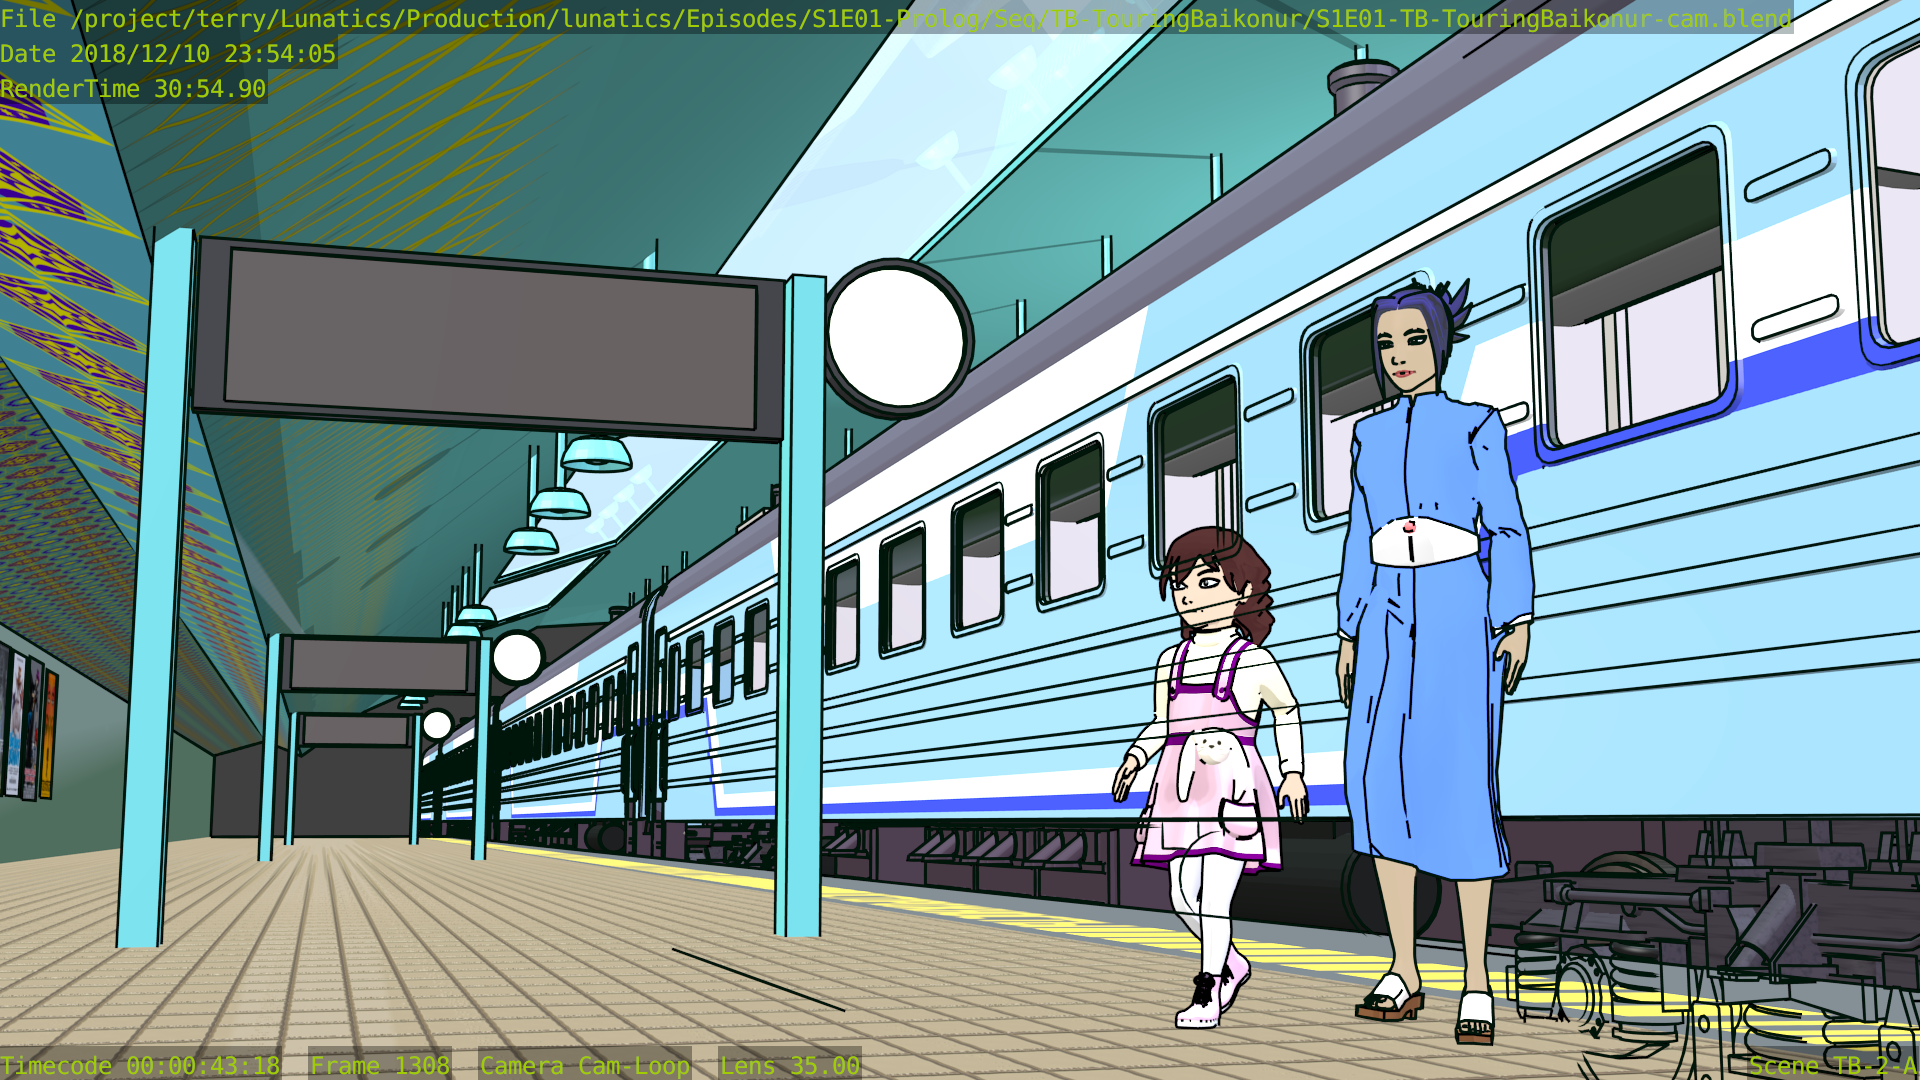
This shot may be a candidate for using Edge Node. There are a number of fairly-serious Freestyle errors here and it took 31 minutes to render this frame!
The lines through Georgiana are because she’s being rendered on the wrong layer — that’s a problem in the animation file. The train wheels inked in the lower right are most likely due to the verge of the platform extending out of frame, causing Freestyle to fail to calculate that it should be blocking the view. It will do that when one endpoint on an edge is out of frame.
The long render time is probably due to the repeated train cars simply having lots of geometry for visibility calculations.
This shot is also missing a skyline backdrop in the far background, the extras (other people on the platform), and some additional set dressing.
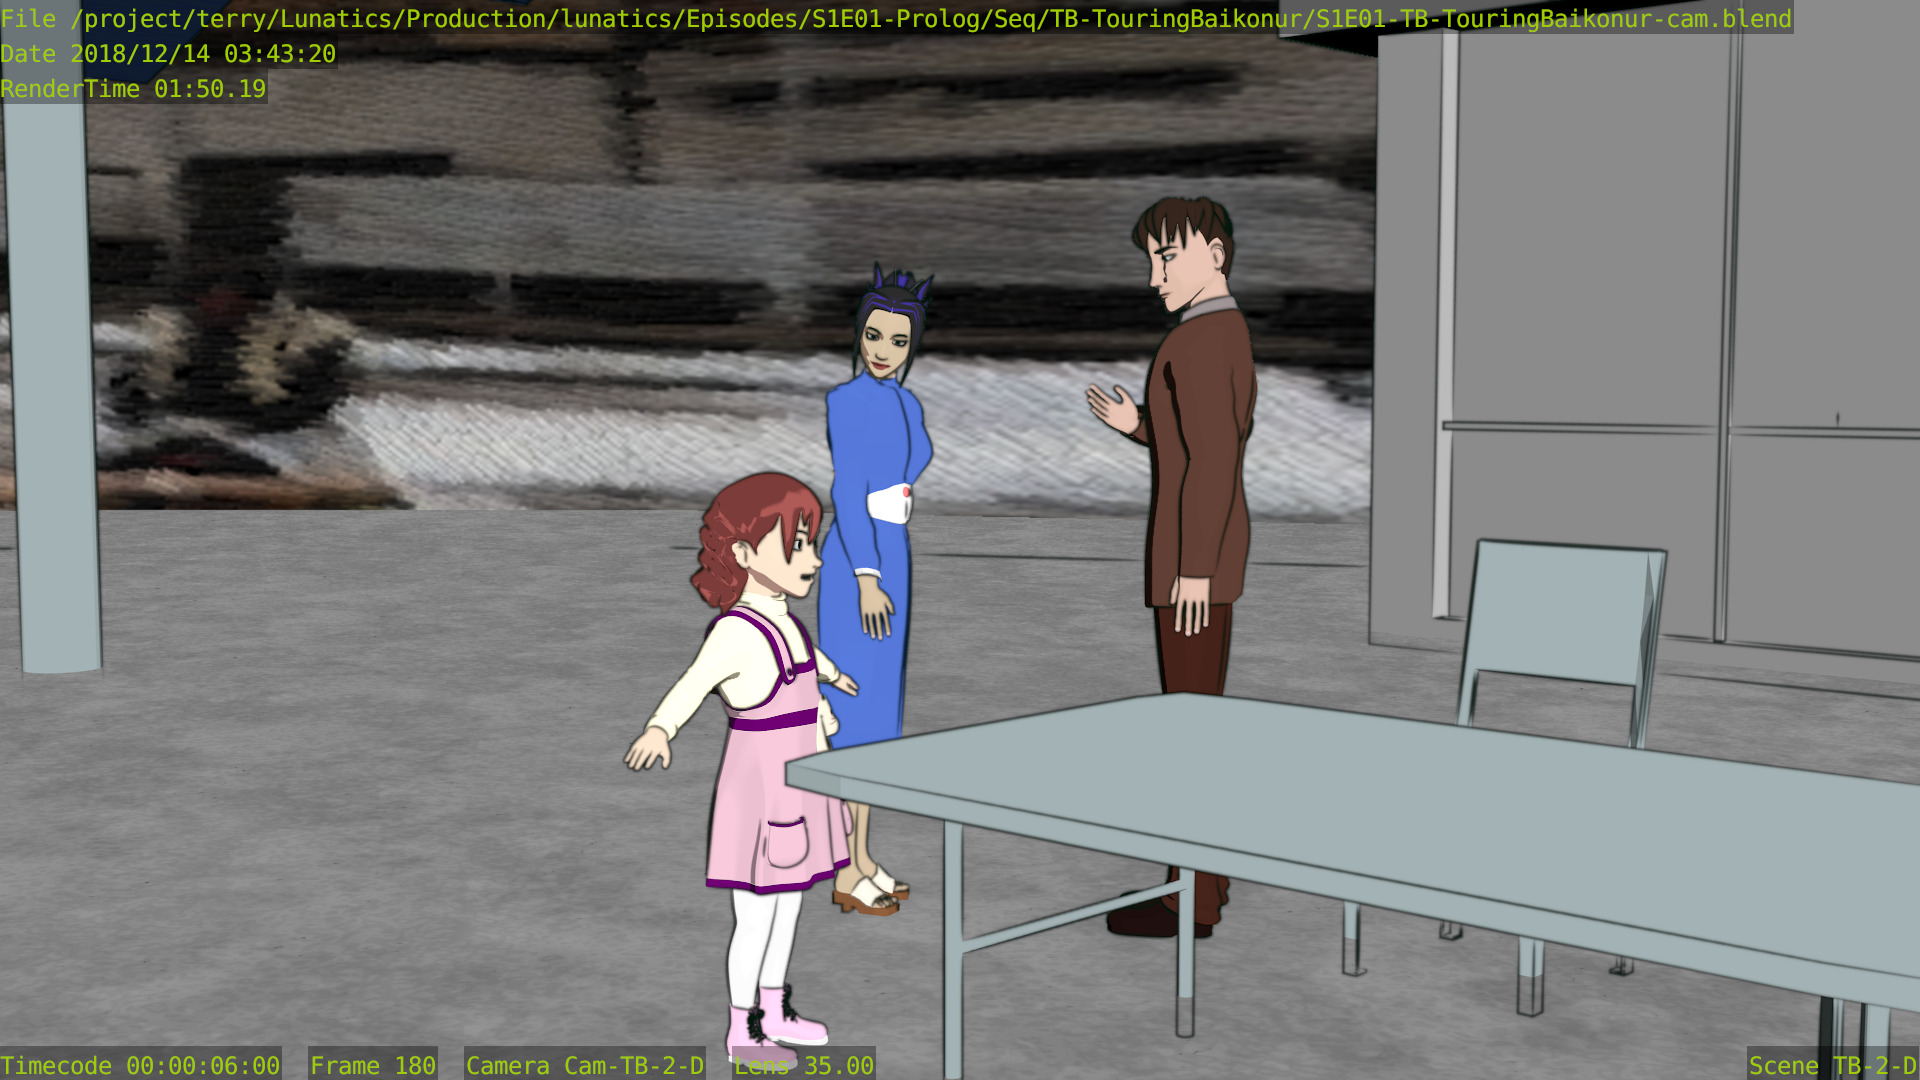
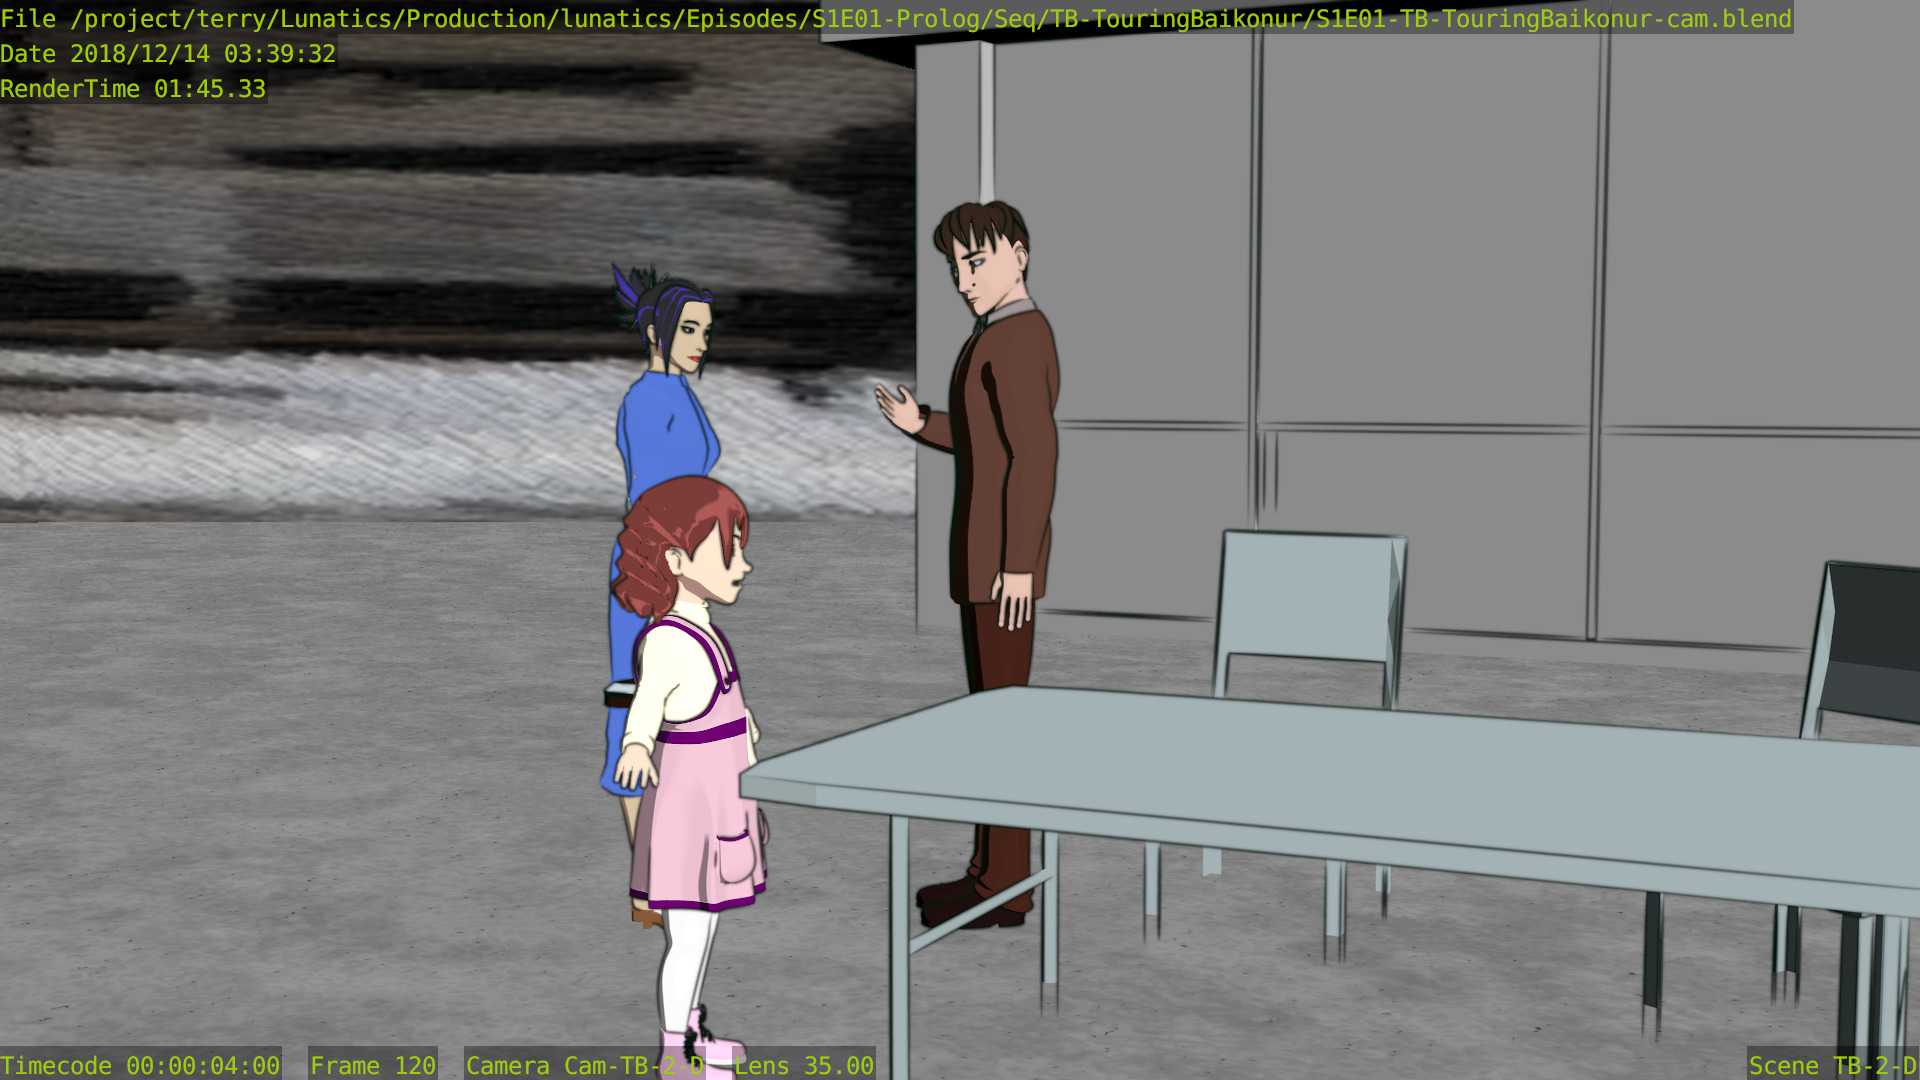
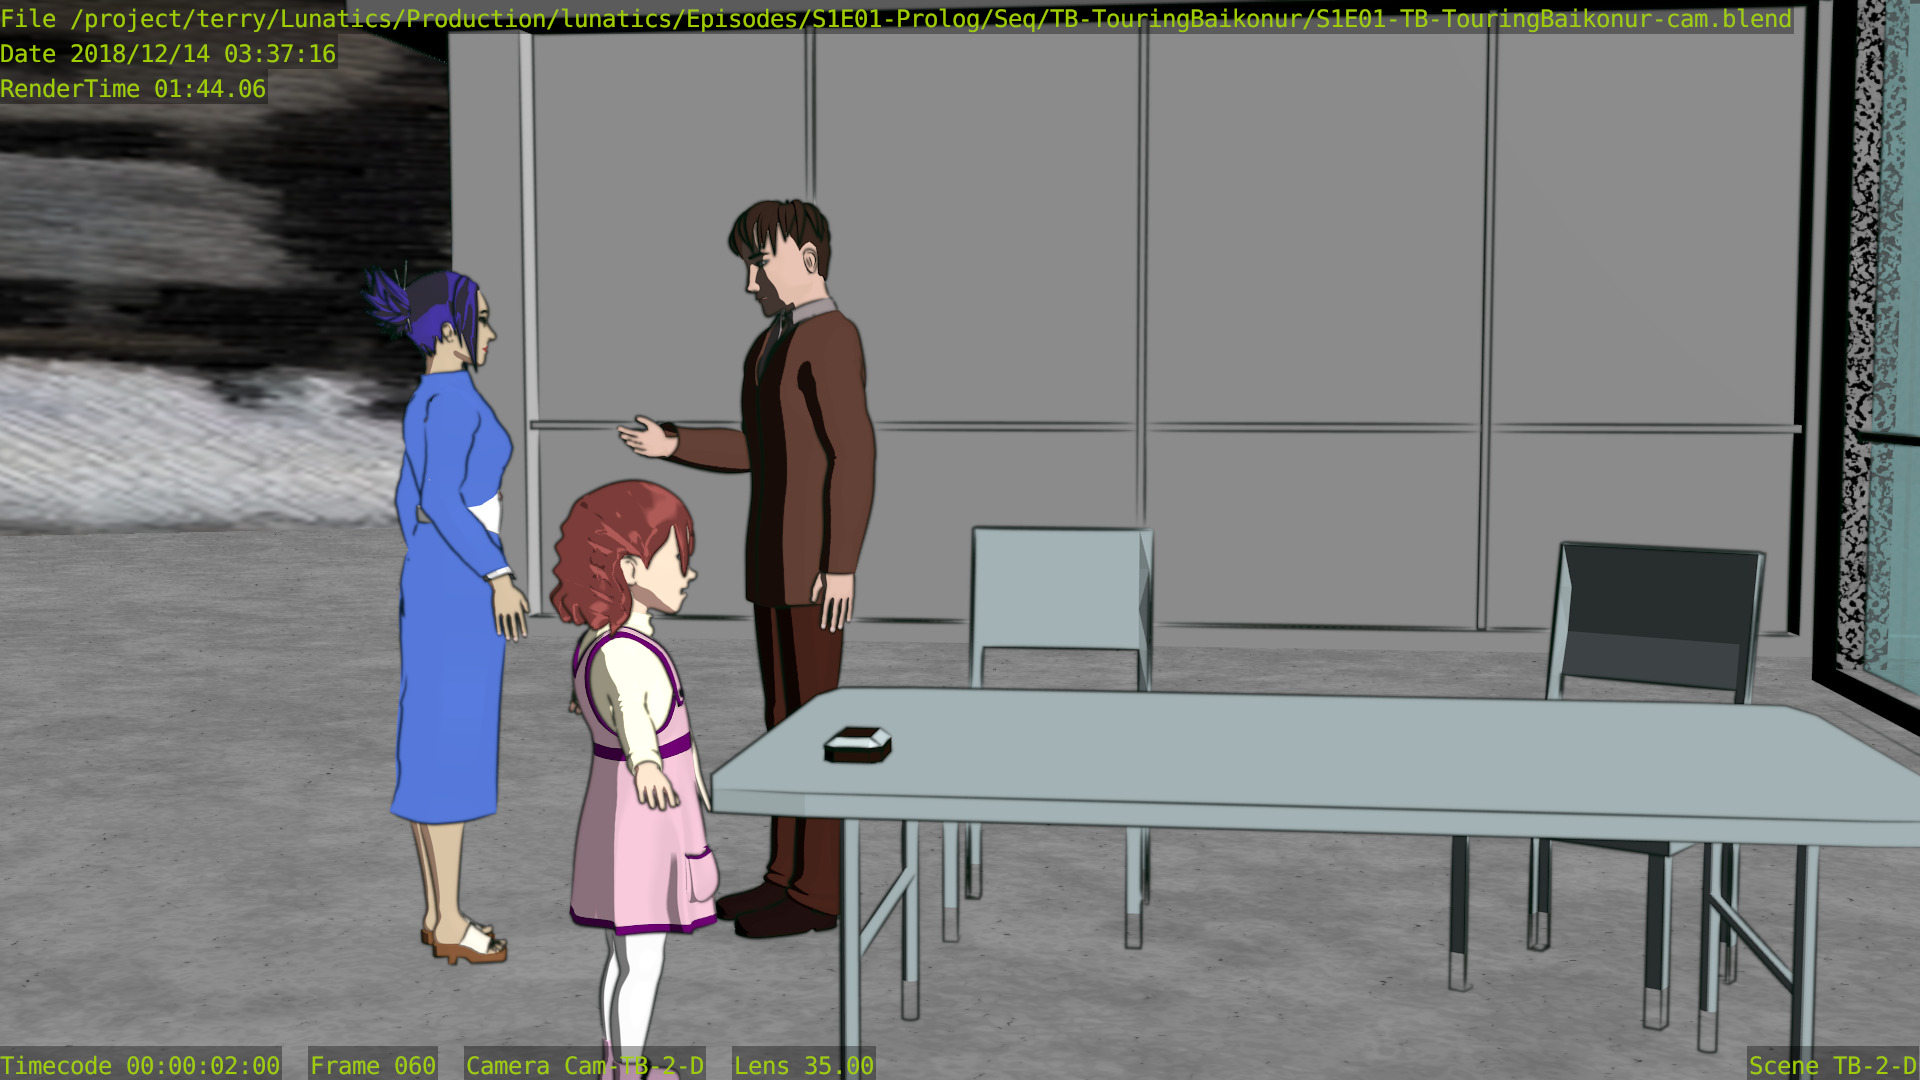
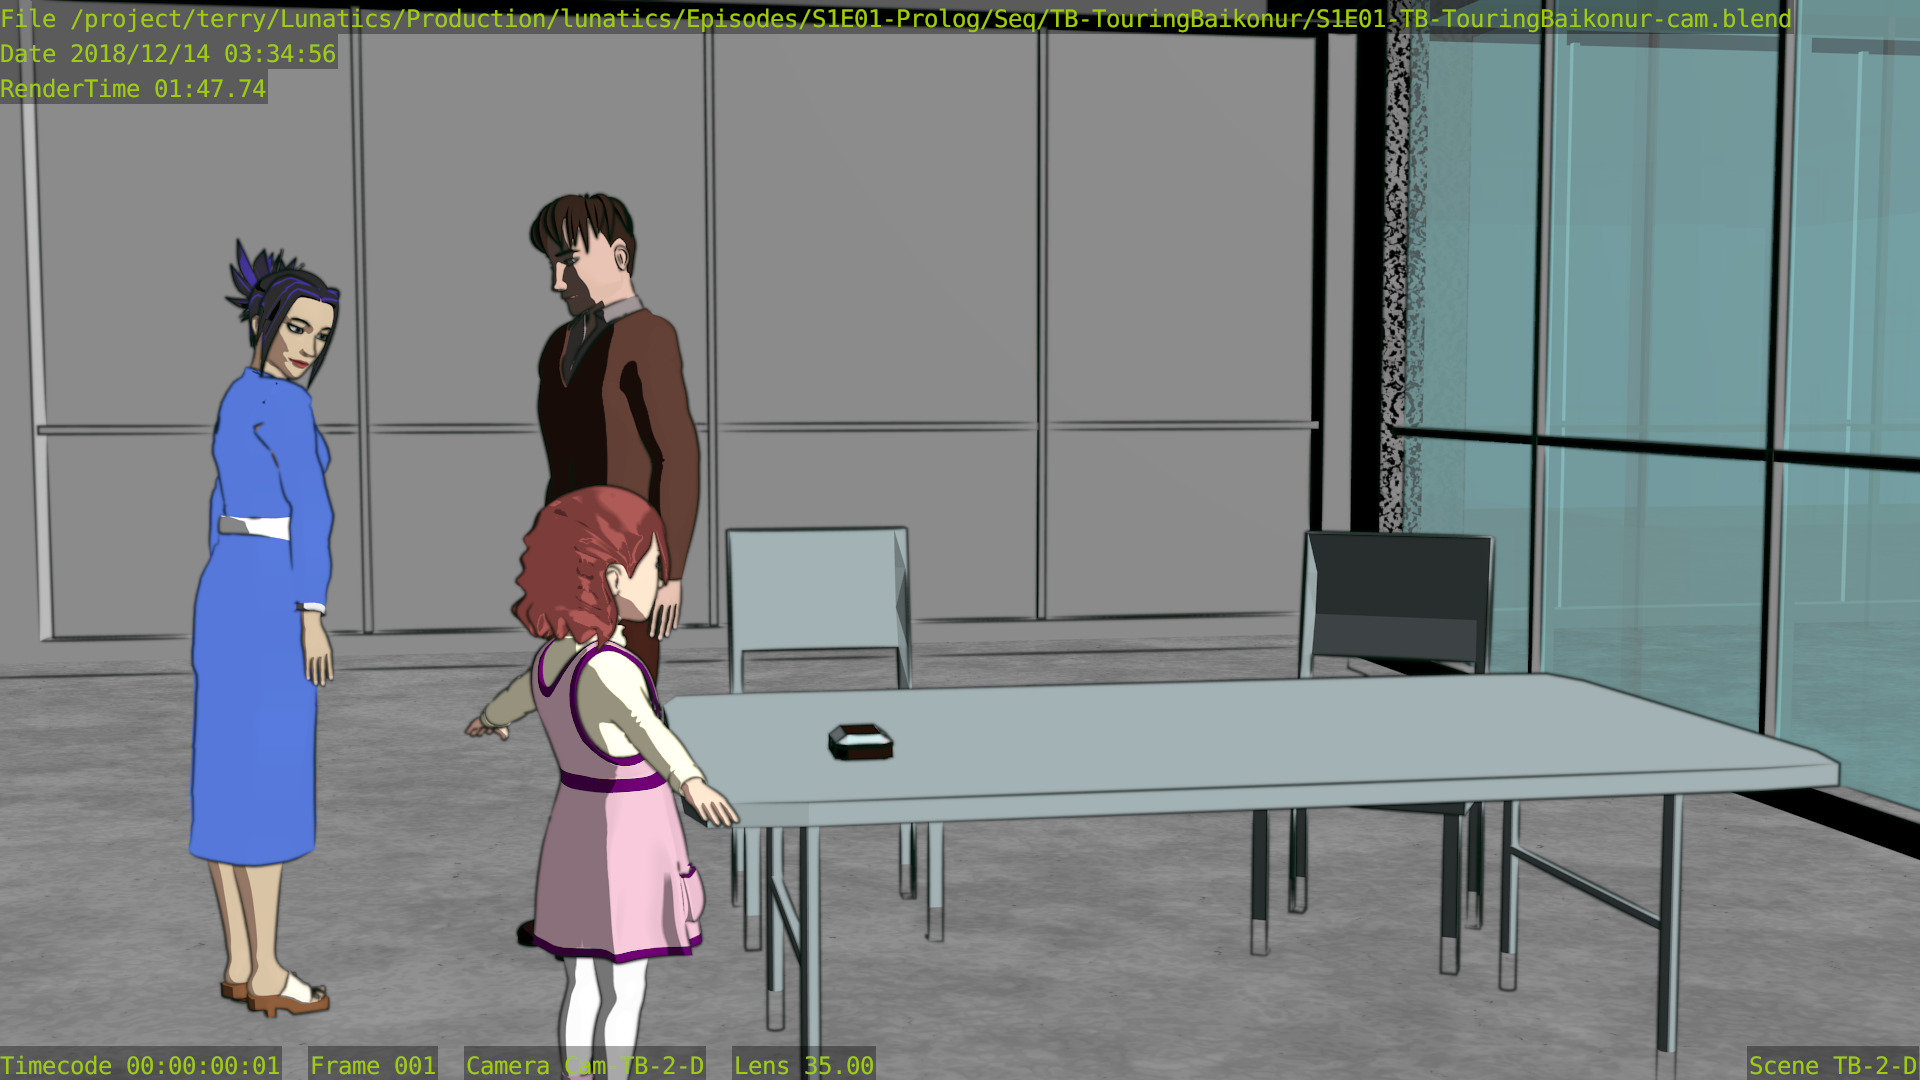
Dec 14, 2018 at 12:48 AM
Freestyle and Edge Node Together
When I tried to render this scene entirely using Freestyle for inking, the render time was through the roof — about 30 minutes per frame, owing (probably) to the multiple train cars being included in the shot. It also had some fairly serious errors:
So this seemed like an opportunity to see if Edge Node could help.
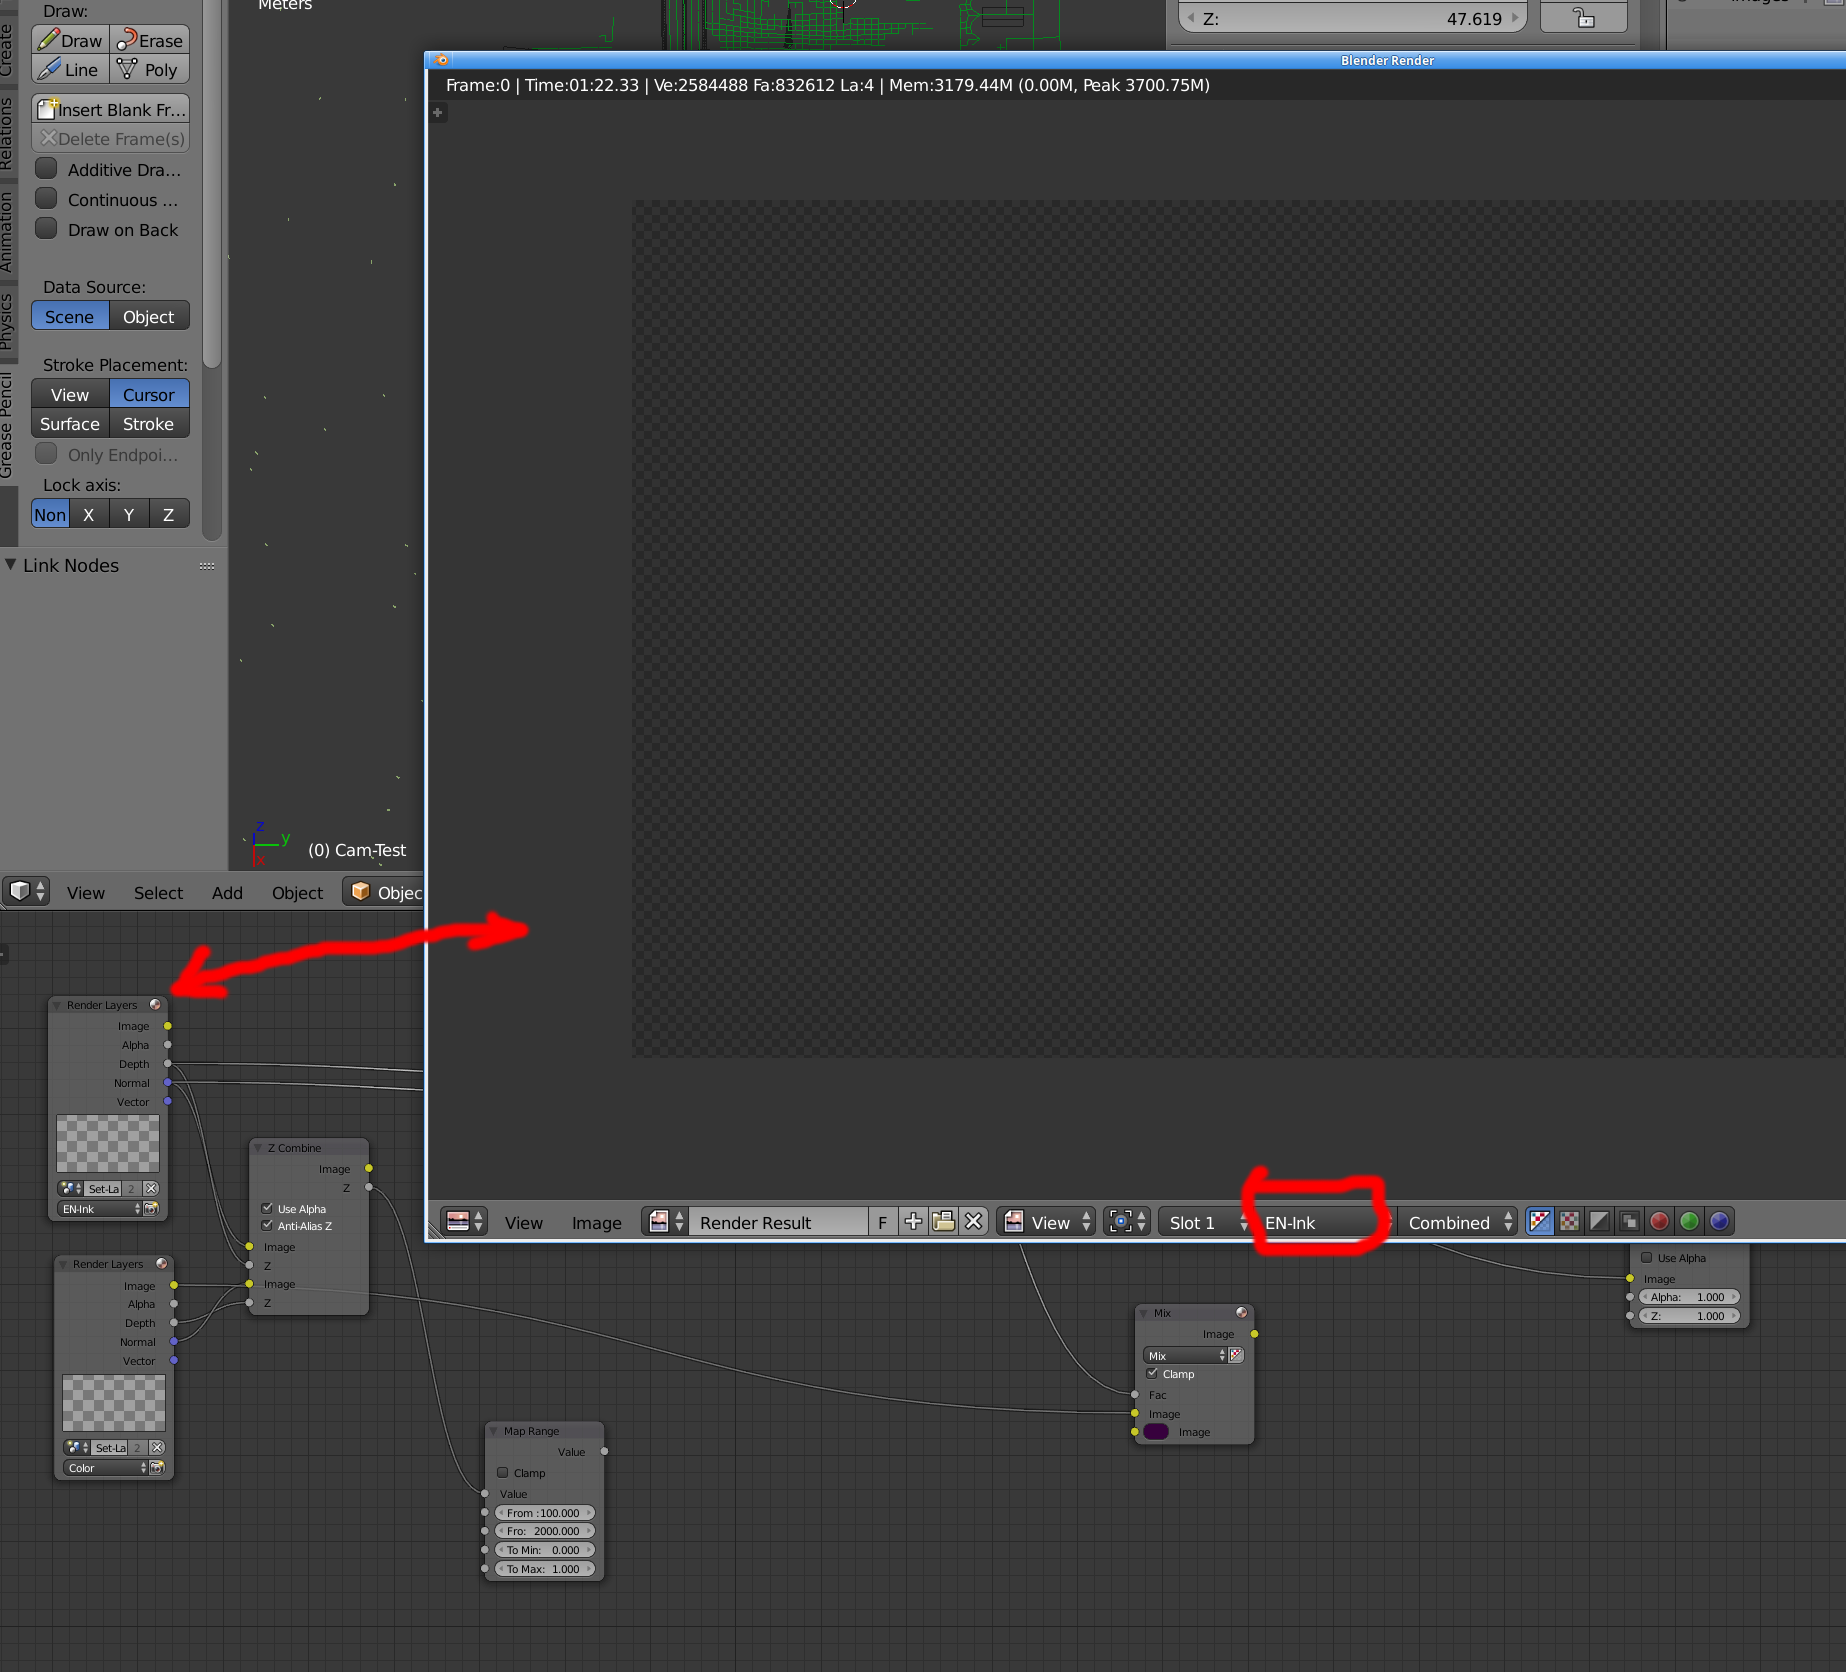
What I’ve done is to separate the characters, and render them using Freestyle inking over color, then I’ve added the necessary Z and Normal passes to the color layer to use with Edge Node (I am trying to minimize the number of separate render layers generated, so I just tweaked the existing color layer to provide what I need for Edge Node).
The Freestyle layer by itself now includes the color for the characters — this was the easiest way to get an alpha mask that would make sure Freestyle was the only ink on the characters (fortunately, in this shot, the characters do not pass behind any set elements, so I can just composite them on top — I’d need to be a bit more clever if they did, possibly using Z-combine, or Freestyle proxies, or something along those lines):
The color layer by itself (no ink effects) looks like this:
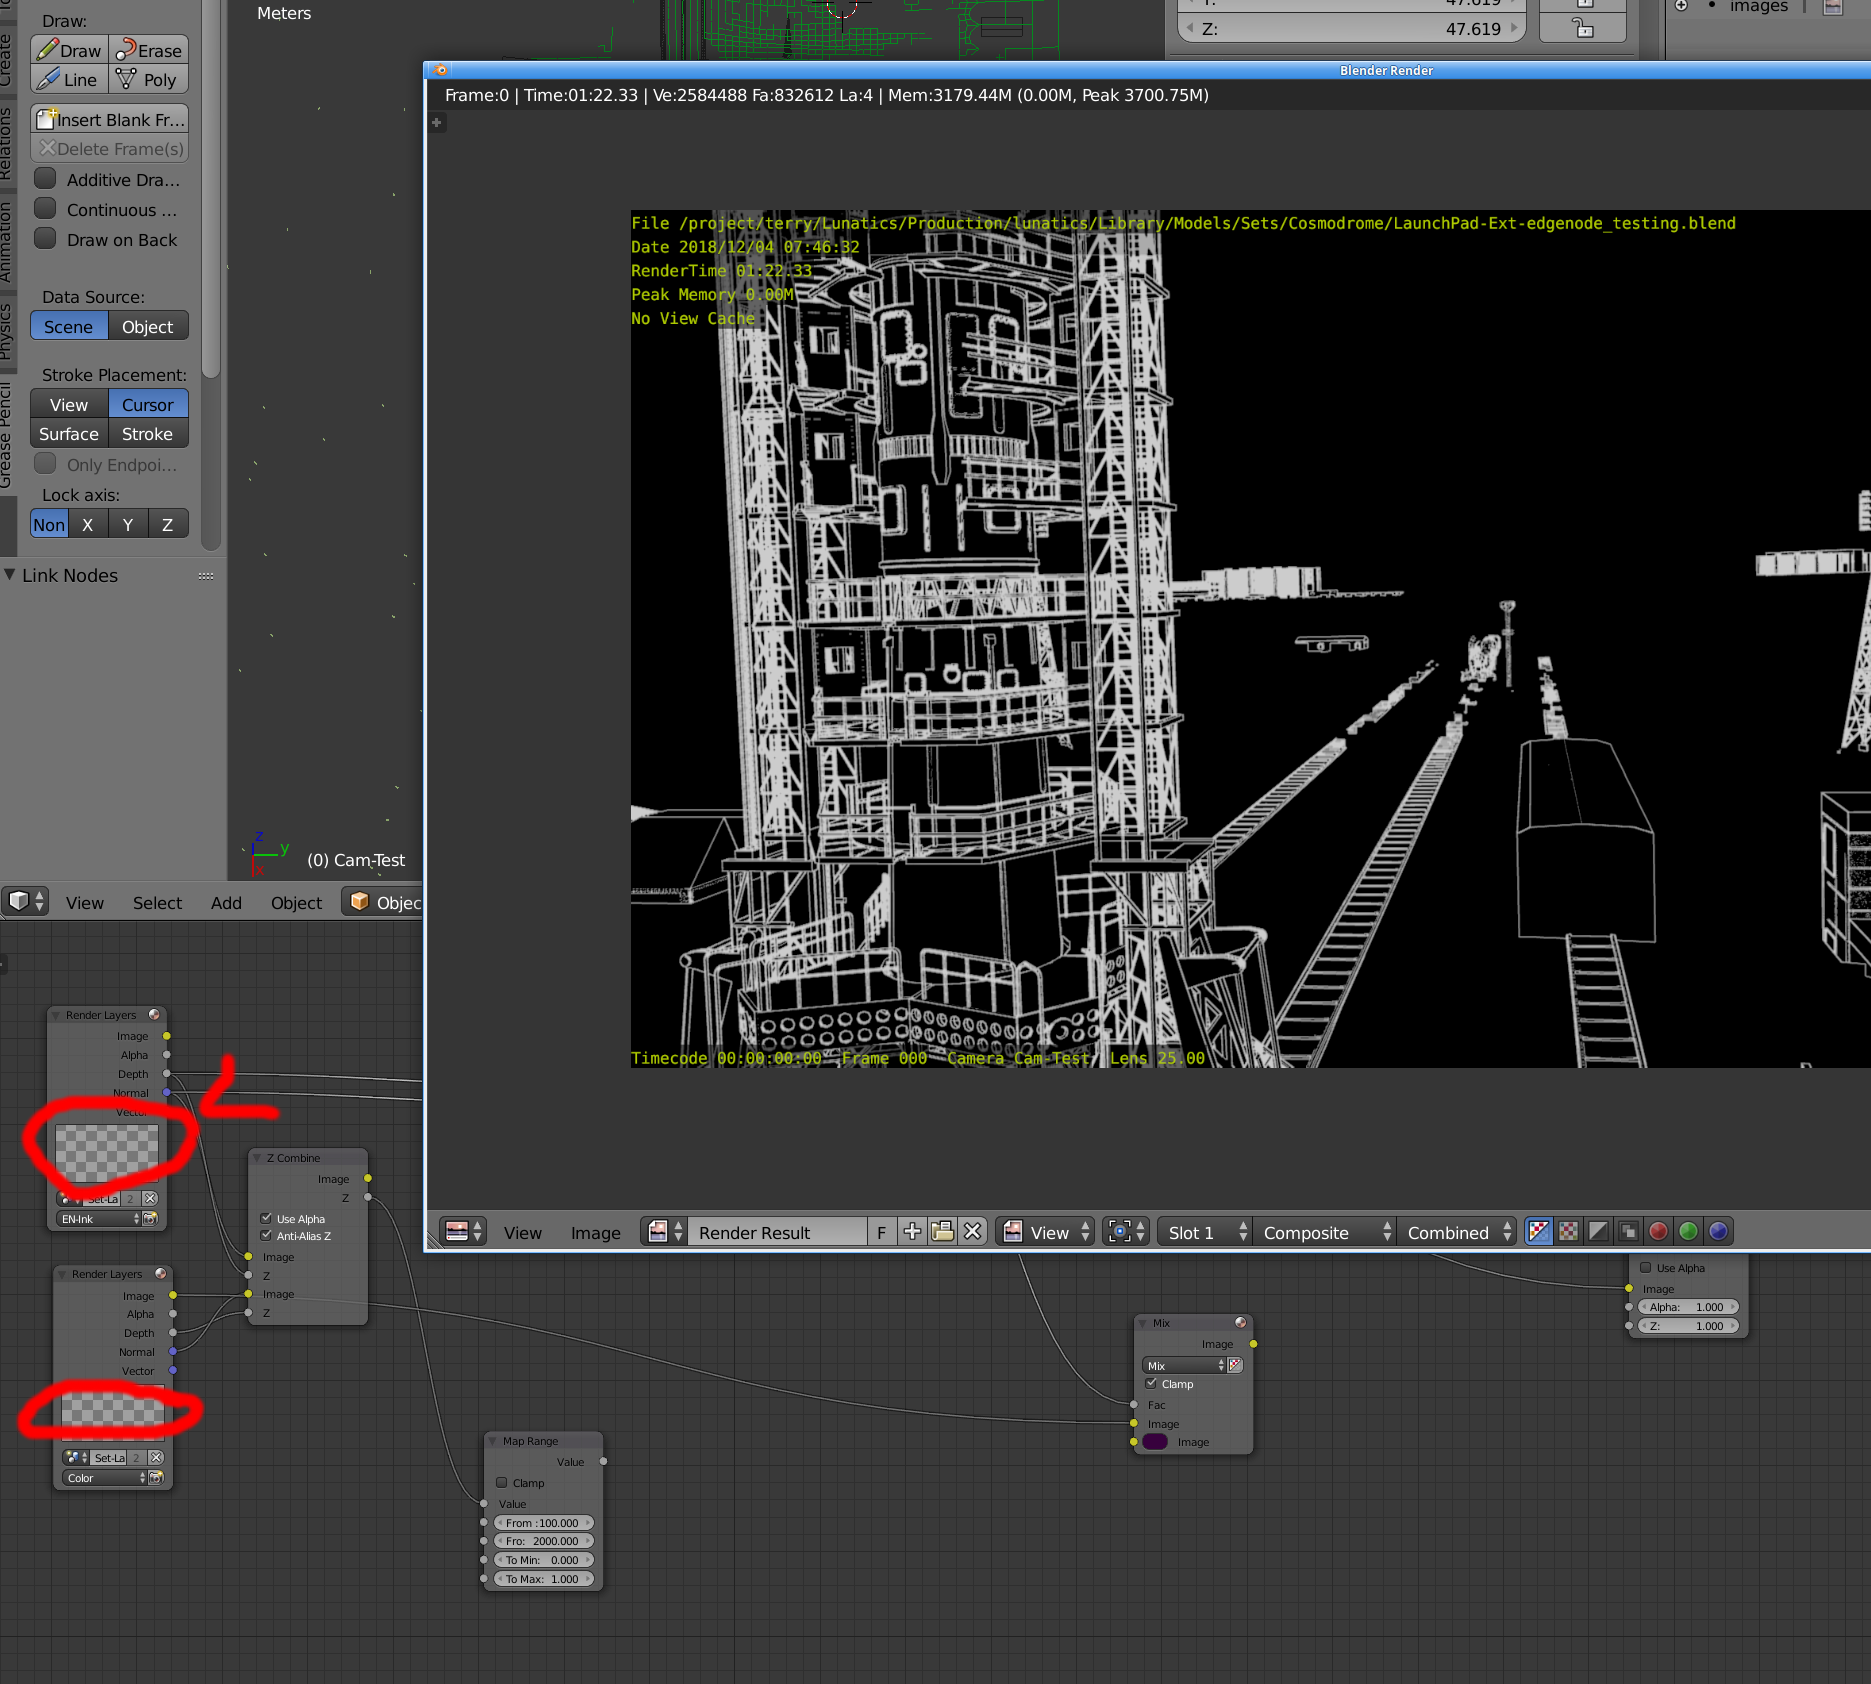
This pass includes the Z (Depth) and Normal passes, so I have what I need for Edge Node. Here’s my node setup to combine these:

The output from the Edge Nodes looks like this:
(the black parts here are just entirely transparent).
The final composited result takes just over 2 minutes to render on my workstation:
This is quite a bit better. My only complaint is that Edge Node is a bit heavy-handed on the (normal-mapped) floor tiles. I also like that I can make slightly softer lines for the background elements here, so that the character still “pop” out. I could of course have used no ink at all on the background, but that looks a bit washed out.
Dec 14, 2018 at 4:01 PM
A Frustrating Day…
This shot contains a tricky bit of Freestyle work to combine the billboard trees with the inked-lines in the shot. Keeping the lines from going through the trees requires using a proxy object for Freestyle rendering (as I explained in an earlier Production Log article).The technique is supposed to use special “Freestyle Proxy” objects to block the lines, but not be drawn themselves (they’re in a special “No Freestyle” group).
But if for some reason the “No Freestyle” grouping doesn’t get honored, we get this:

Or, if the proxies are omitted altogether from the Freestyle render layer, then we get lines through the trees, like this:

This file was linked in a really inefficient way with unnecessary complexity (or so I think, anyway!), and I wanted to simplify it in preparation for applying the same technique to some other shots.
But I broke it somehow — the proxies either get drawn (even though I do have the ‘No Freestyle’ exclusion group set), or they don’t get considered at all.
Looks like I’ll still be working on it tomorrow.
Dec 15, 2018 at 4:00 PM
Better…
Still a few issues with this shot (mainly the distant background is missing some things), but at least the Freestyle setup is working properly now, and the lighting is better. Good enough to focus on other shots for awhile.
Dec 23, 2018 at 4:01 PM
Archiving Audacity Project Files
One of the philosophical questions that keeps coming up when trying to apply “open source” ethics to artistic works is the question of what counts as “source code”. I’ve written about this problem several times before, but here I’m just considering the practical challenges of my decision to start our audio production source code chain with the Audacity project files for each sequence.
Why save the Audacity project file?
It seems like the developers of Audacity themselves seem baffled by this idea. For example, consider this quote from an Audacity developer (I’m not certain who, and I’m not sure it matters), responding to a query about archiving Audacity projects:
I’m slightly concerned that you have so many Audacity projects. The AUP/AU file structure is designed for fast processing by Audacity and is not really designed with archiving or long-term storage in mind. The project files are essentially provided as a work-in-progress allowing you to move towards final production files as uncompressed WAV etc or compressed MP3 etc. You have to be very careful when moving and tidying Audacity projects – it is all too easy to lose parts of your projects that way.
Of course, it’s true that AUP format is strictly for use with Audacity and is not intended as an interchange format. If you save these files, the only program that is going to be able to open them as-is is Audacity.
Audacity also has some unfortunate design elements that might make a project file break even if the user does have Audacity to use with it. In particular:
- External audio tracks: Audacity will let you edit some tracks in place, rather than making copies. The only solution I have for that is don’t ever use that feature! Always copy data into your project.
- “SIdecar Directory” format: the “.aup” file is a control file, but it requires the “_data” to be present alongside it in order to work — and it’s easy to get them separated by accident.
- User-opaque file-naming within the Audacity “_data” directory. It is full of hashed audio clips which Audacity can only find using data in the “.aup” file. Trying to reassemble a broken project from this would be like assembling a gigantic jigsaw puzzle. Avoid!
Thus, moving an Audacity Project requires taking care to update any external links (or better yet, to copy them into your project “_data” directory using Audacity’s “copy into project” feature), and to make sure the “_data” directory stays with it.
Note in particular: you can NOT use a version control program like Subversion or Git to keep track of the “_data” directory for an Audacity project: the filenames inside are created and destroyed as a normal part of Audacity’s edtiing process and your version control system does not know how to track them. You will lose data if you try to do this.
Having linked audio outside of the project is just asking for trouble. Audacity has a “Save Project As…” dialog which will automatically prompt you to do this — this is probably the safest way to create your archival copy.
Having said all that — it’s still the best “source” format to store!
What alternatives do we have?
We could store only the output from Audacity — the so-called “audio stems”, containing dialog, music, effects, and/or ambience in separate tracks. These are the source material we will mix in Ardour to make the final output audio.
Or we could store only the input to Audacity — the raw recordings we edited to produce the soundtrack for the sequence.
However, these do not preserve fundamental creative components of the audio: the individual voiced lines, the individual effect clips, etc. They would not make it easy to adjust the timing or insert new dialog or make other major edits to the soundtrack.
Clearly, the best “source” files to work from for making major editing changes to the audio are the Audacity project files, despite their portability issues.
I have worked out a reasonable solution for this problem that works for archiving these project files. First of all, we always use the “copy to project” feature in Audacity.
Then, I use the “zip” program to create a compressed file with a “.aupz” extension (I just invented that, following similar conventions with other packages).
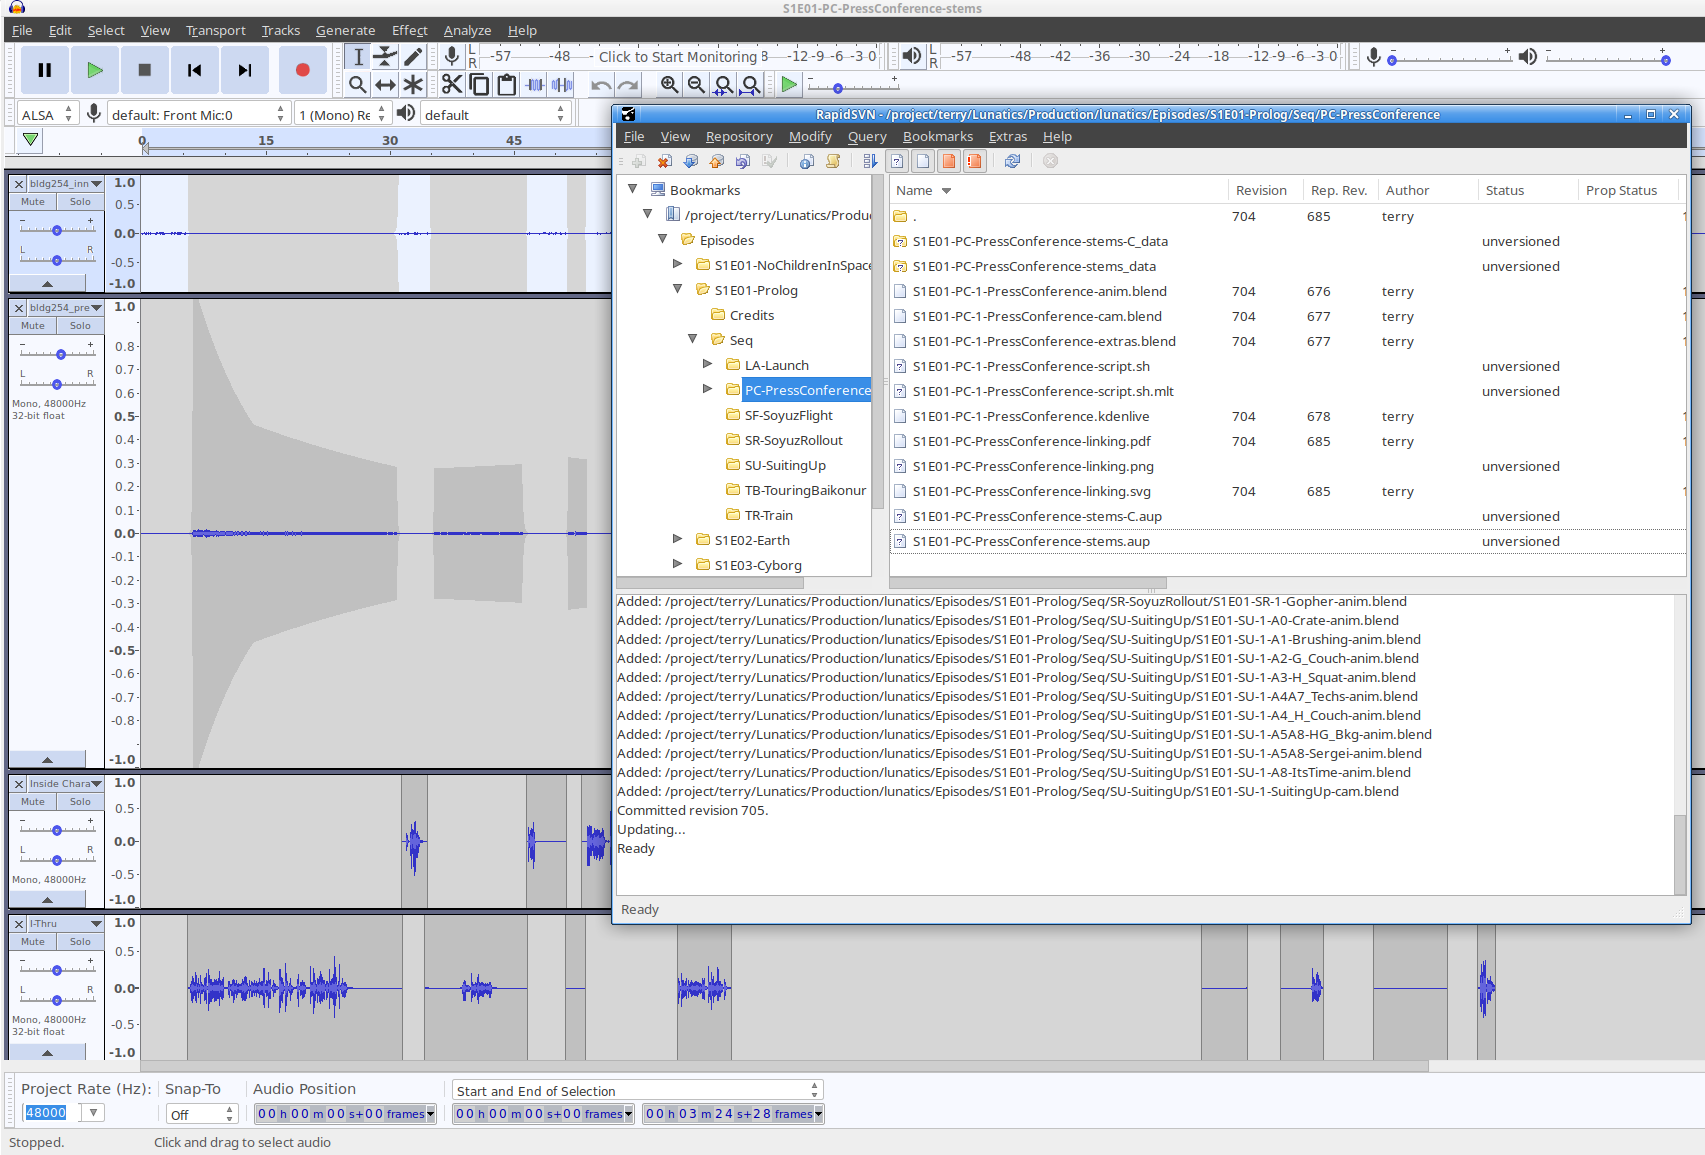
For example, we have a 3-minute sequence in our pilot episode, which is called the “PC-PressConference” sequence in our sources. The “.aup” file and associated “_data” clips directory consume 194 MB of disk space. But we can compress those with the “zip” utility (I use zip rather than tar/gzip because it’s more readily available on Windows and Mac platforms, while also being available as free software on Linux):
$ zip -r S1E01-PC-PressConference-stems.aupz S1E01-PC-PressConference-stems.aup S1E01-PC-PressConference-stems_data
You need the “-r” switch to tell zip to include all of the subdirectories and files under the “_data” directory in the archive.
The resulting file is also just 77MB compared to the original 194MB, so that’s a pretty good compression ratio for generic lossless compression. More importantly, the entire project is now stored in one container file.
This file can then be safely checked into Subversion or distributed with the source code. The receiver can unpack it (with “unzip”), and then open the resulting file with Audacity. I cannot guarantee what will happen if they try to use an earlier version of Audacity, but later versions generally seem to be able to open projects created with earlier versions — they do make an effort to be backward-compatible.
Audio After Audacity
Unfortunately, there is not an easy way to include an automatic representation of the “formula” used to export each of the five audio “stems” we will produce from Audacity. A future version of Audacity (2.3 or 2.4 may make that possible, as more scripting capabilities are being added). But in the version we are using now (2.2.1), the scripting facilities aren’t really up to this.
We could simply include an “instructions” file for this — it’s not too hard: just what tracks should be on for each stem (the audio level should already be set).
However, considering the relative sizes of the files, it’s not too bad to simply include these result files as well — especially since they will be part of the Ardour session directory for the sequence (and in fact, the Ardour session doesn’t contain much else, except for the timing of mixing effects in the Ardour control file.
So my current plan is that we will include these output files as part of the Ardour archive included for each sequence.
Dec 24, 2018 at 4:00 PM
What will be in our “Source Code”?
In the process of writing my last article about archiving audio source code, I had to do some testing to find out how large the various elements of “source” material we will have for our episode.
To do this, I took a look at the source files for a single sequence — the “PC-PressConference” sequence which is interesting mostly for the large amount of dialog it contains (most of the dialog in the first episode, in fact), and for the fact that it is nearly completed, so I can make reasonable estimates for the sizes of the files contained in it.
I also tested compressing these files with the “zip” utility and found that quite a few of them compress well, so I think we’ll most likely be storing them all compressed for distribution.
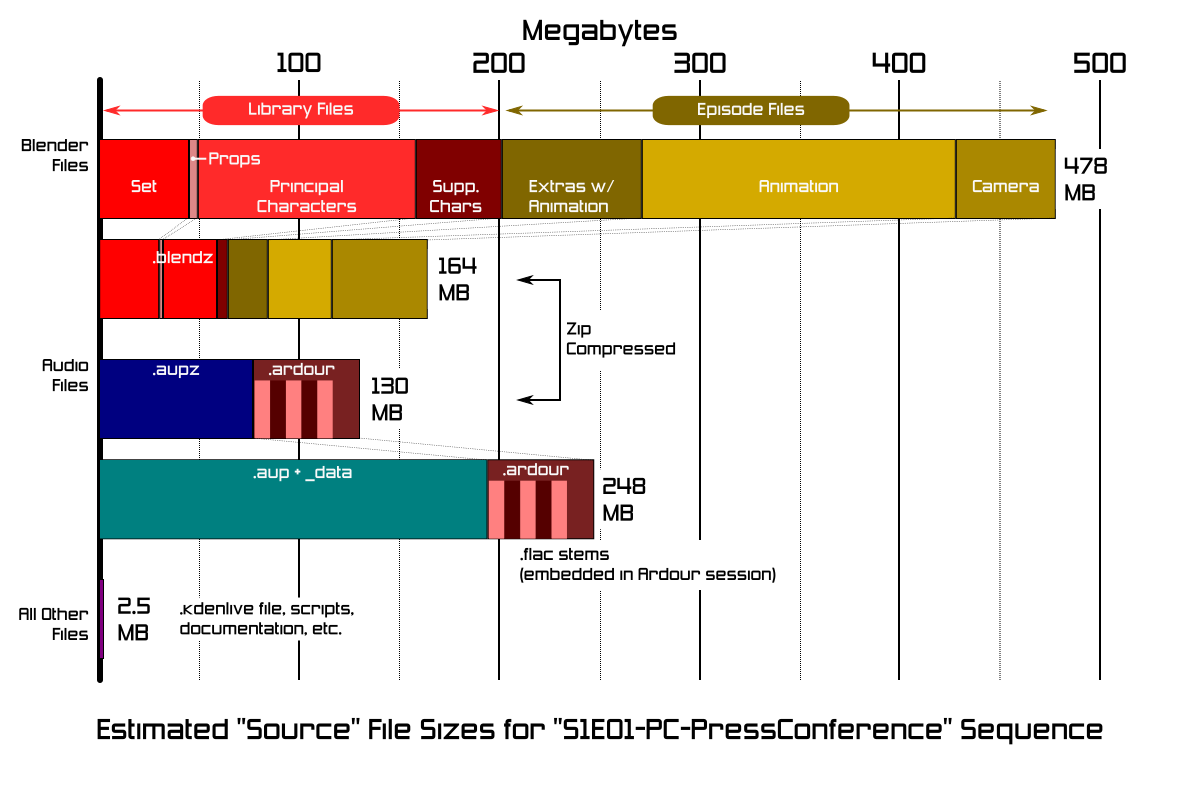
The chart above shows the relative sizes of the components:
- About 200 MB are Library Blender source files (sets, props, and characters).
- Another 278 MB are Blender files specific to this sequence/episode (animation).
- If each Blender file is zipped, the total is 164 MB.
- The (uncompressed) Audacity project file consumes 194 MB, and I estimate another 52 MB for the five “audio stem” FLAC files and the Ardour session to mix them.
- When compressed, that will come to about 130 MB.
- All other files for the sequence will be quite small: just 2.5 MB, including the Kdenlive video editing file (all the clips for it being rendered by the Blender and Ardour or Audacity files), and the documentation files, including the linking diagrams.
The Blender files here are all “packed”, meaning that binary resources such as texture files are embedded in them, eliminating the need to distribute a separate “textures” directory (in most cases, although it’s still necessary for video textures which can’t be packed — although there are none in this sequence).
There is some possibility that the library Blender files will be shared between different sequences so that they won’t necessarily add up, however the advantage will probably be small in this pilot episode which uses a lot of different sets and multiple character models (partly because of costume changes and partly because there are a lot of supporting characters in the pilot).
There will probably be a lot of differences between the six sequences in the pilot episode, but if we just ignore that and assume they all are about the same size, then this gives an estimate for the overall size of the source code of about 1.8 GB — or about half the size of the single-layer DVD we plan to distribute them on. Assuming the rest is allocated for the playable video DVD of the 16-minute episode and extras, this seems like it will probably all fit, though it will certainly fill up the disk!
Dec 27, 2018 at 10:33 PM
Website Problems
Just a quick FYI: yes our main website at lunatics.tv is down. Something is eating a lot of RAM on the server for unknown reasons. I’ve tried resetting it and that’s not working. We might just be hitting our VPS limitations on that server.
We are also in the middle of migrating it onto a new server, though. So likely it’ll be down for a few days until we can finish the migration.
Sorry for the inconvenience, but the project is still very much alive.
Continuing Check Render Review: