In the previous two articles in this series, I did an exploratory breakdown to learn more about the Primera Bravo II Disc Duplicator. With this information, I am now able to install an M-Disc Blu-Ray/DVD/CD Burner into the machine to upgrade it, as I originally planned. It recently came to my attention that, although I completed this upgrade in late 2022, I still had not documented it until July 2023! So I am finishing this using my notes.
Note that the breakdown of the shell and interior components to get to the drive is documented in the first installment, while testing of the USB connectivity inside the device is documented in the second installment (it is essentially a burner, a printer, and a robot connected via an internal USB hub). So I won’t repeat these steps in this article.
Replacement Parts
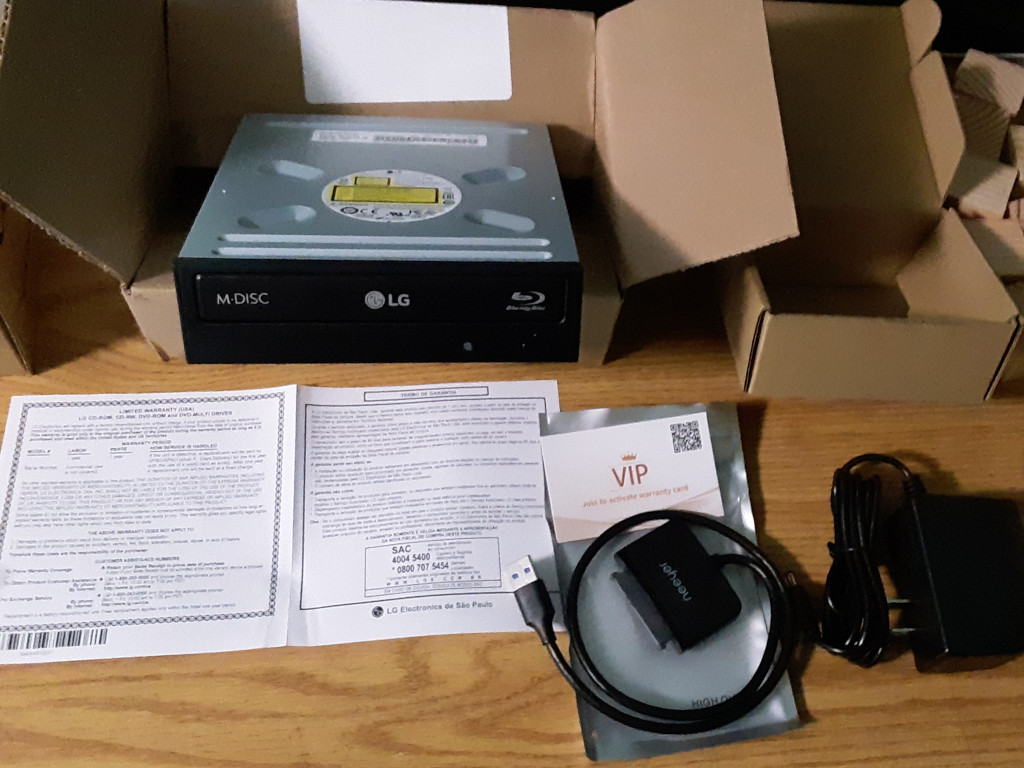
I ordered two components to upgrade my disc duplicator: the M-Disc burner from LG and a USB adapter with supplemental power to adapt it. These arrived on Friday (2022-12-09).
Installation
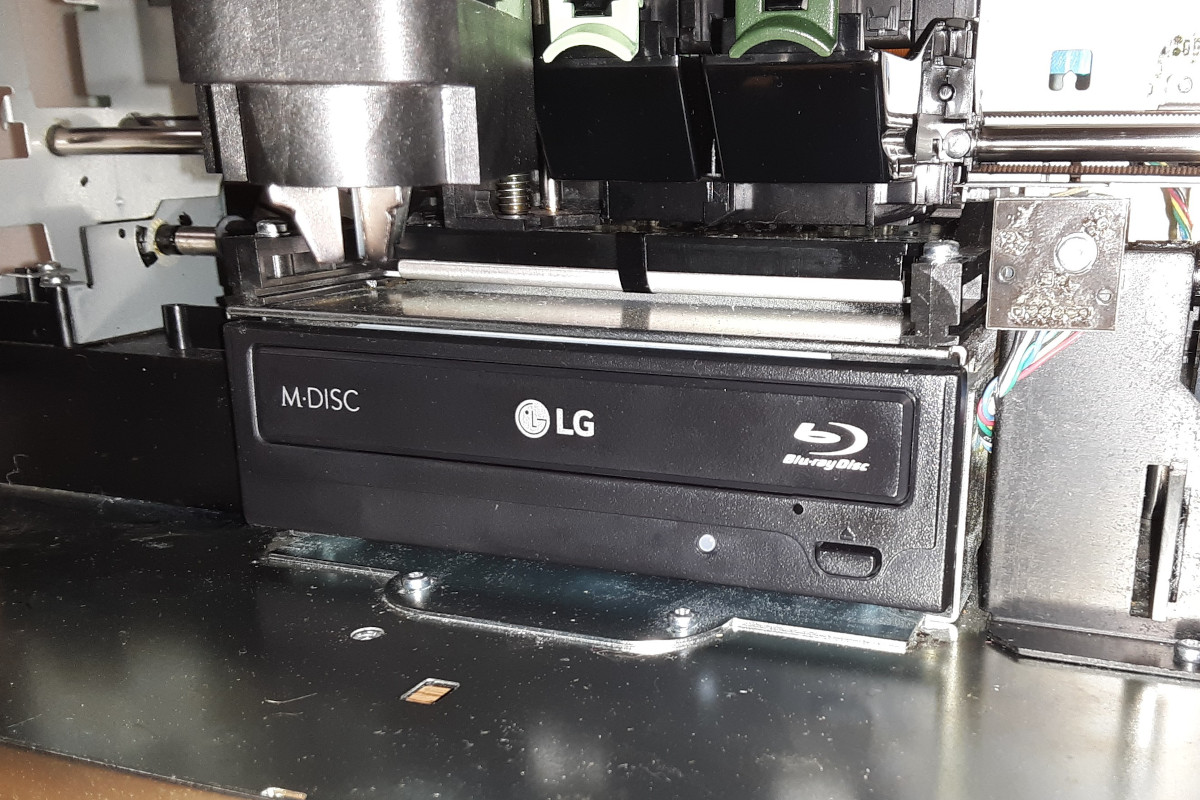
I started by assembling the USB adapter onto the disc drive. This simply converts the drive into a USB M-Disc/DVD/M-BD-R burner. The original drive in the Primera Bravo II was a standard PC internal DVD burner, with a USB adapter, so all we’ve done is to upgrade the drive.
This USB controller requires supplemental 12V power to work, normally provided by a “power brick” plug-in transformer power-supply (in the photo above).
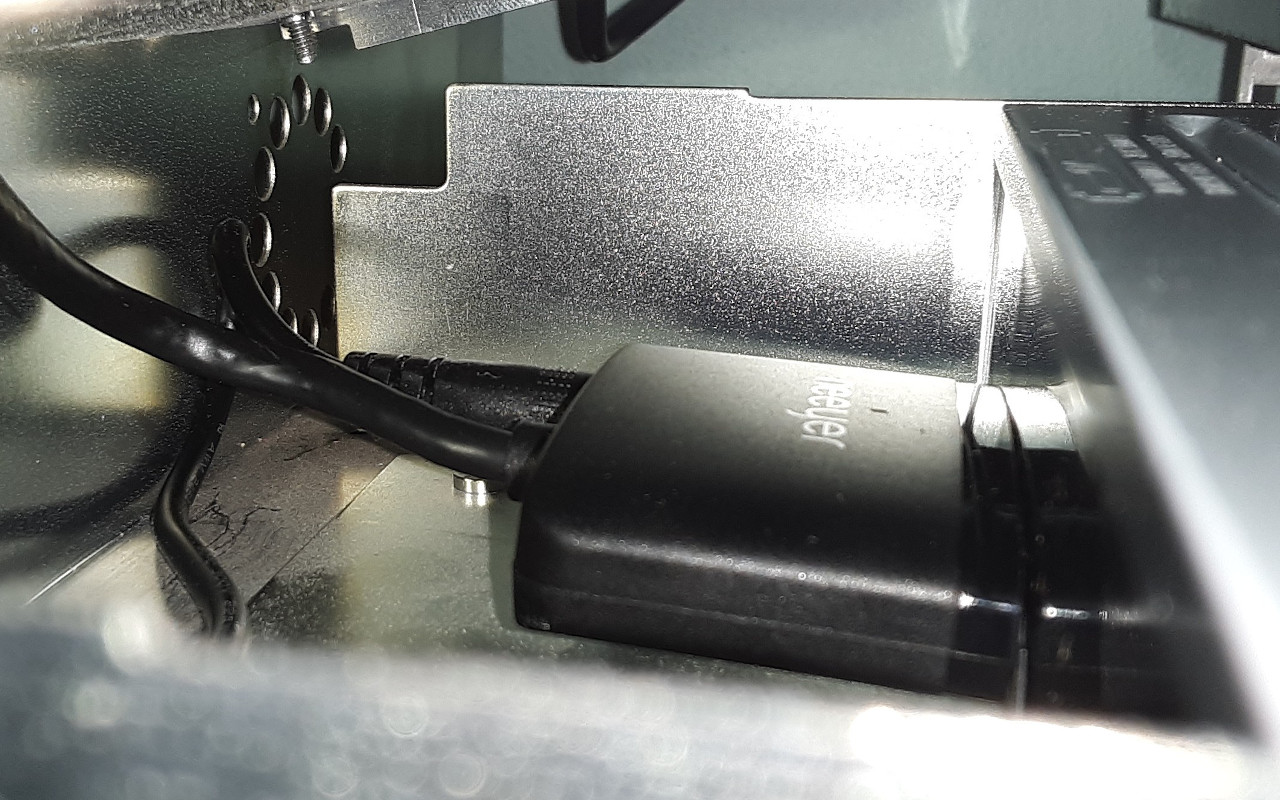
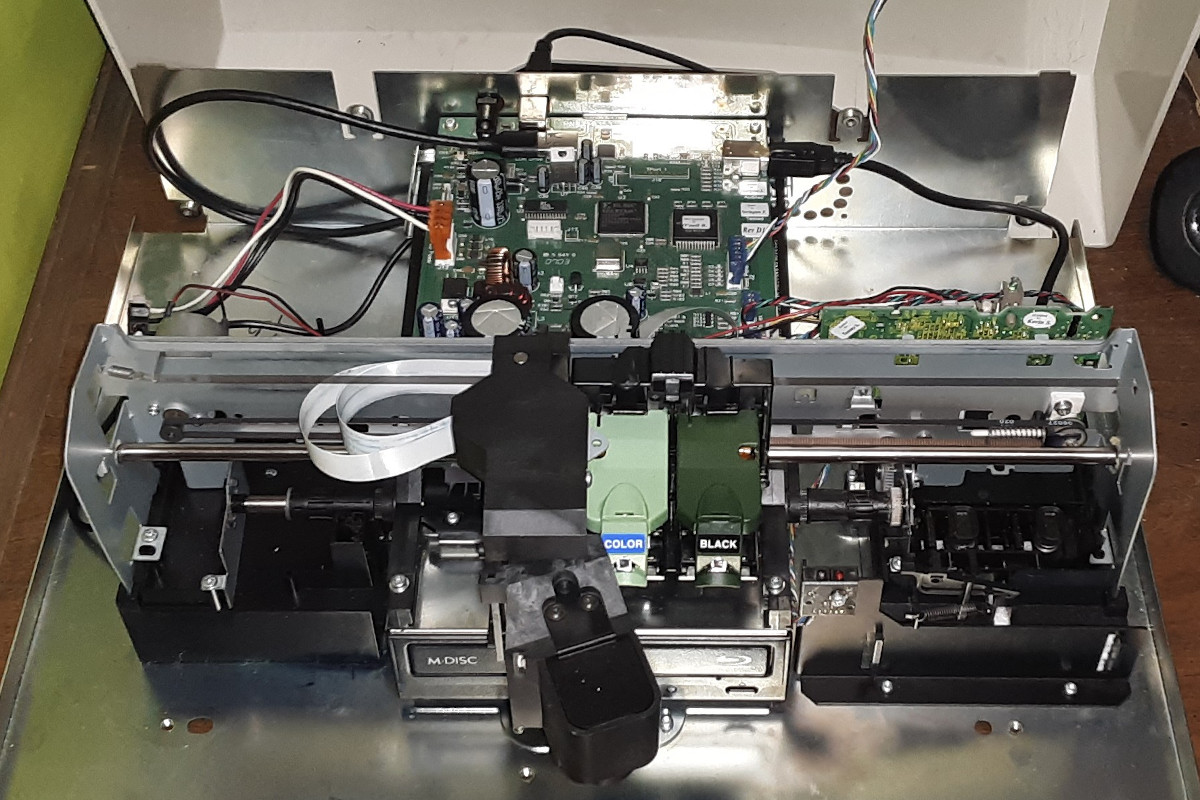
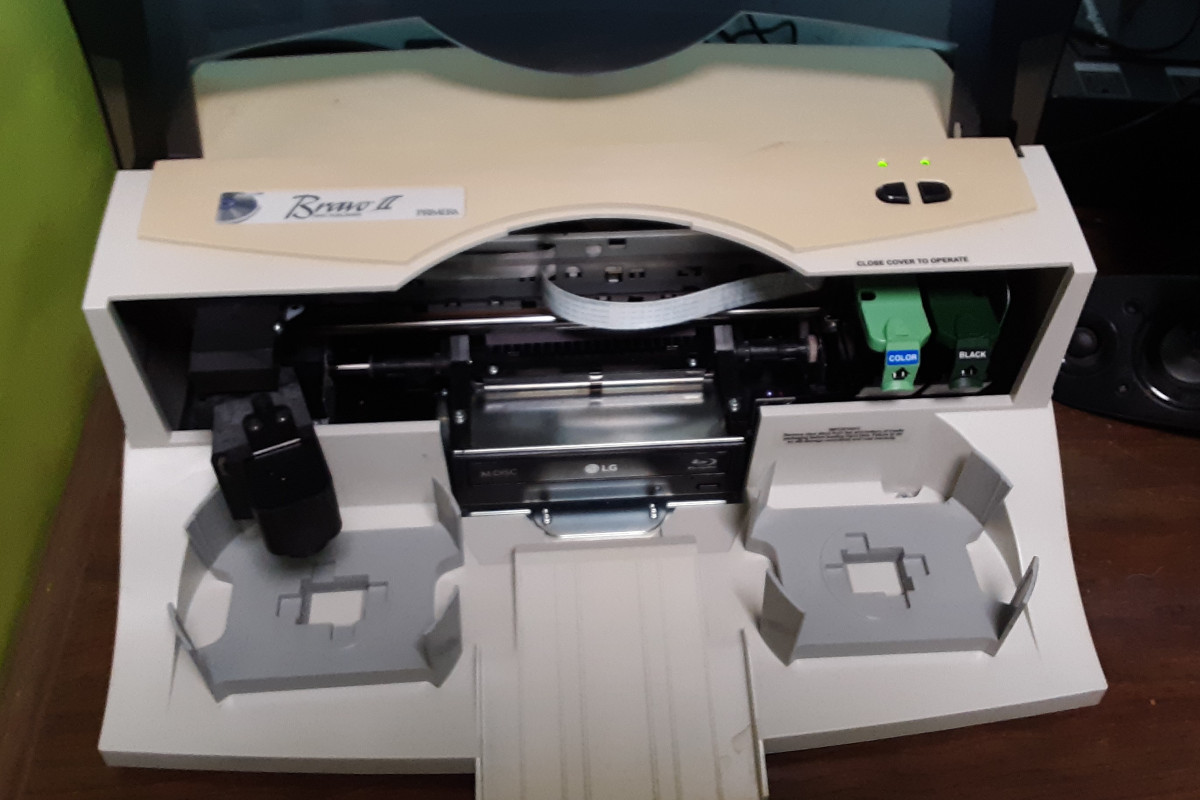
I was not sure if the new USB adapter would fit in the available space, since it’s a different design. So the first thing I did was a test-fit, by sliding the drive, with the adapter connected, into the available slot. There was ample room, so no problem there!
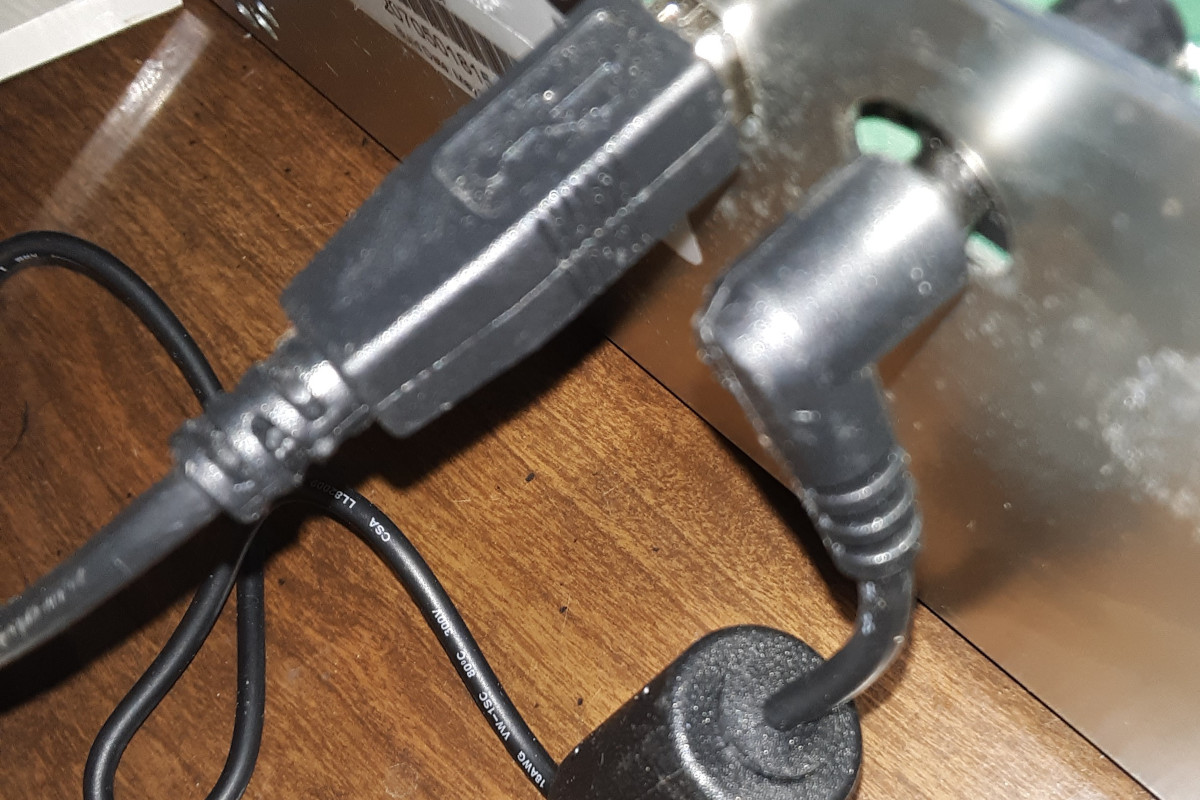
The USB adapter requires supplemental 12V power, just like the drive itself. In order to make this work, I used the cable and barrel connector from the provided power supply, and wired them into a fan power supply adapter from my parts bin.
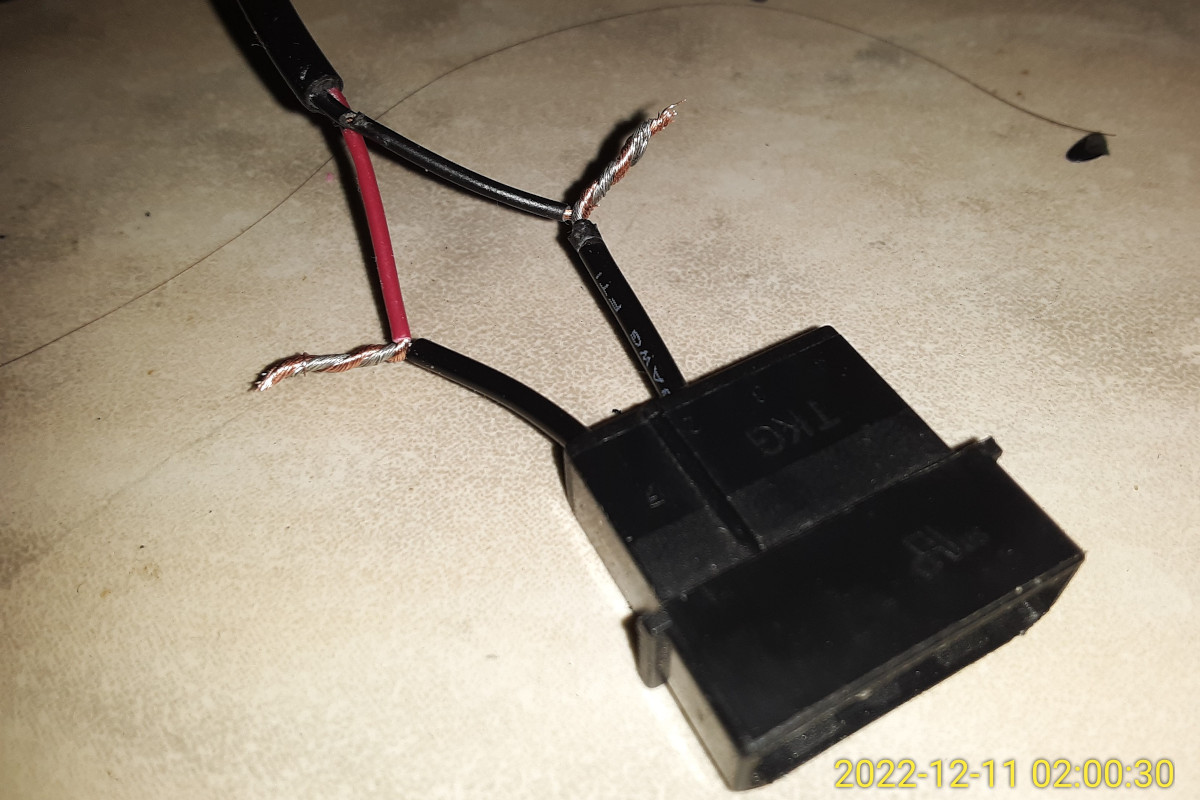
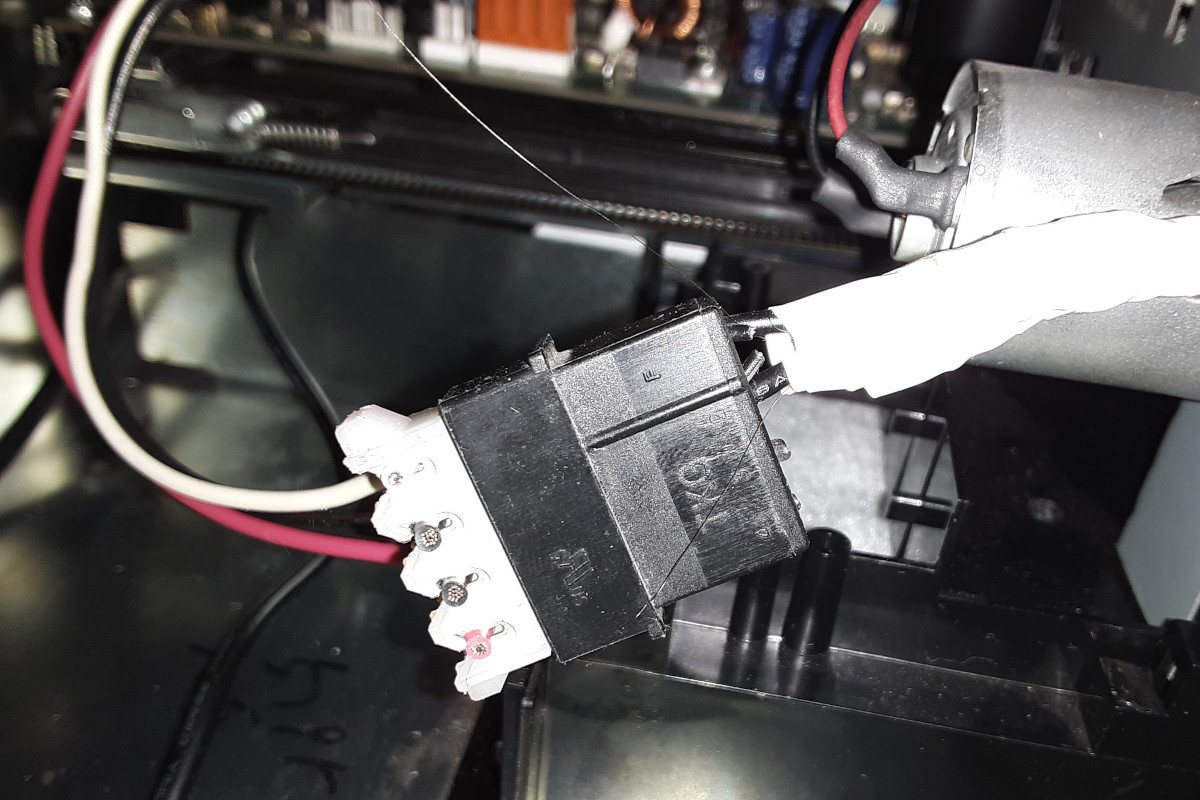
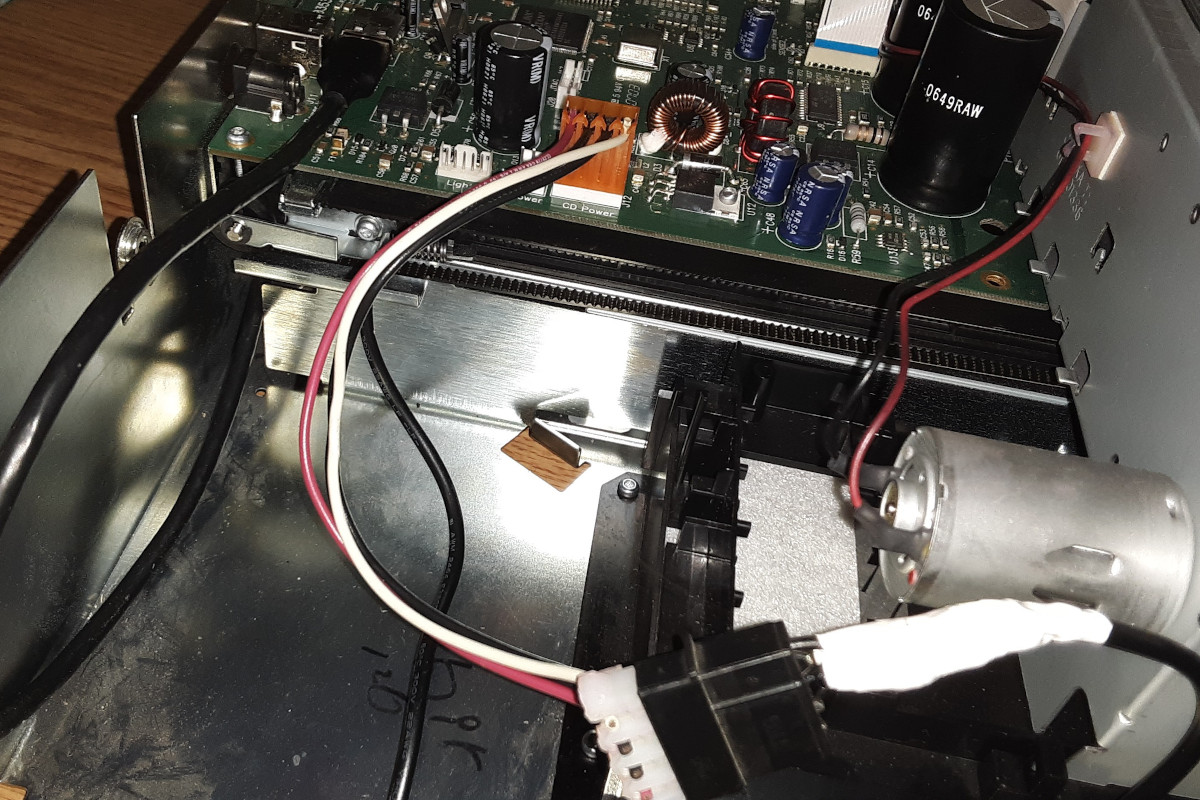
I cut the cable, then wired it into a Molex connector from an old PC power supply cable, soldered it, and wrapped it with electrical tape (I happened to have white electrical tape on my bench at the time — black would probably have looked nicer, but you won’t be able to see this when the duplicator is assembled).
The other side of the connector attaches to a header on the mainboard of the duplicator.
Beside this, you can also see the USB connector for the drive itself.
The 5.25″ drive bay in the duplicator is very standard. The drive is held in place by the usual screws:
All-in-all this was an easy modification! I didn’t run into any unexpected problems.
Testing
To make sure the installation was working as expected, I connected the duplicator to power and to my workstation. I then mounted and read-back data from an M-BD-R disk to make sure the connectivity was working. Everything behaved as expected. The Ubuntu Studio 20.04 operating system recognized the disk just as if it were installed directly.
Next: Control Program
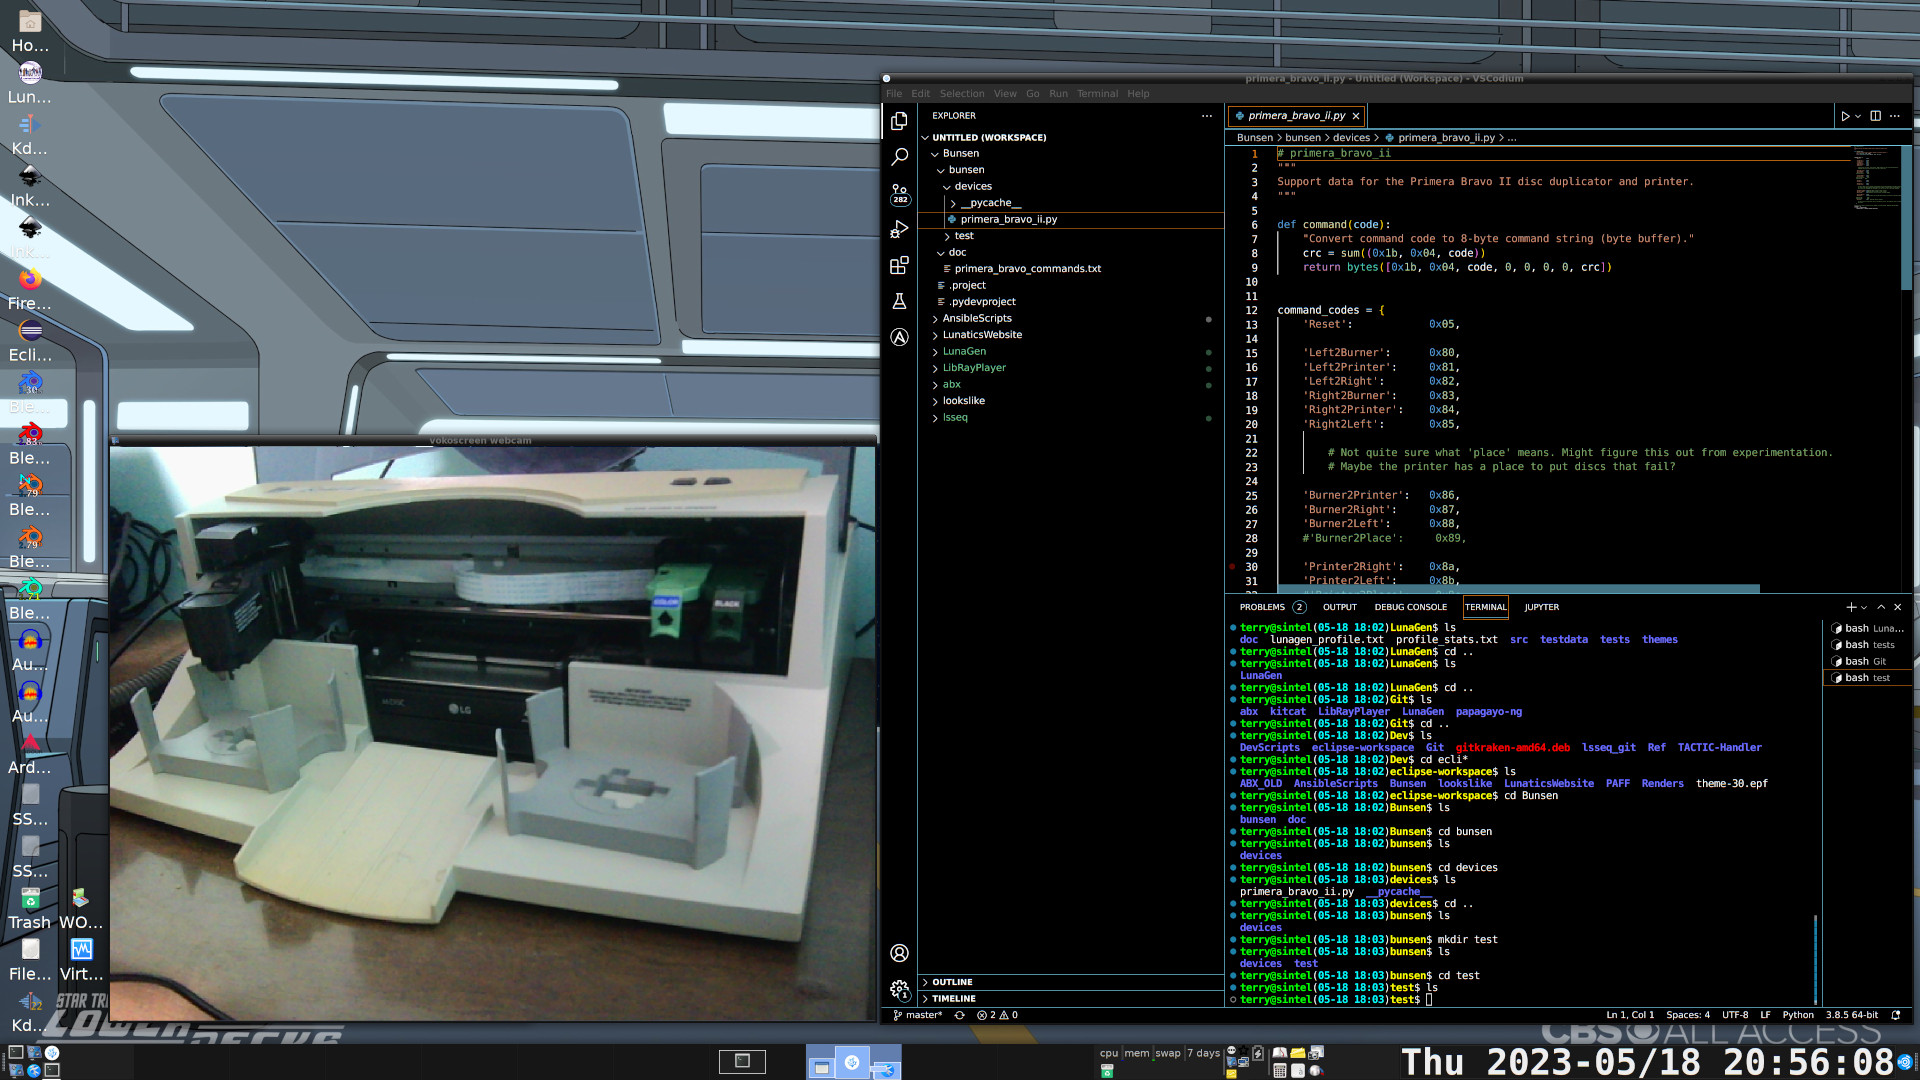
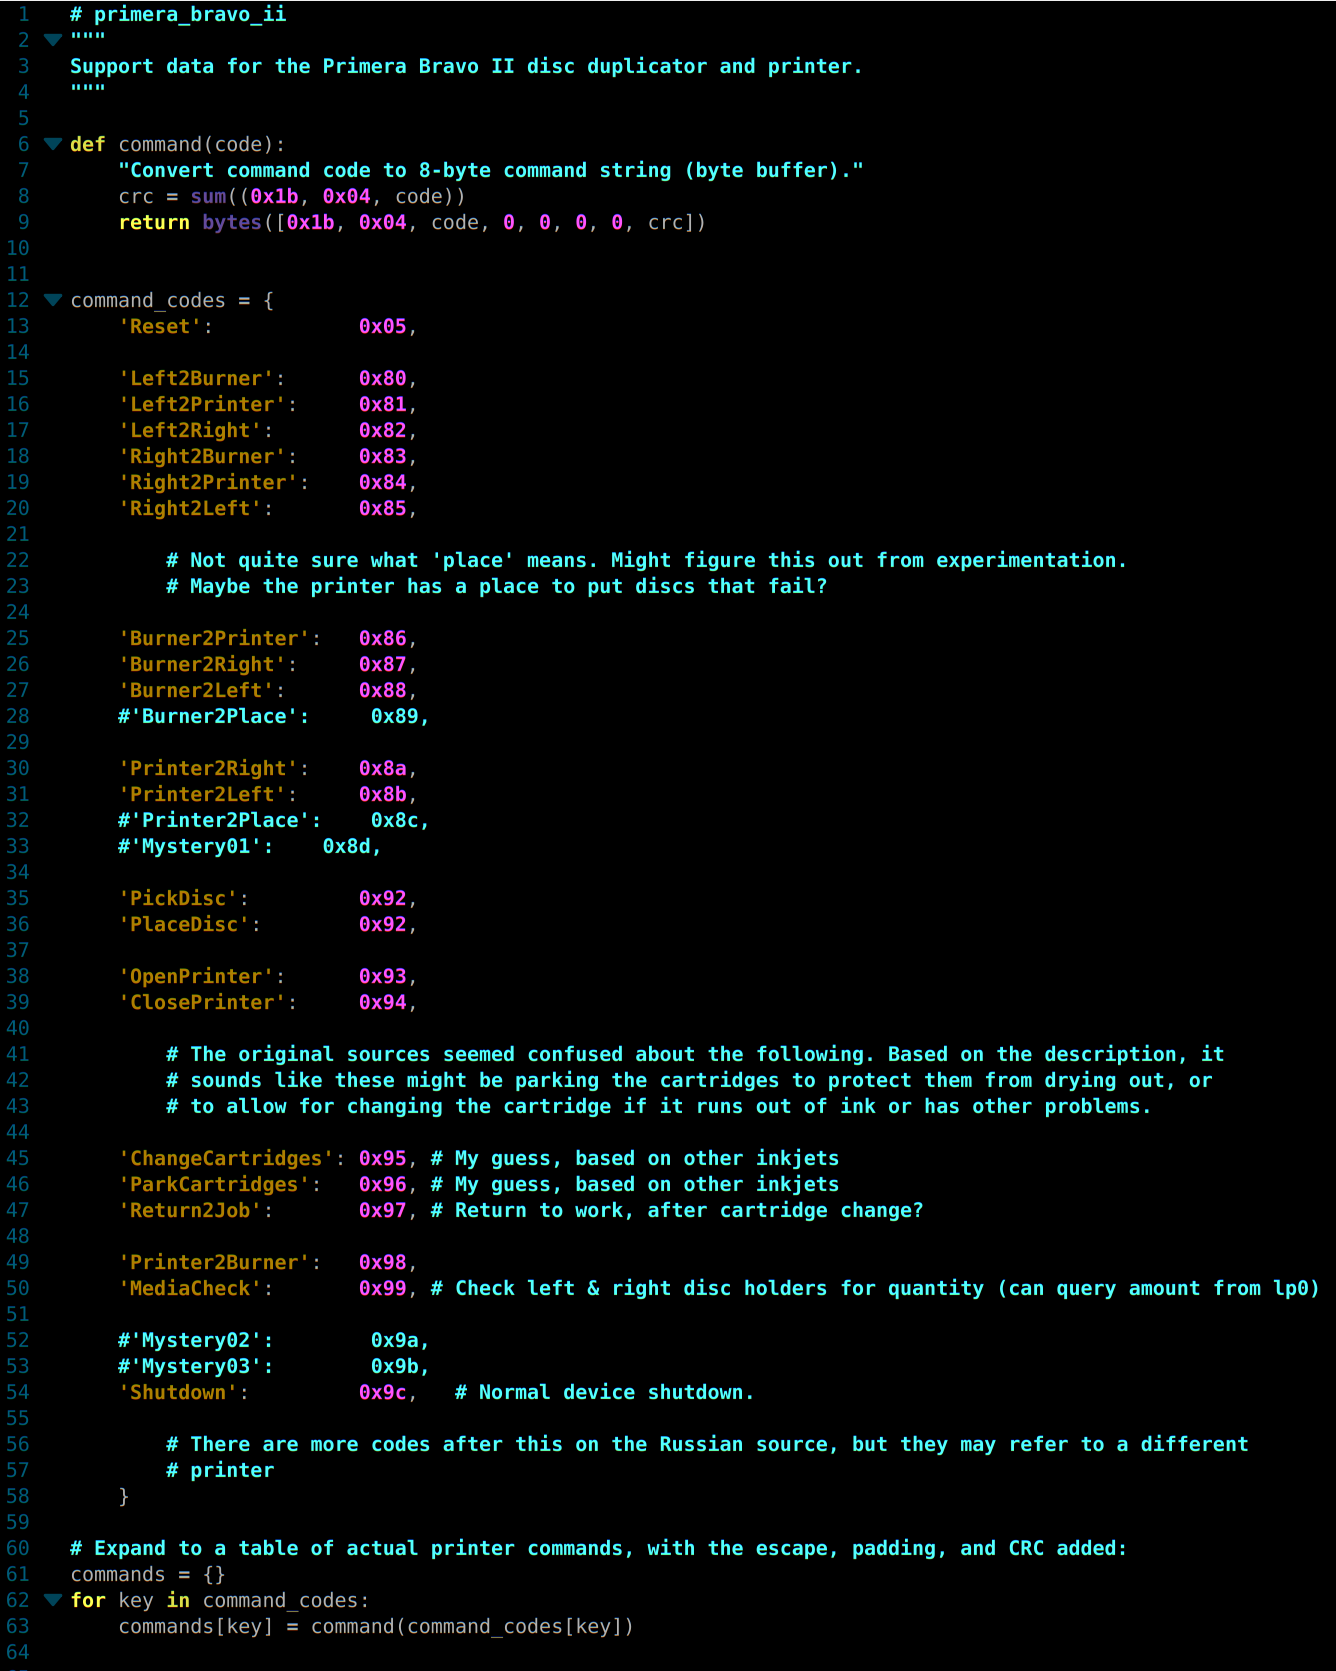
I chose the Primera Bravo II, because it had a Linux driver, although in fact, the driver is only for the Lexmark printing engine inside of it. There is no official support for the pick-and-place robot. However, prior to purchase, I had already found two sources for reverse-engineered control codes. They indicate that a series of simple codes sent over the USB connection provides a high-level interface in which the robot is instructed to go to pre-defined target locations and then pick up or drop disks. The two different sources did not exactly agree on descriptions for each action, but they should give me a starting place for my own reverse-engineering tests.
Recently, I setup a test of using my webcam that I normally use for commentary on screencasts as a monitor for the printer. With this configuration, I should be able to send codes to the printer, and record what it does in response. This should be more reliable than me simply watching it or trying to write down what it does, as I will be able to record in real-time, both the codes sent, and the response generated. I have not yet started this project, though. When I do, that will be the fourth installment in this series!